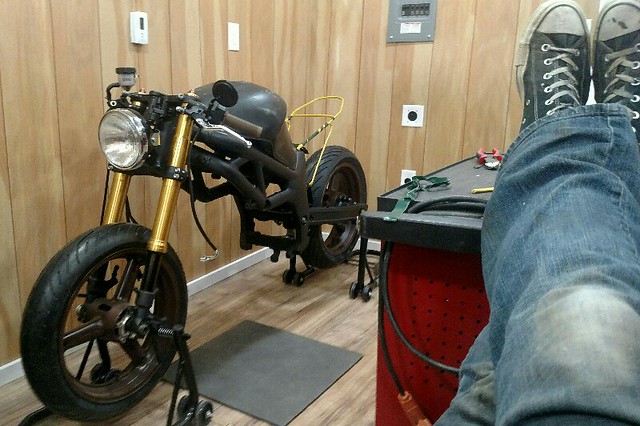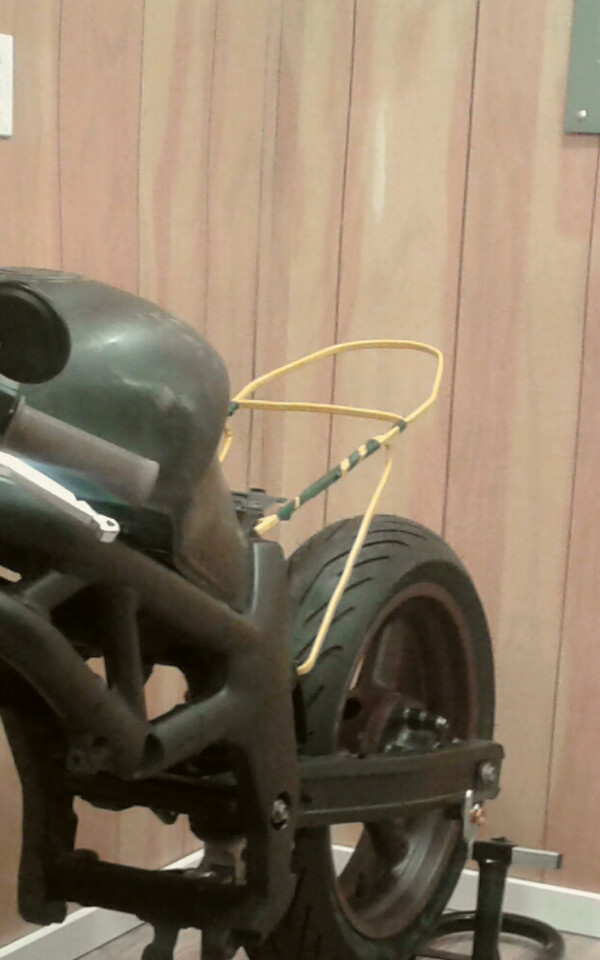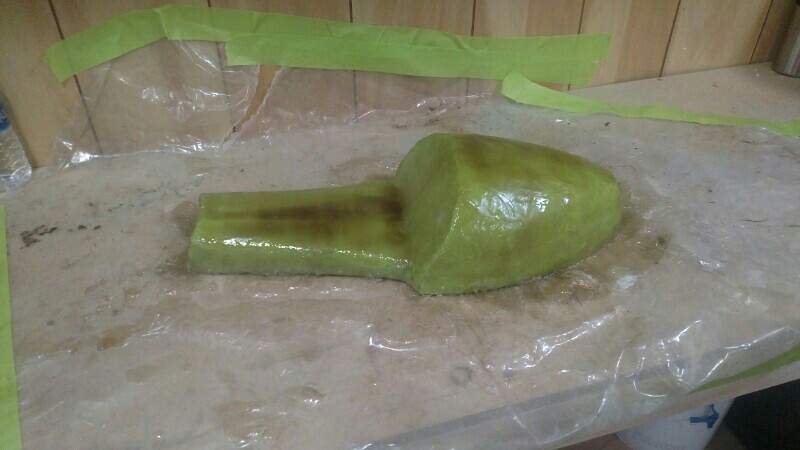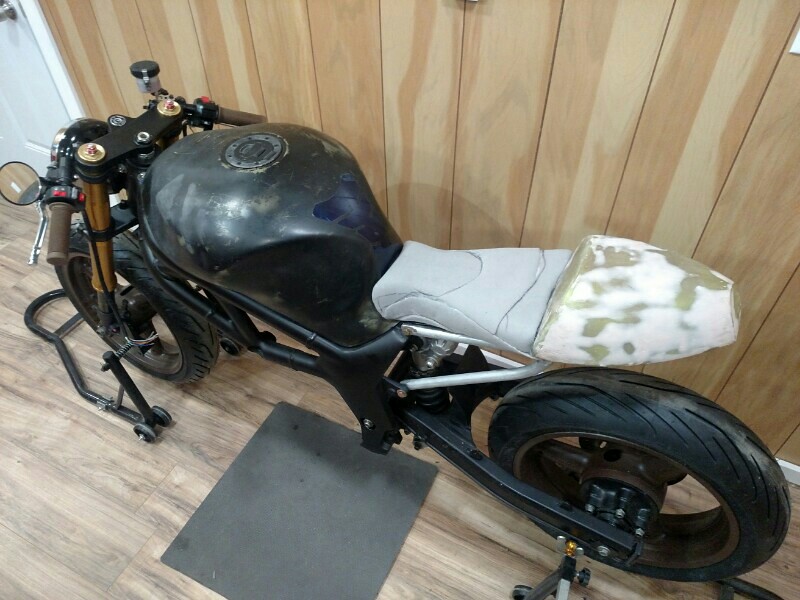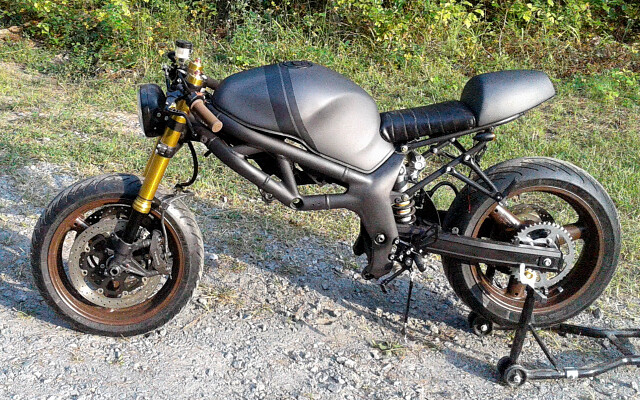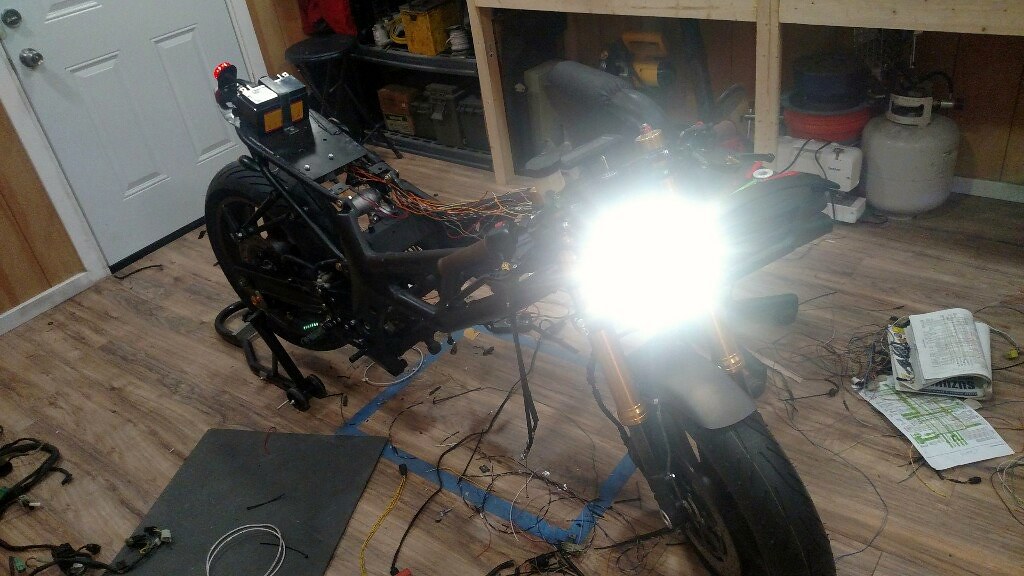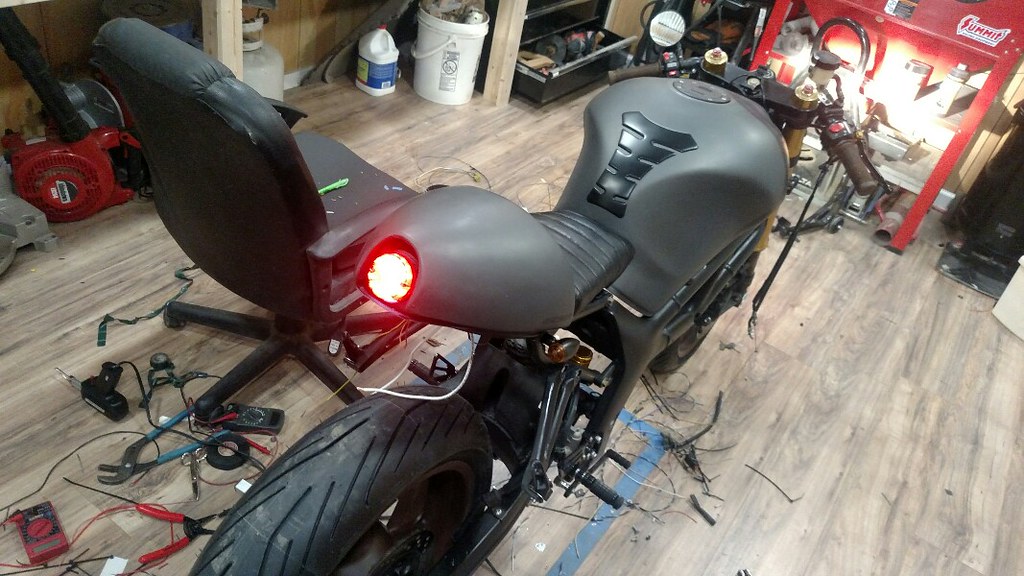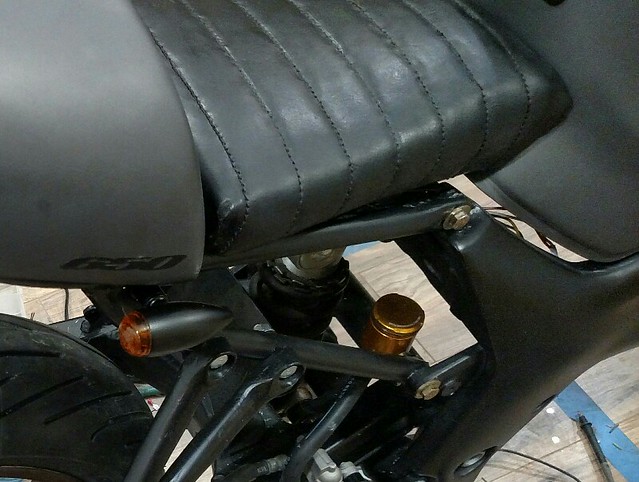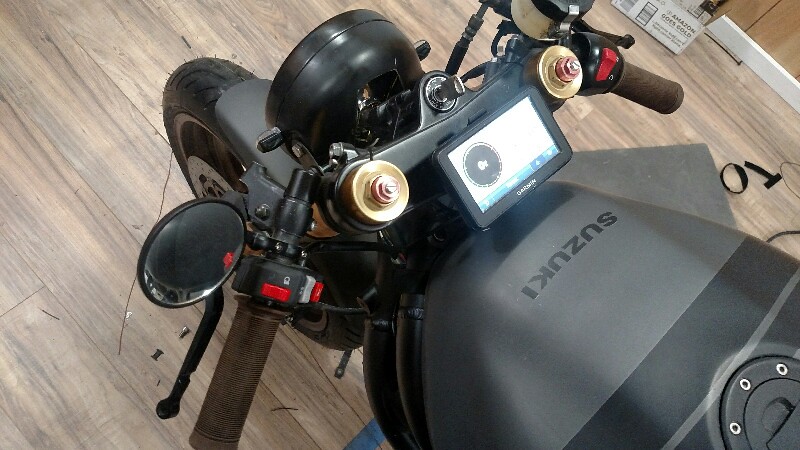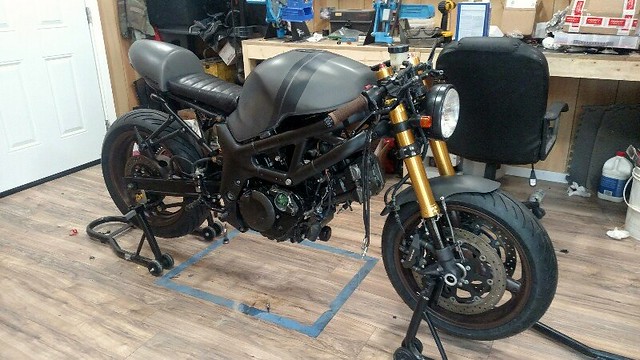

Most Recent Pic (Dec16, 2017)
Sup fellas, I just finished my Sick50 build but wanted to keep my log posted here. Comment or questions here
http://www.svrider.com/forum/showthread.php?t=383362
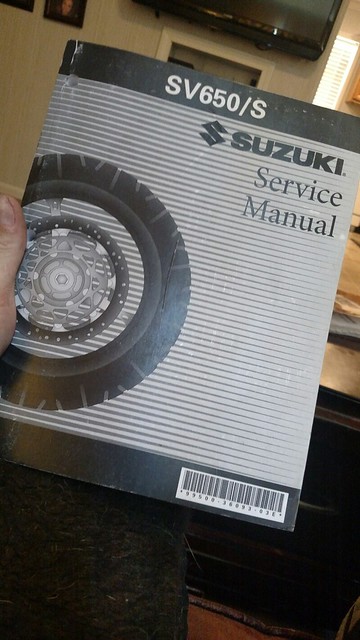
0ct 12th 2016. After reading a lot of forums and looking at a lot of pictures of different styles of bikes, I decided to build a sv650 from the ground up. I was inspired by sheepshaggers build thread "building from scratch" he's building one up piece by piece too. I live in the states in Arkansas. I mainly rock crawl in my 99 xj and play weekend mechanic. Building a bike is something I've always wanted to do. Arkansas has plenty of softails I want something different.
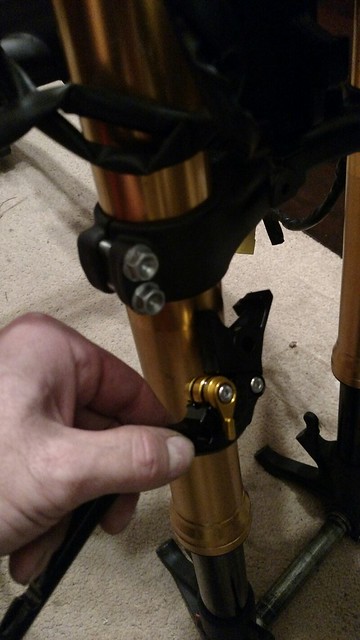
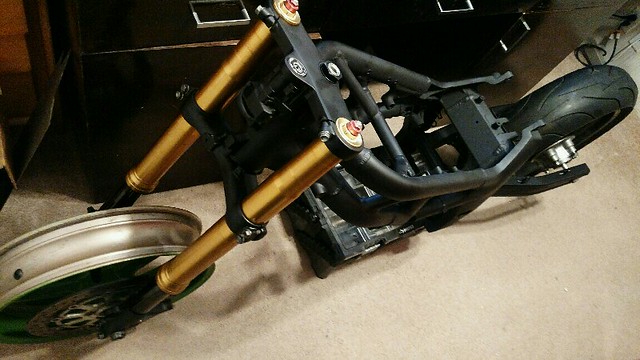
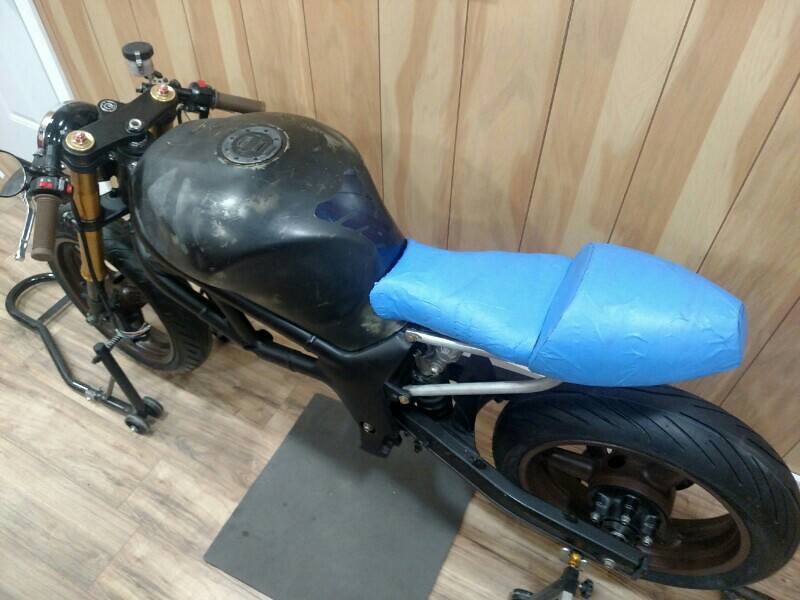
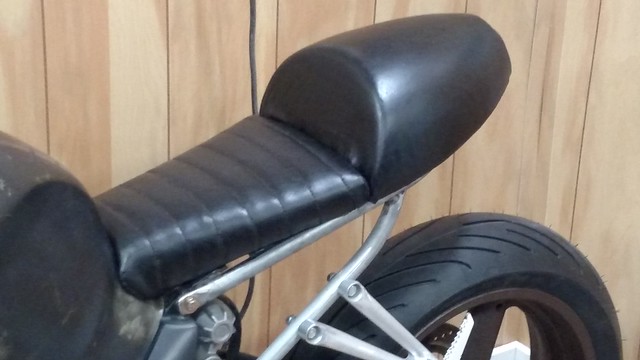
I'm going to try to be the only guy that lays hands on this build from start to finish. Wiring is going to be very basic, and other things are going to take along time. But I'm in it for the long haul.
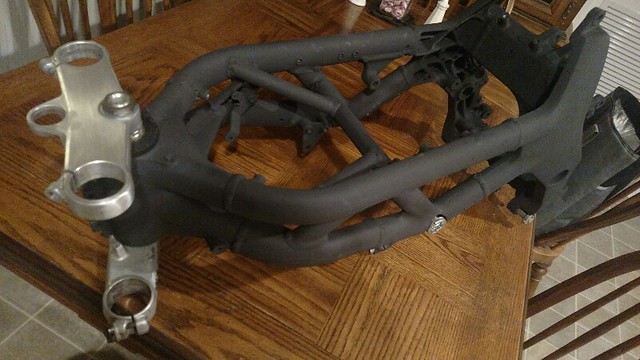
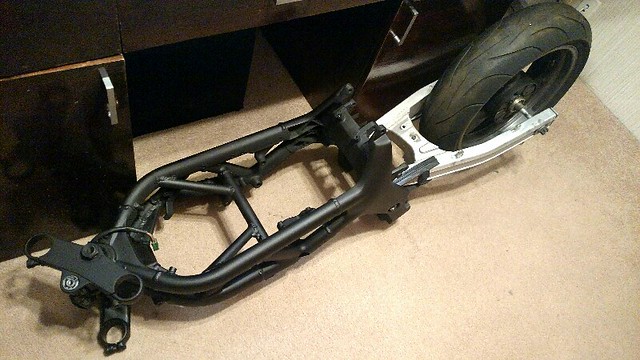
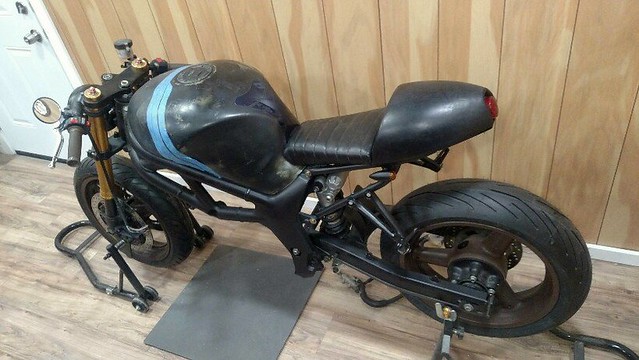
I bought a 1999 frame at the beginning of the month. It came in on FedEx Ground on oct 10th 2016. I ordered some cerakote and sandblasted it, just etched it. Here's a picture of the frame right before I cleaned it with the air gun. Cerakote should be in today. I've decided on graphite for the frame, and dark metallic body with a matte orange asymmetrical racing stripe.
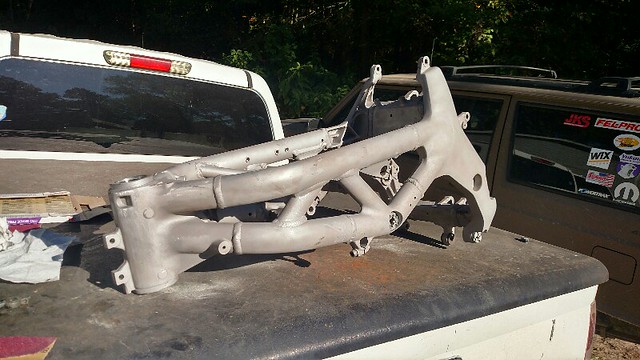 Frame by Jacob Martin, on Flickr
Sup fellas, I just finished my Sick50 build but wanted to keep my log posted here. Comment or questions here
http://www.svrider.com/forum/showthread.php?t=383362
0ct 12th 2016. After reading a lot of forums and looking at a lot of pictures of different styles of bikes, I decided to build a sv650 from the ground up. I was inspired by sheepshaggers build thread "building from scratch" he's building one up piece by piece too. I live in the states in Arkansas. I mainly rock crawl in my 99 xj and play weekend mechanic. Building a bike is something I've always wanted to do. Arkansas has plenty of softails I want something different.
I'm going to try to be the only guy that lays hands on this build from start to finish. Wiring is going to be very basic, and other things are going to take along time. But I'm in it for the long haul.
I bought a 1999 frame at the beginning of the month. It came in on FedEx Ground on oct 10th 2016. I ordered some cerakote and sandblasted it, just etched it. Here's a picture of the frame right before I cleaned it with the air gun. Cerakote should be in today. I've decided on graphite for the frame, and dark metallic body with a matte orange asymmetrical racing stripe.
Frame by Jacob Martin, on Flickr