
I've been wanting a project bike for a long time now, but money was holding me back since I was a stay at home dad, and only saving money, not earning it. Funny how I never received credit from my wife on how much money I saved per year. Anyway, I finally went back to work last Fall, and have been watching CL pretty closely since then.
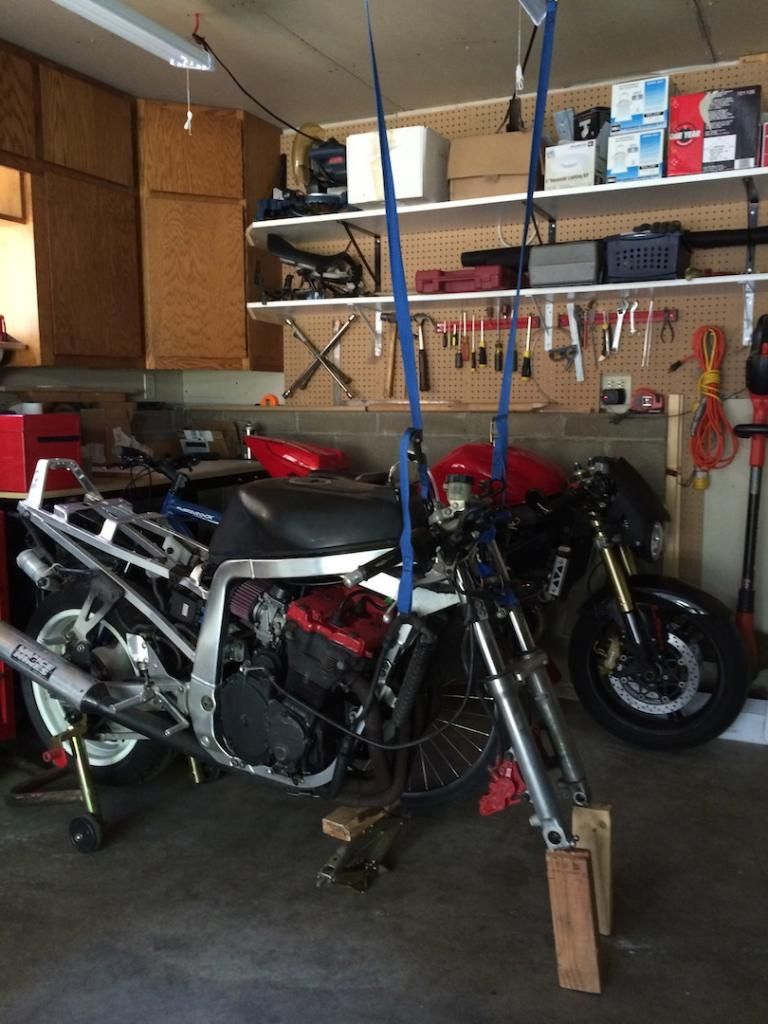
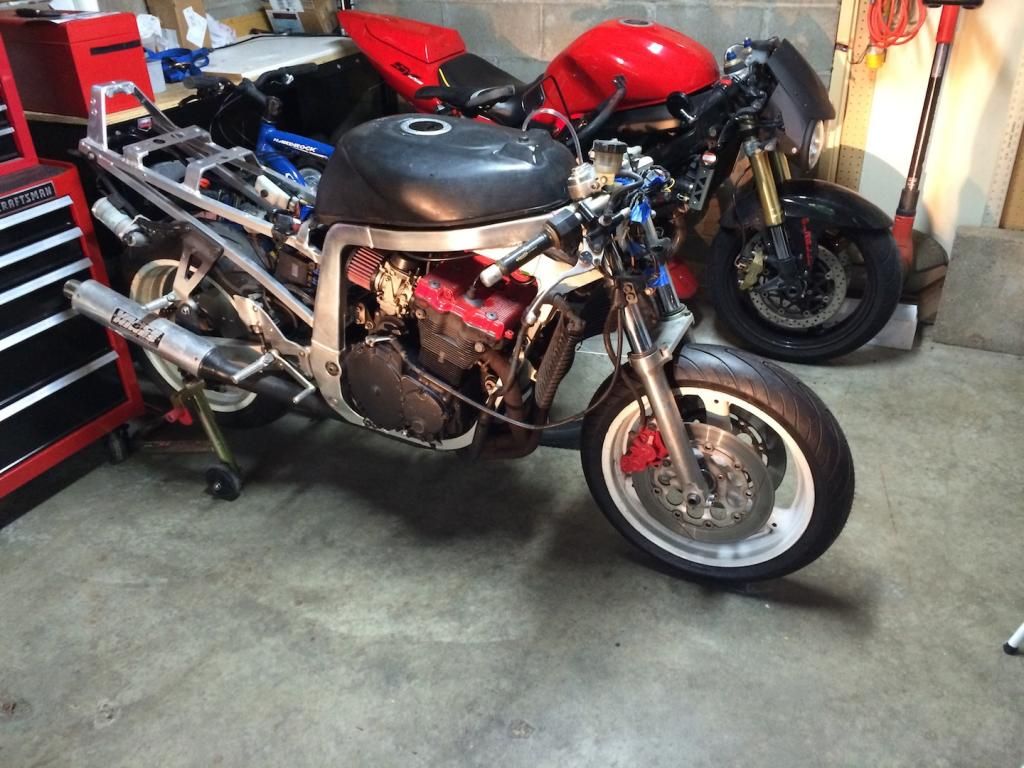
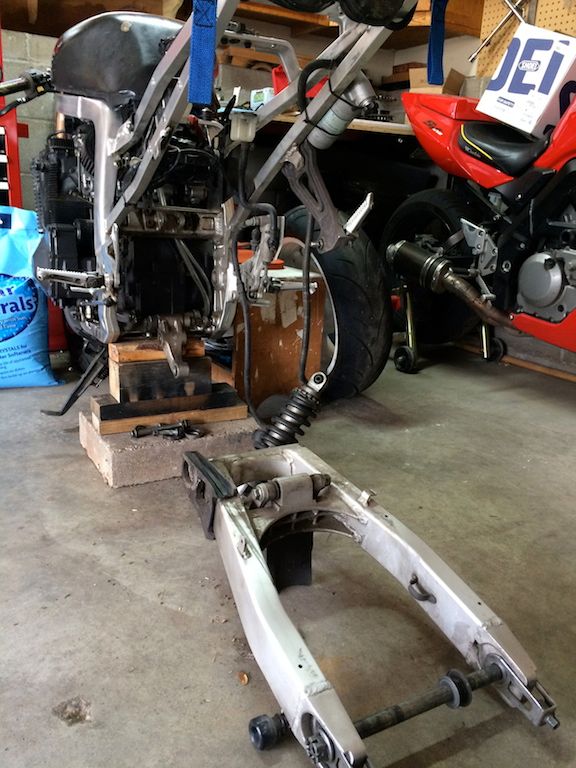
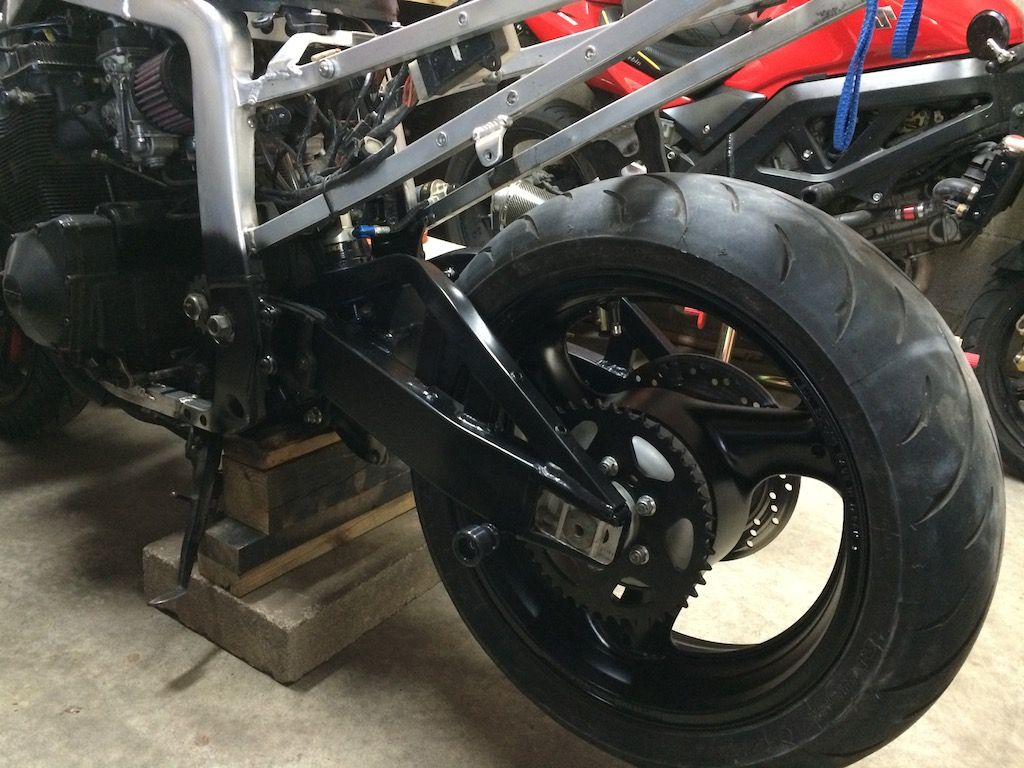
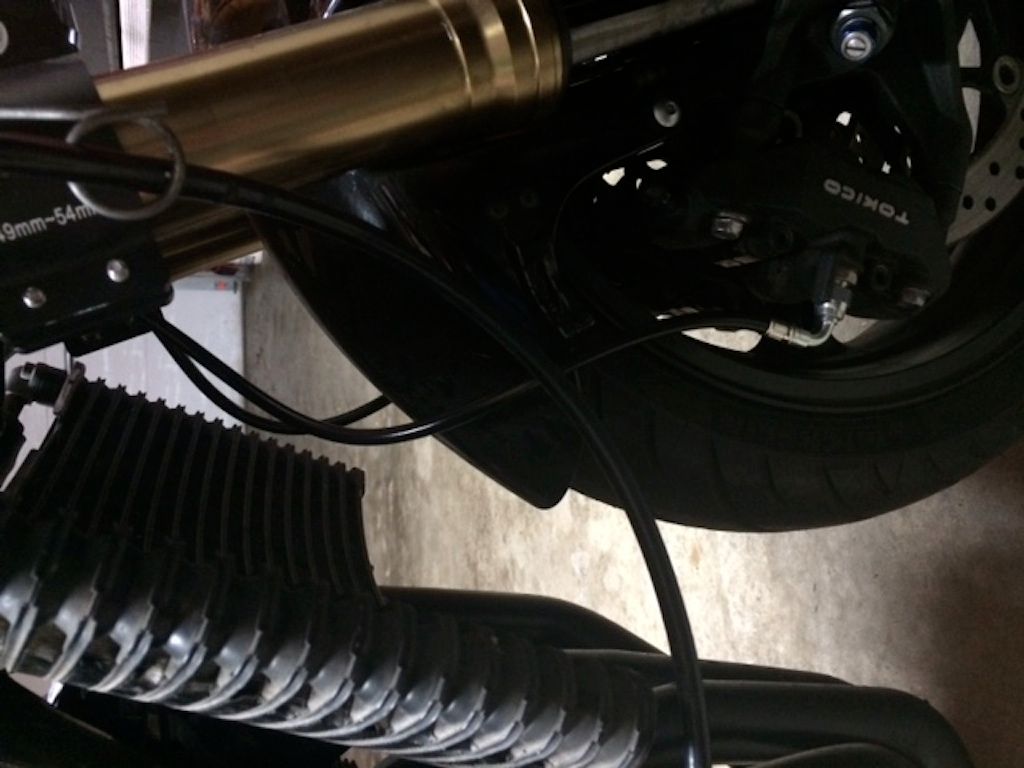
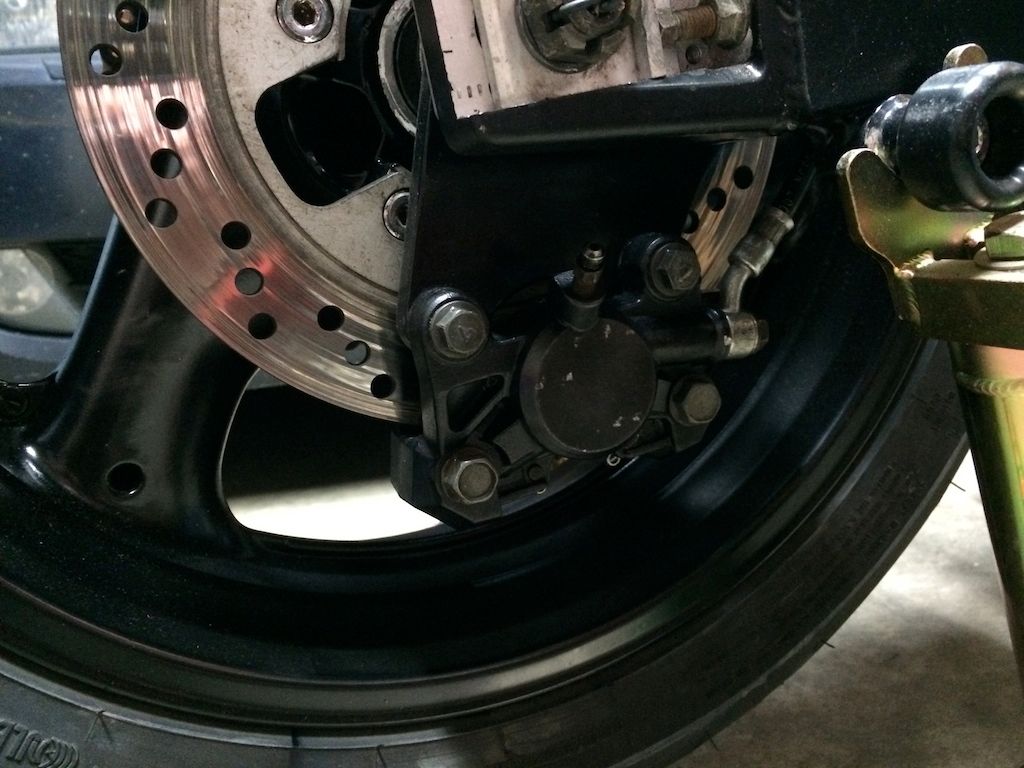
I found the '89 GSXR 750 on CL this Spring, negotiated with the seller over texts, and finally went to pick it up 2 weekends ago. Holy Balls, she's a mess! Missing a ton of parts and hasn't run in over 3 years. But, I did pick it up for pretty cheap, so buying the missing parts isn't going to be a big deal. The biggest issue is going to be getting it started.
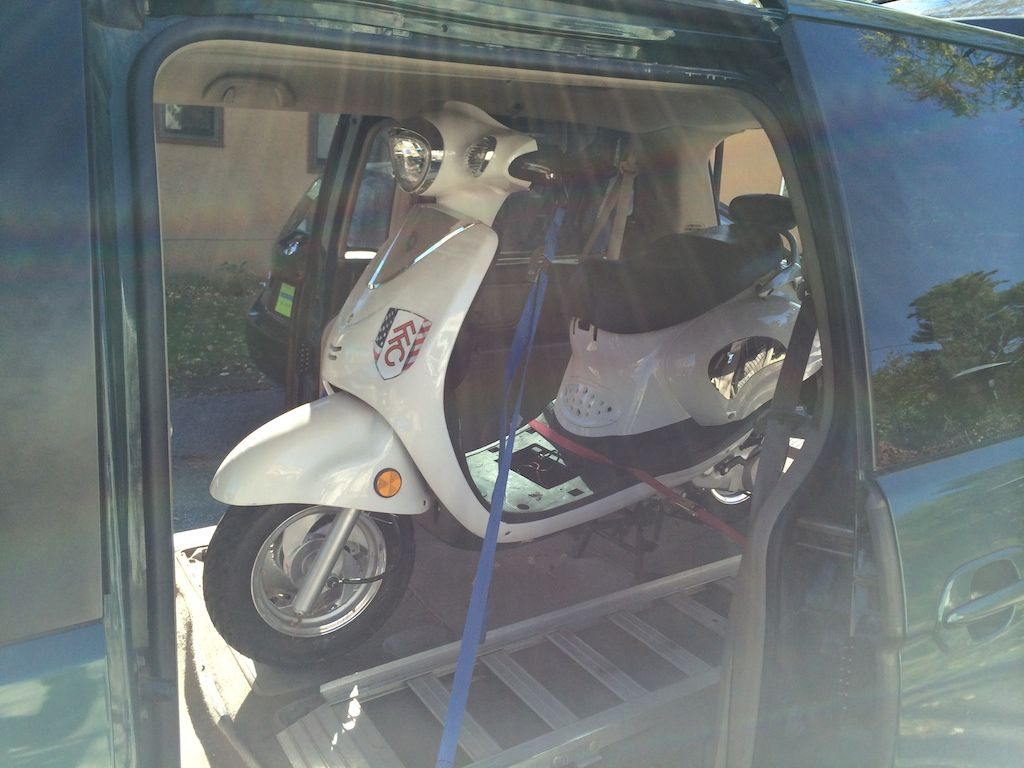
Here she is loaded up in the minivan.
![Image]()
I never thought I'd feel so much love for the minivan")
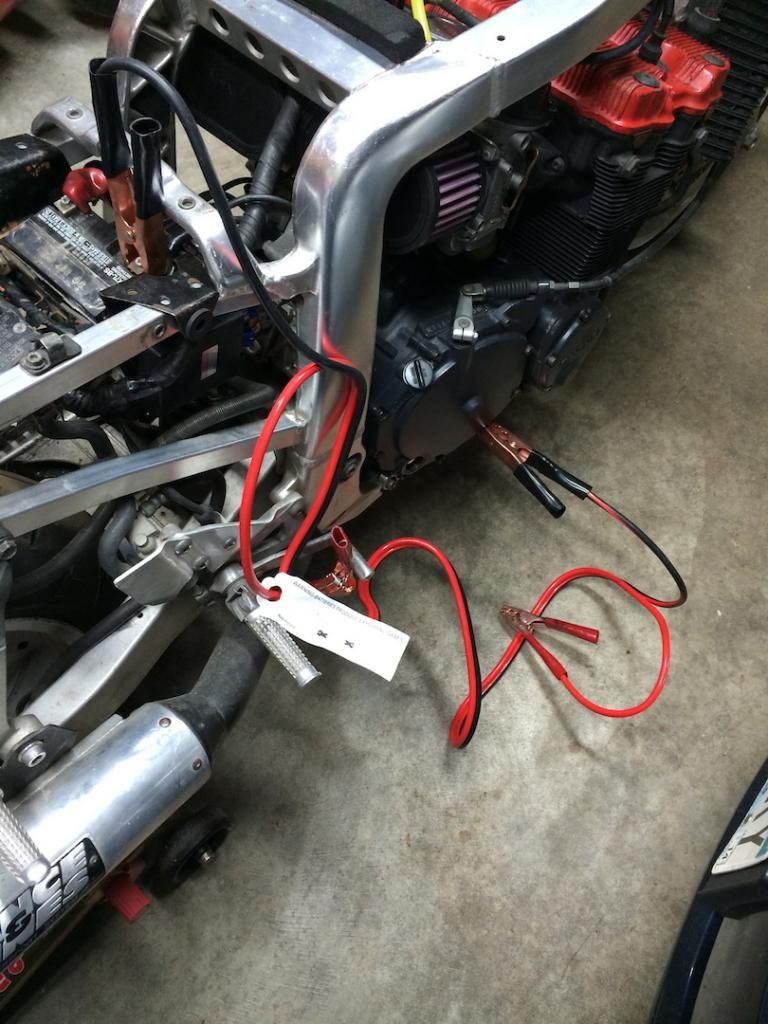
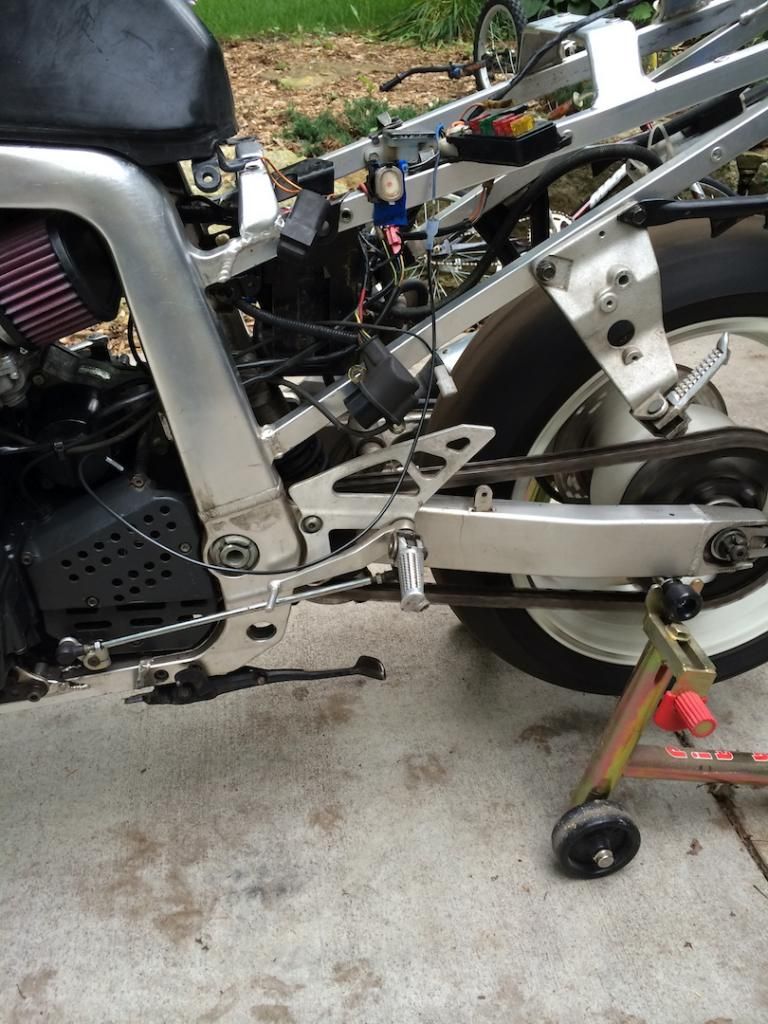
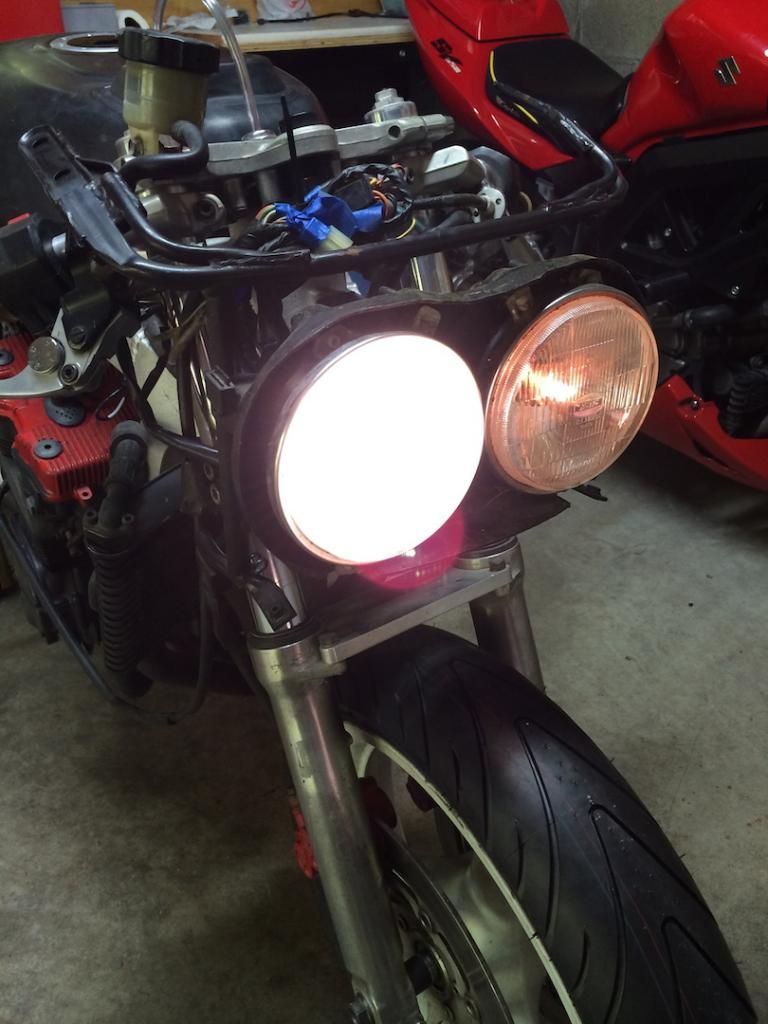
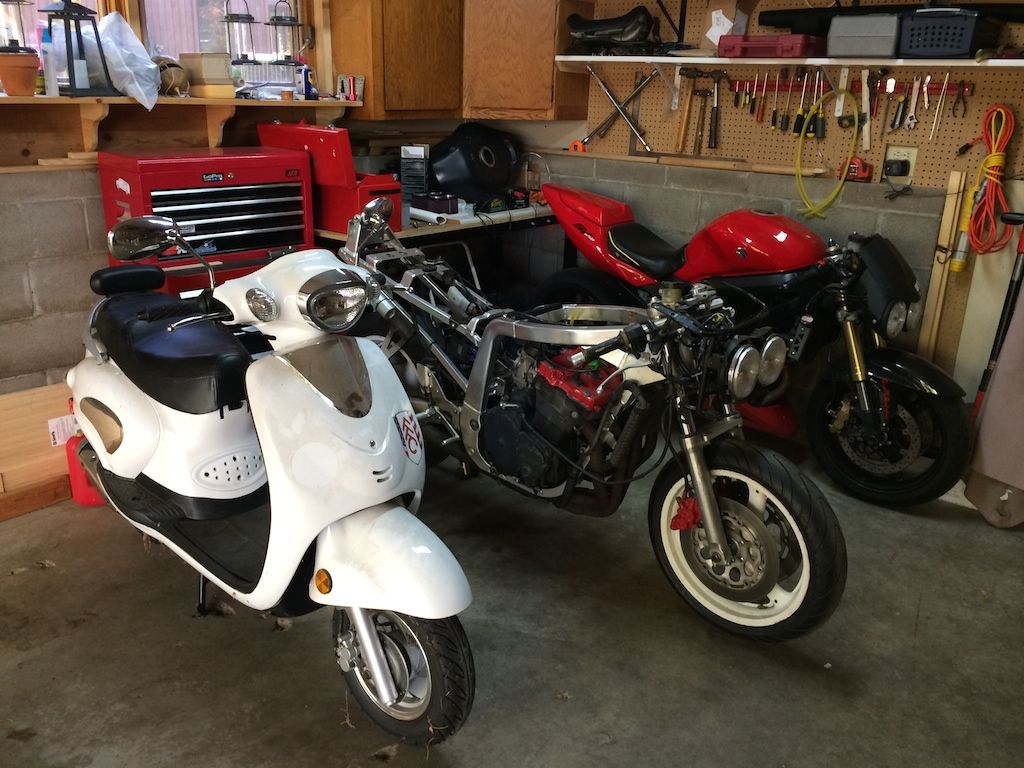
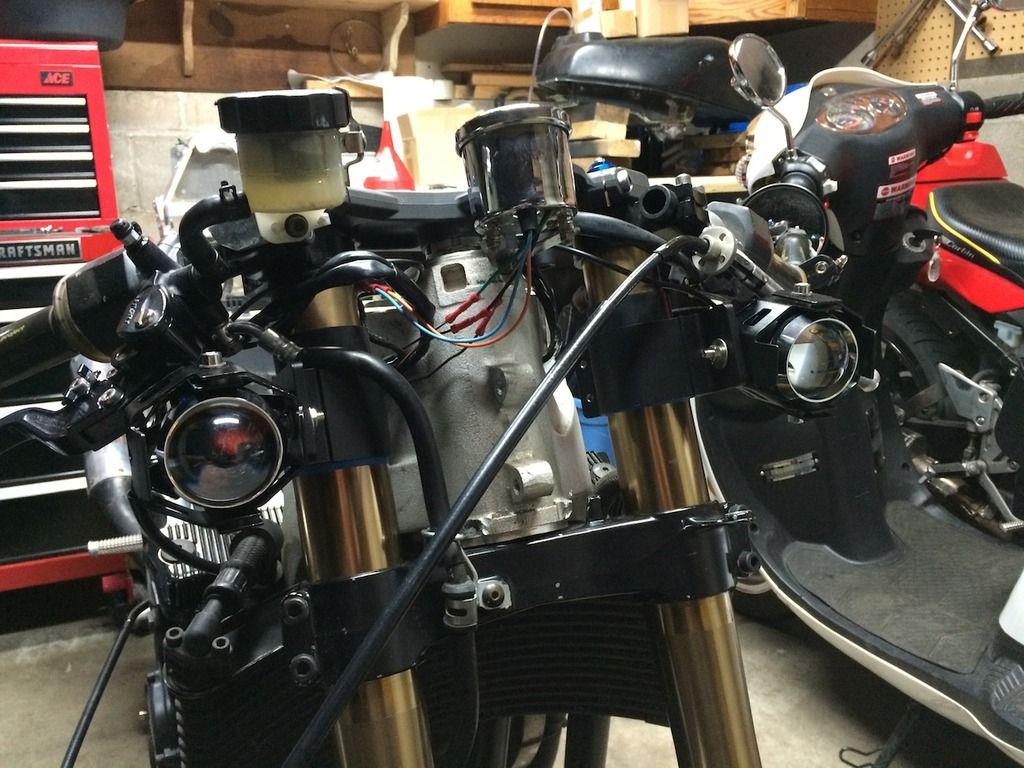
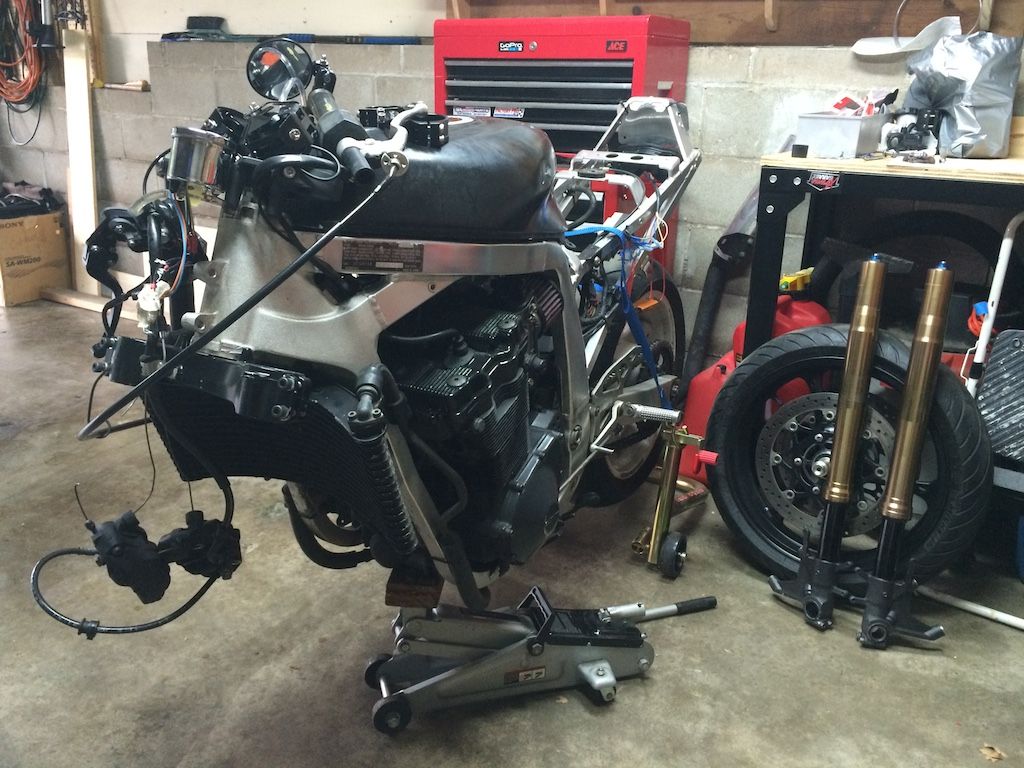
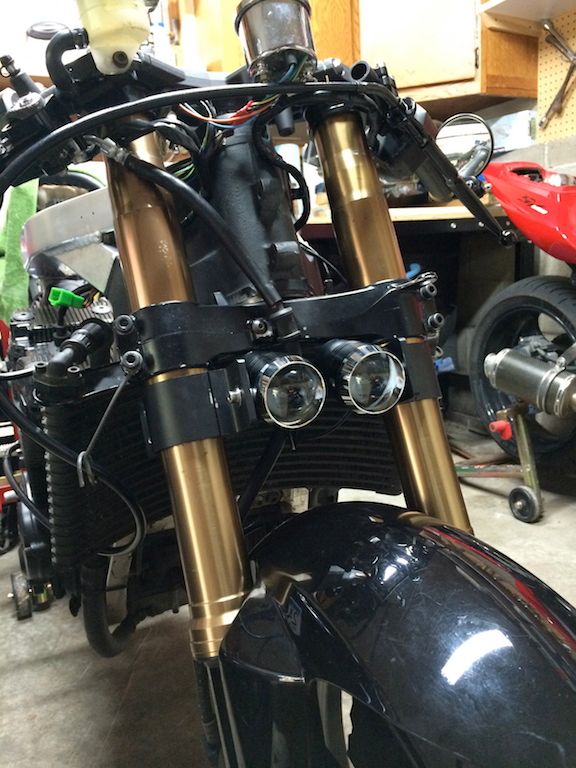
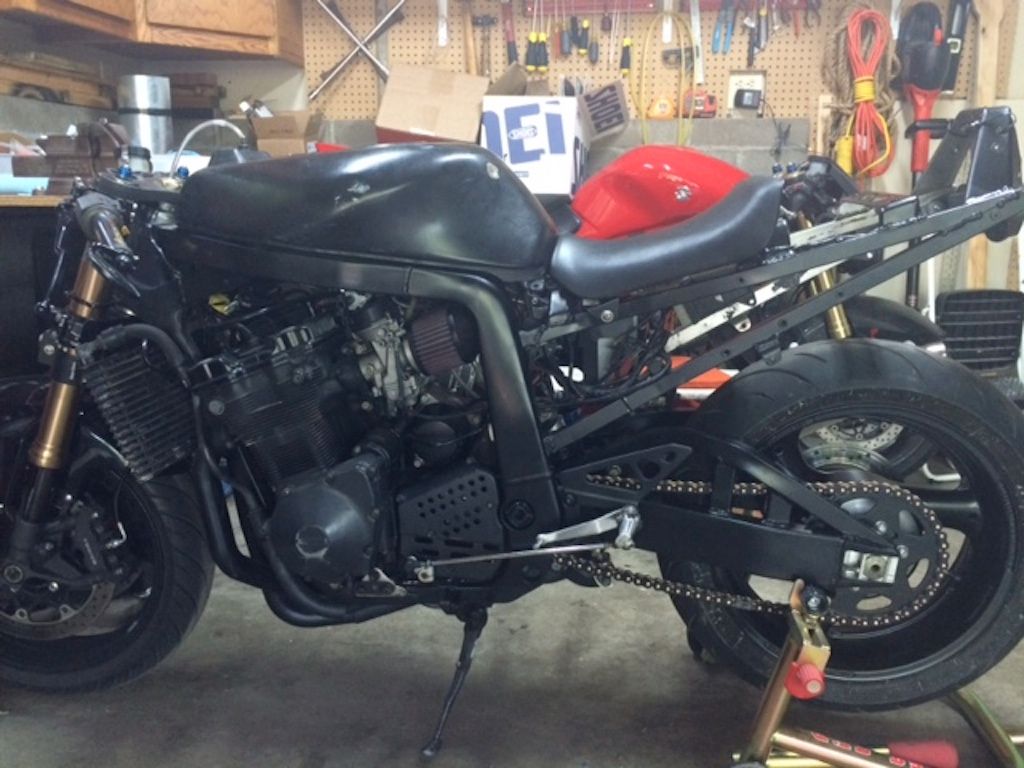
And here she is parked in the garage.
![Image]()
I'll admit I woke up the next morning feeling buyers remorse, considering what a disaster the GSXR was, but I was feeling pretty good about owning 2 bikes, so I quickly got over the remorse.
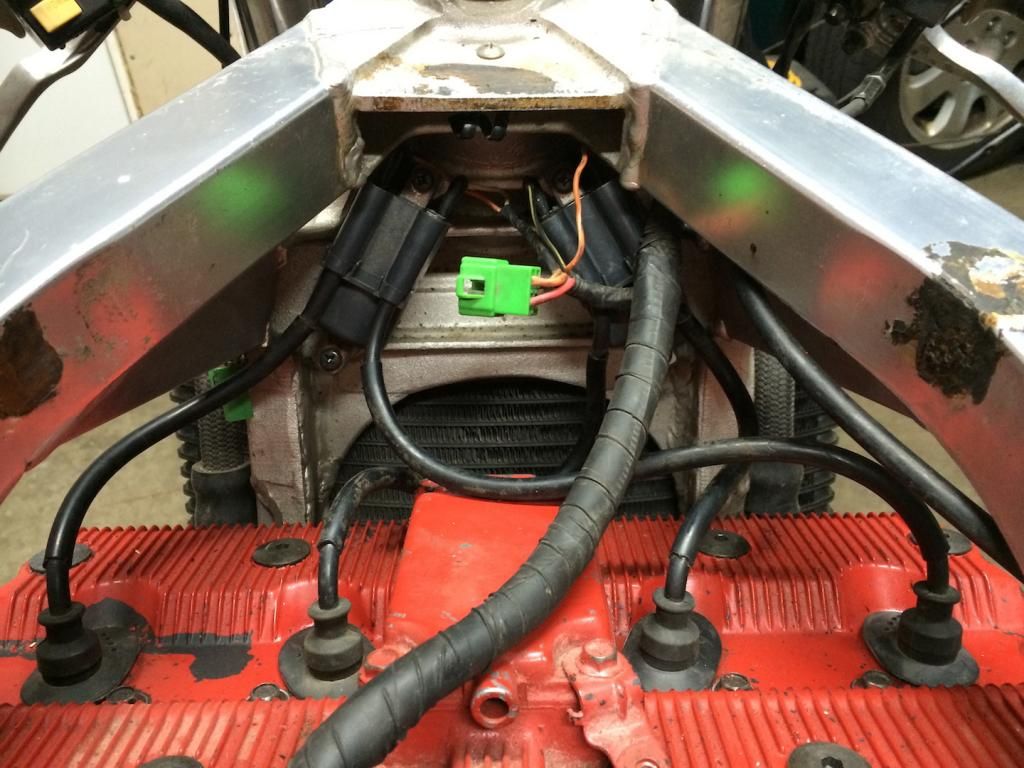
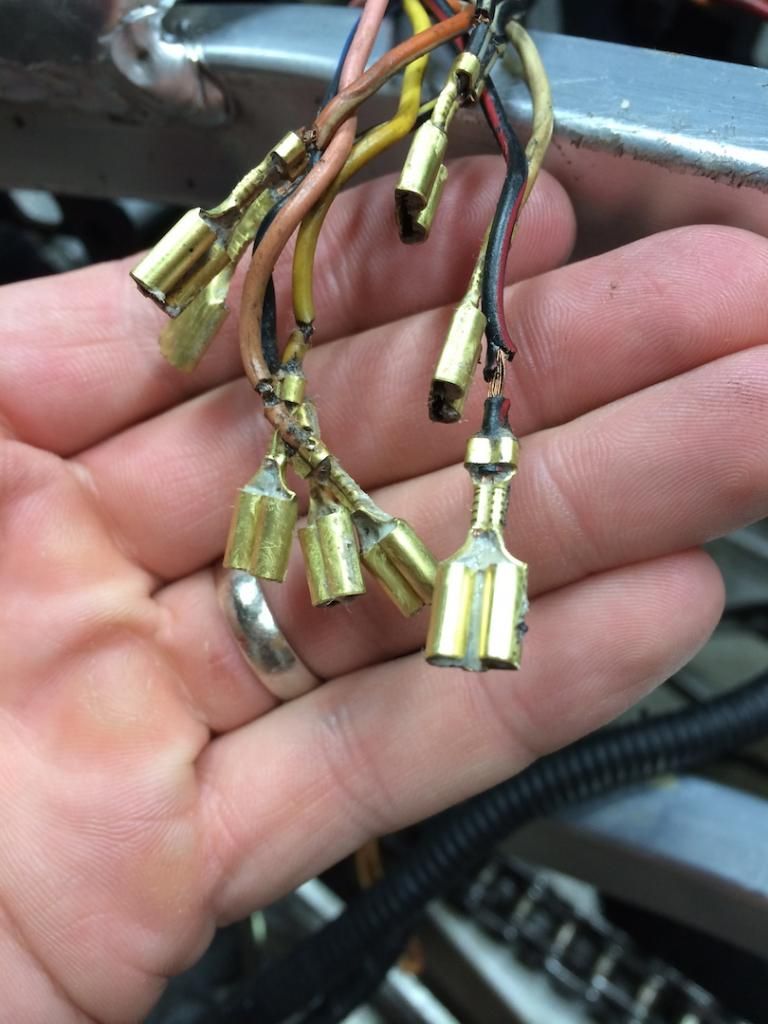
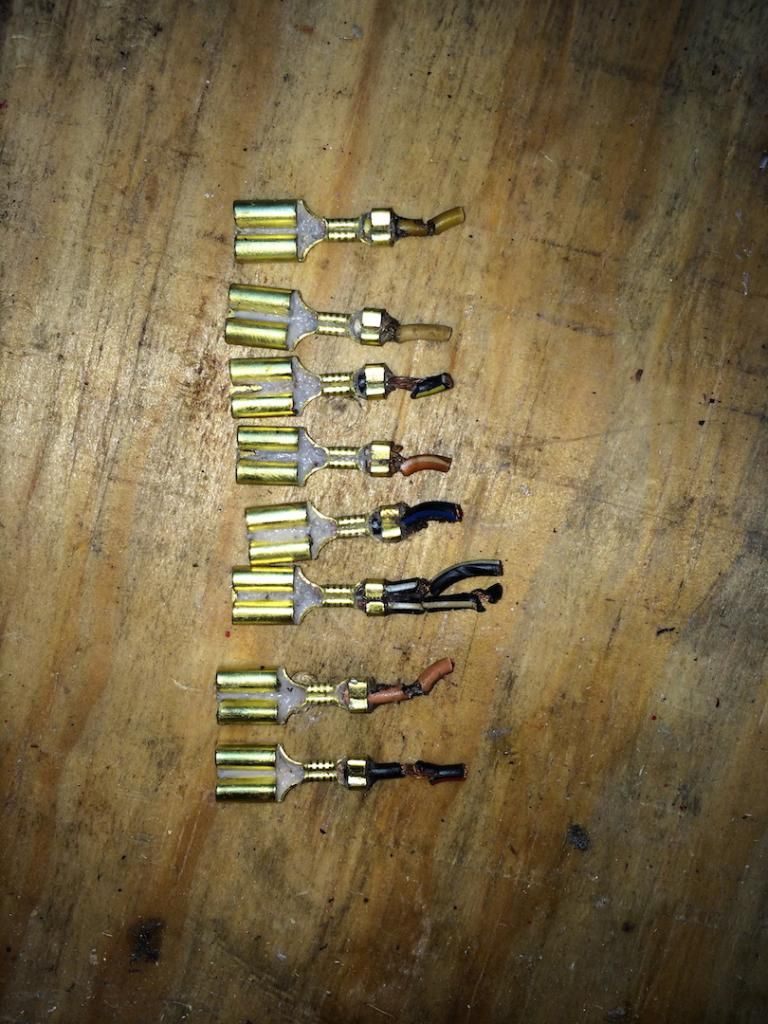
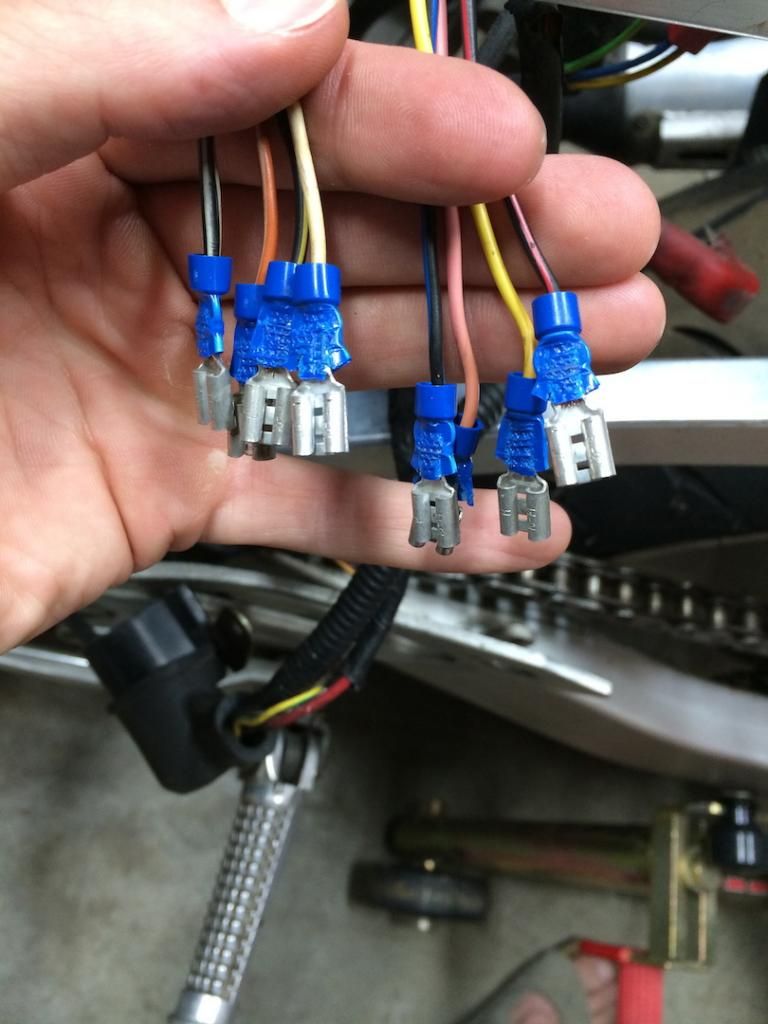
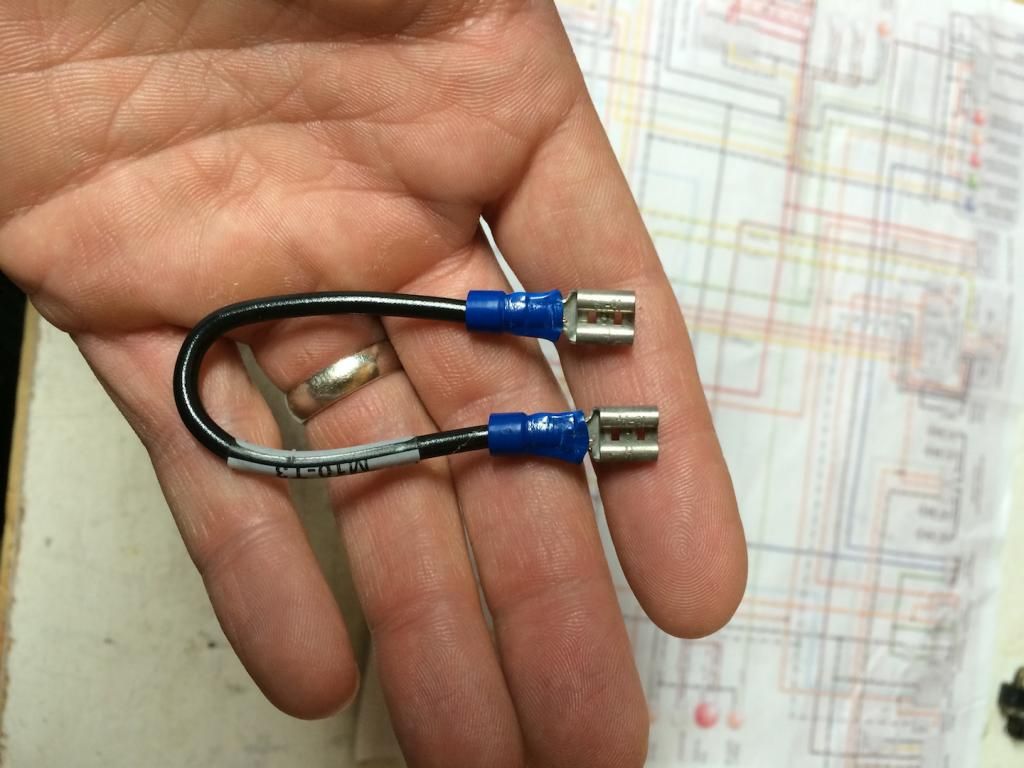
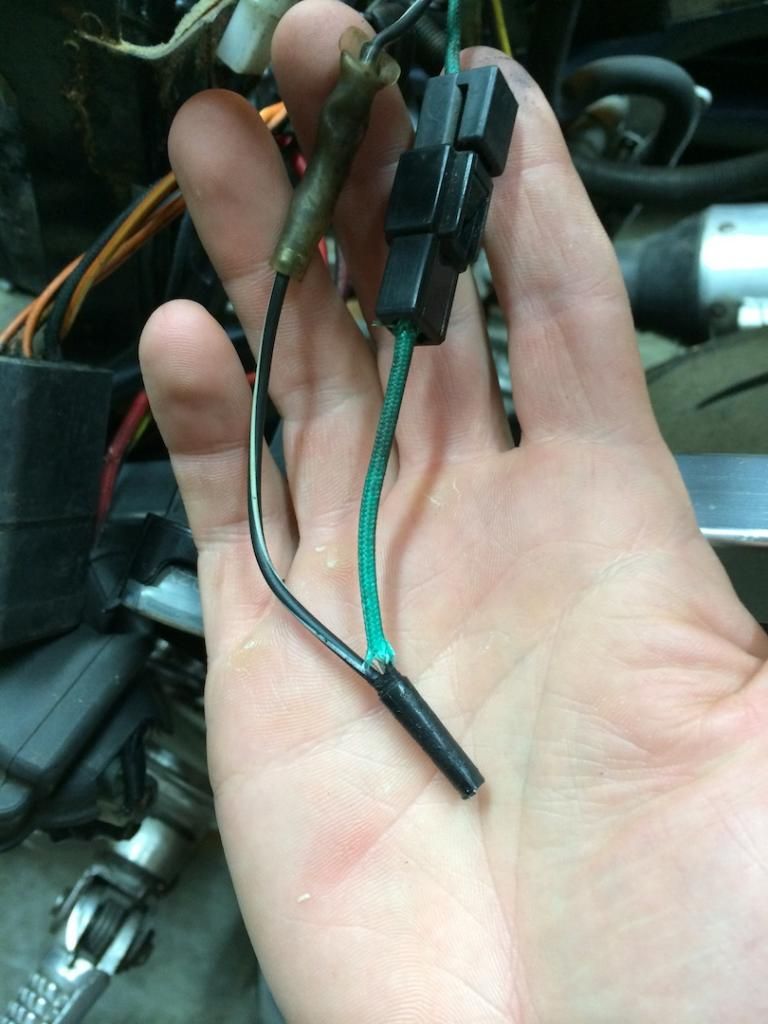
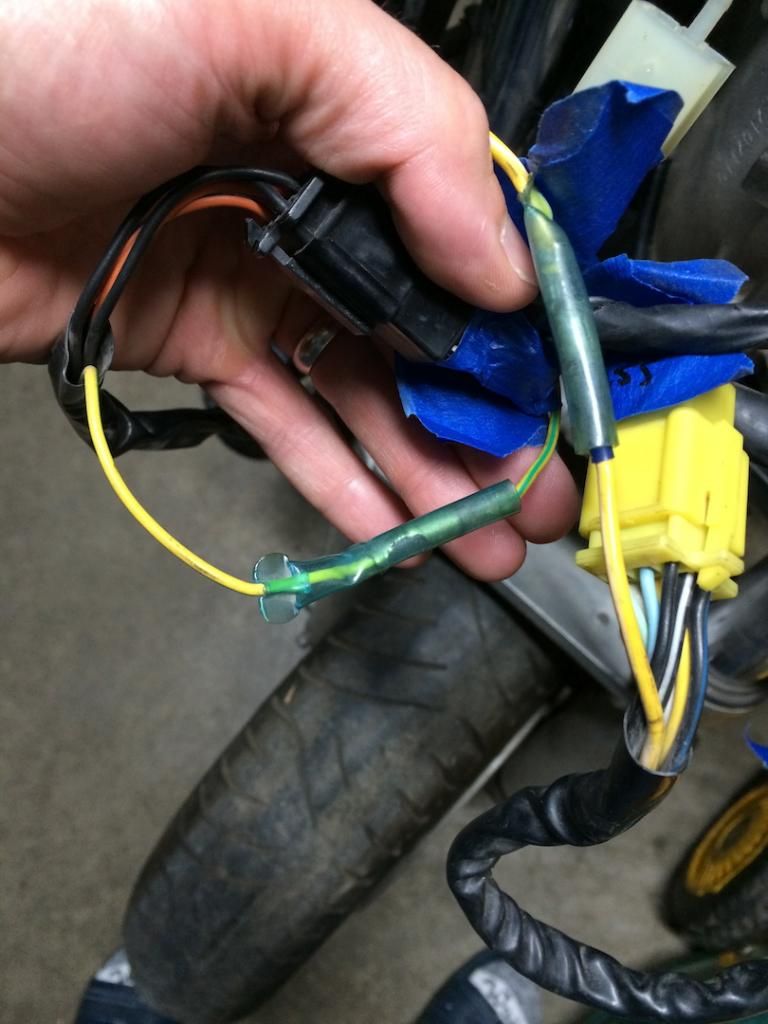
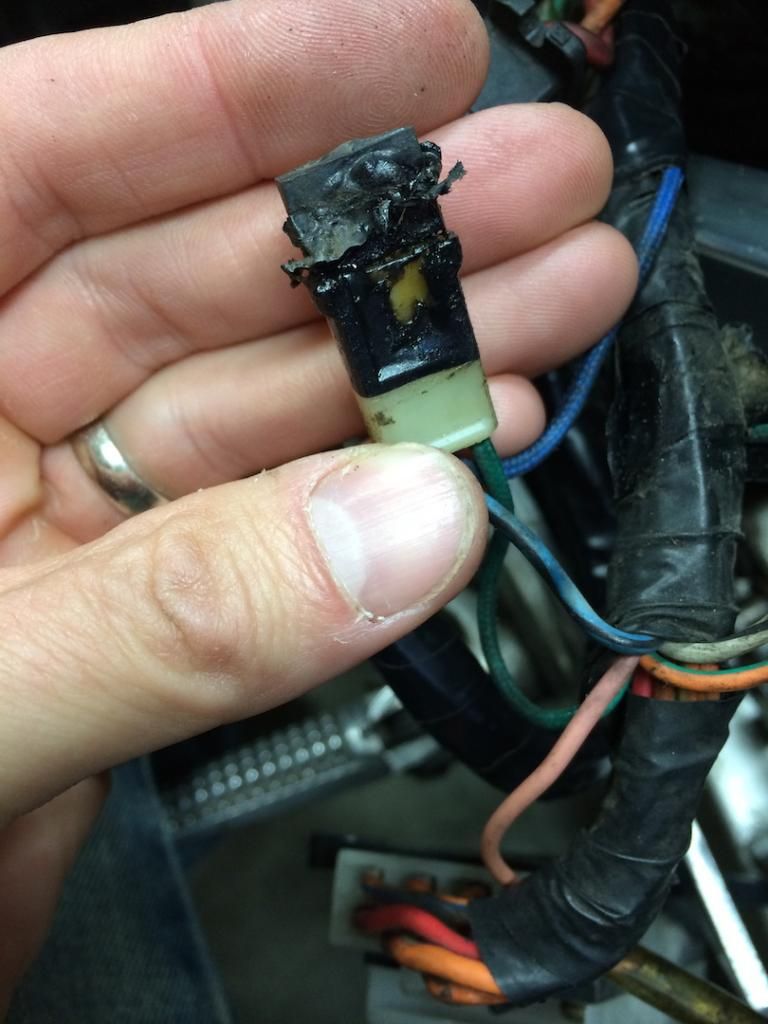
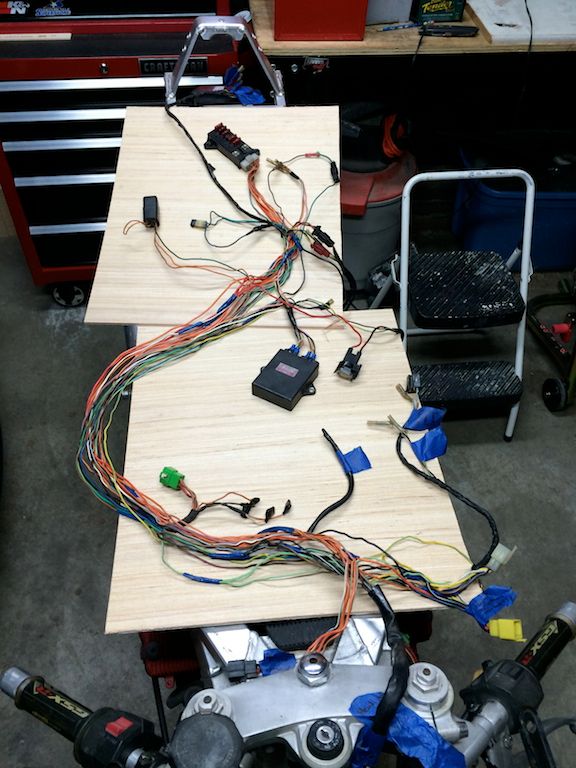
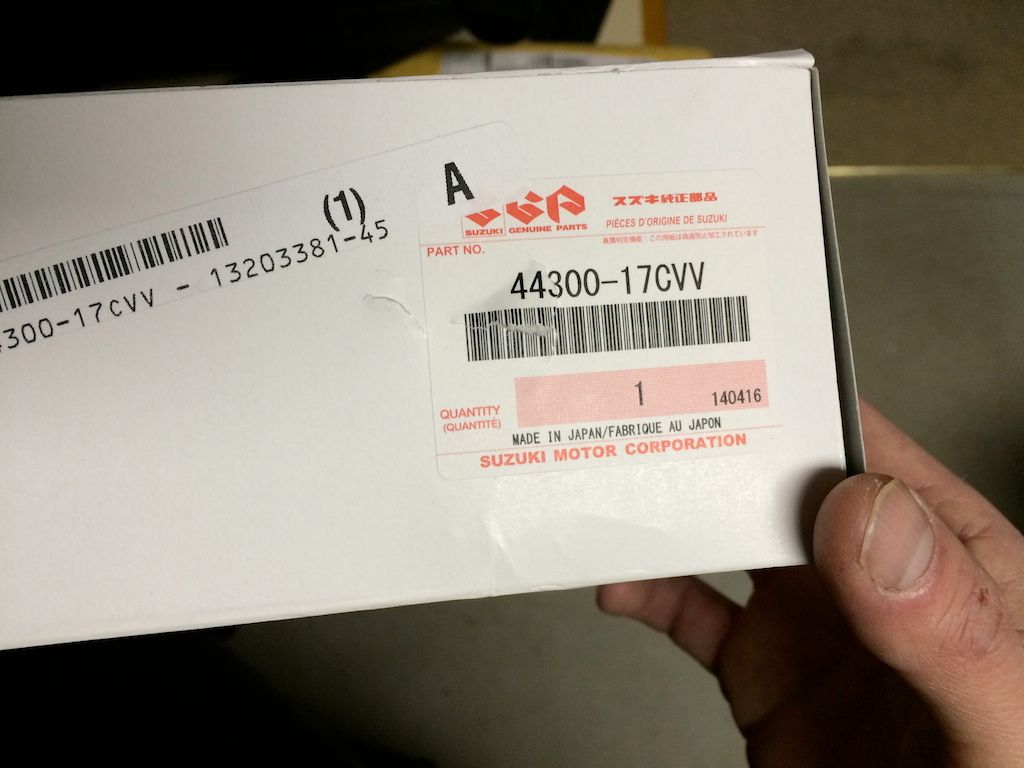
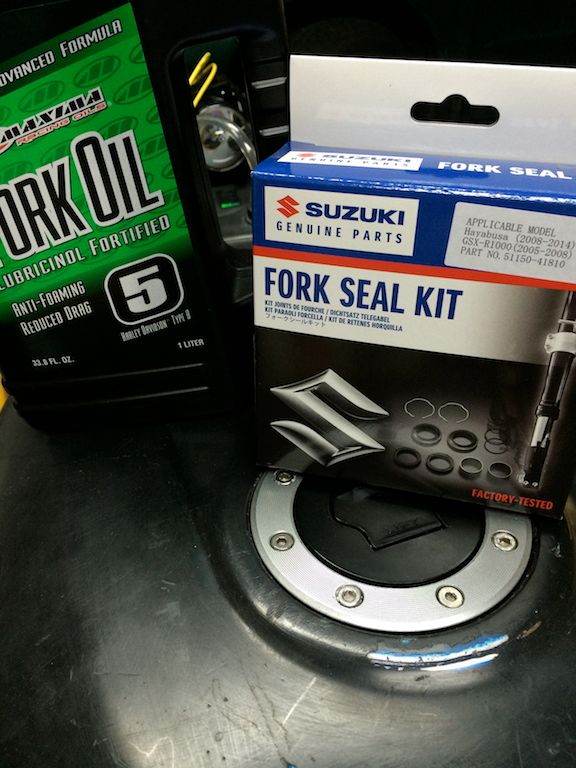
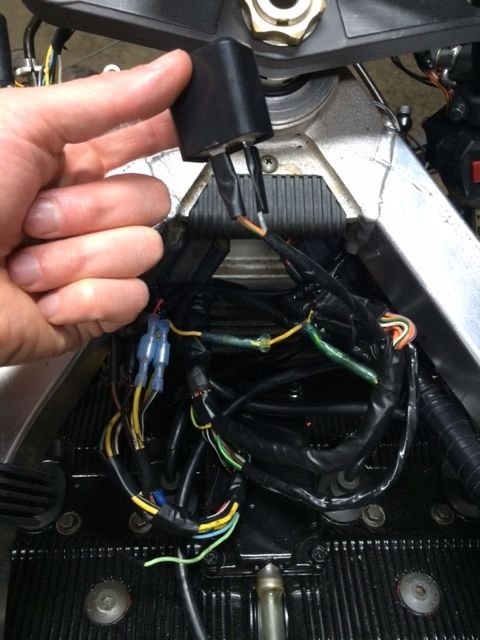
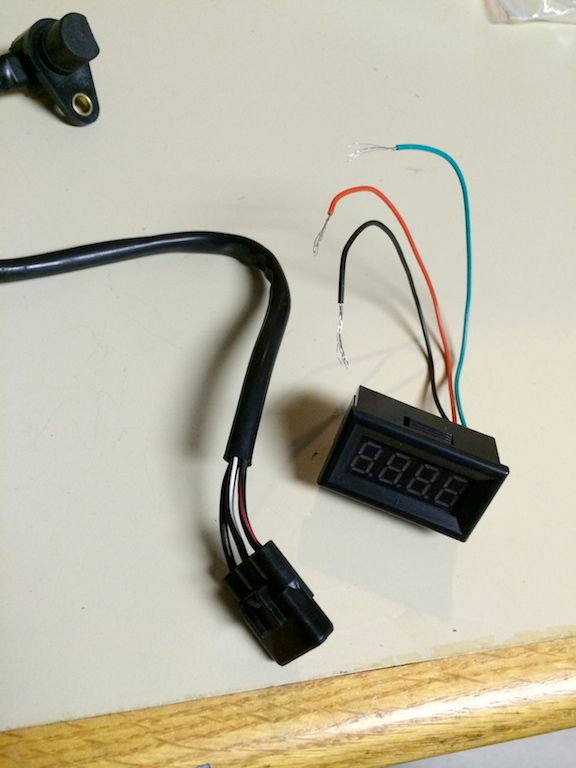
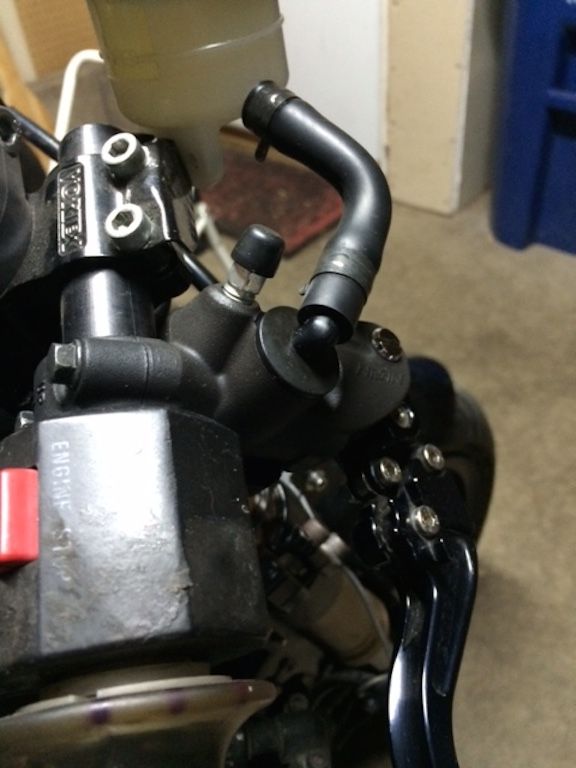
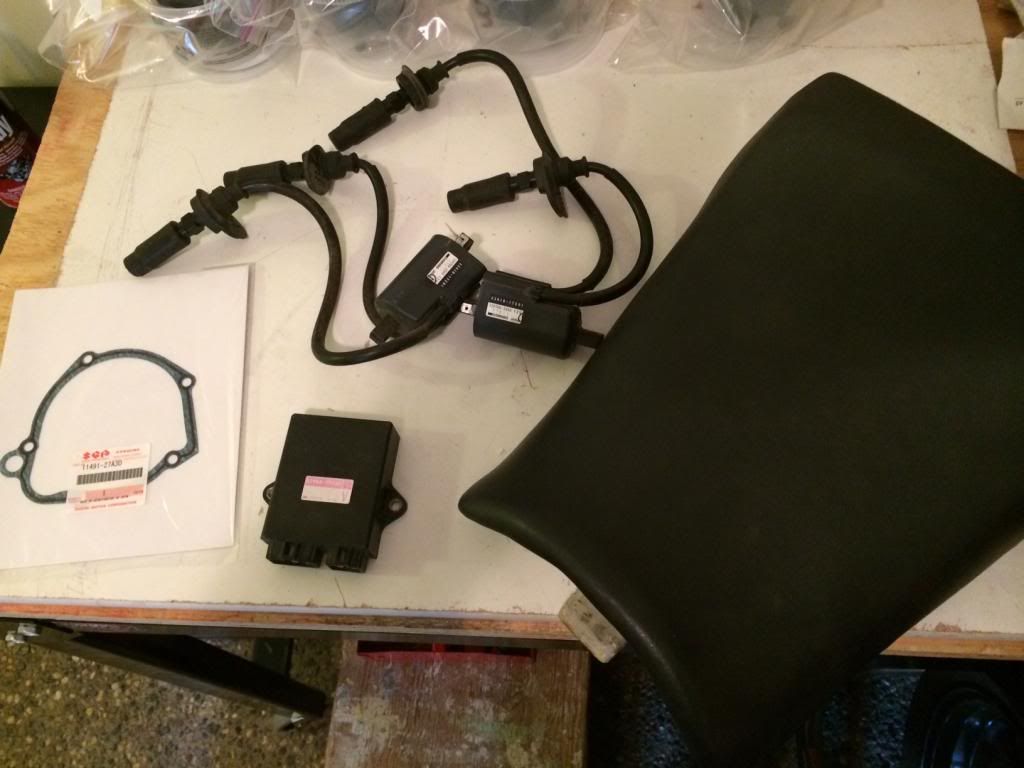
An initial tally of the parts missing that it needed to run included coils, plug wires and boots, battery, spark plugs, and the previous owner said the CDI was toast. So, with the money saved on the cost of the bike, I bought the CDI, coils complete with wires and boots off of Ebay, along with a seat, and a replacement pulse cover gasket. Just like Christmas in May!
![Image]()
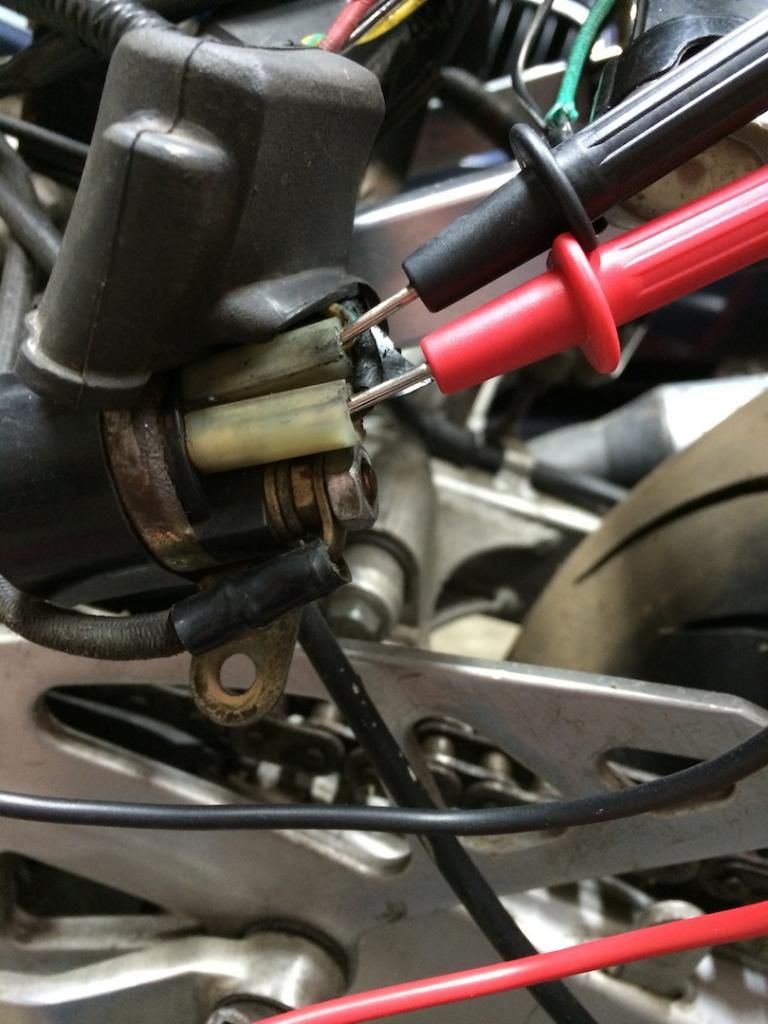
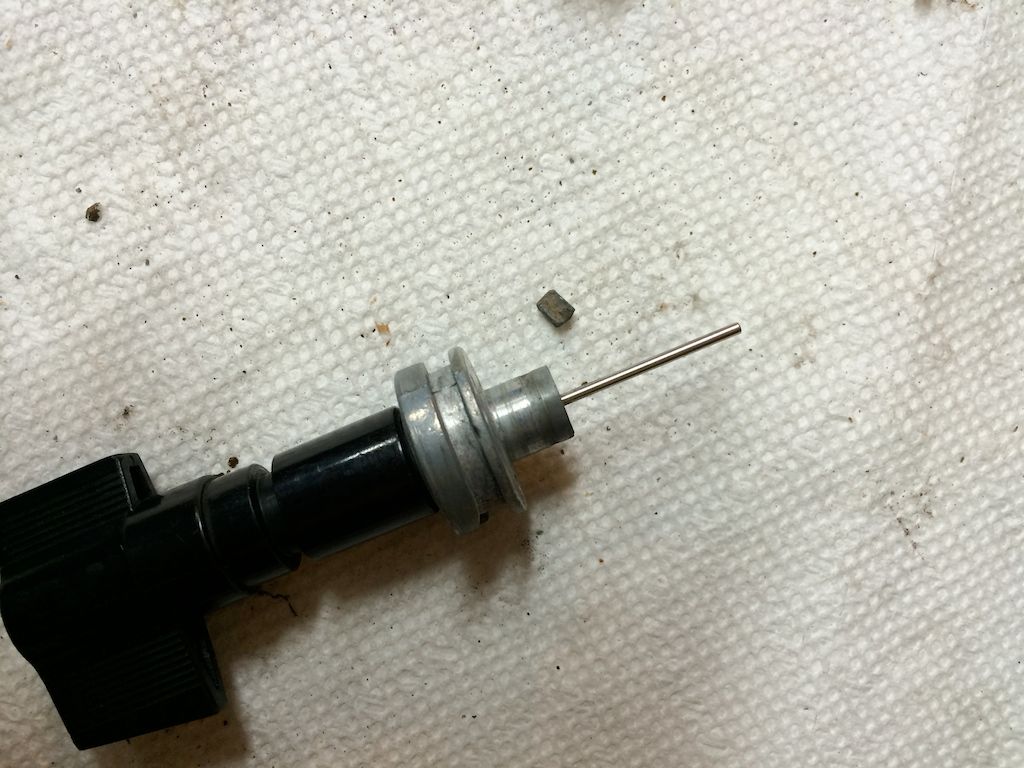
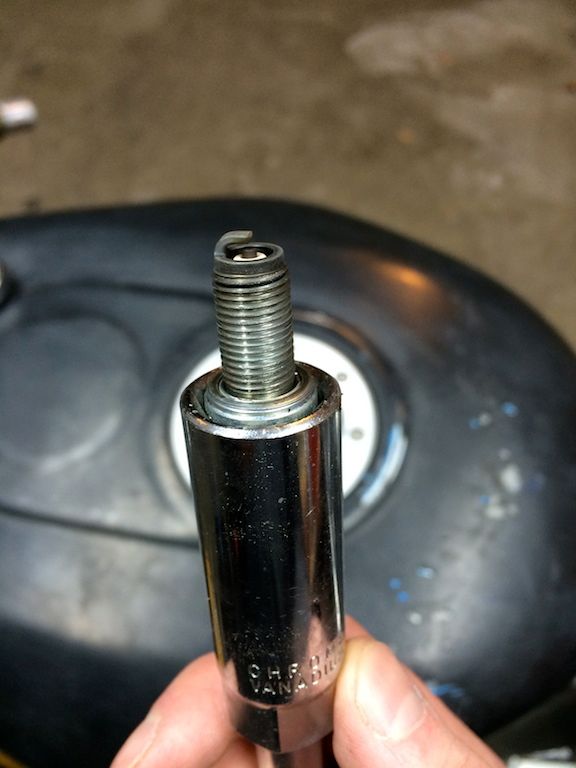
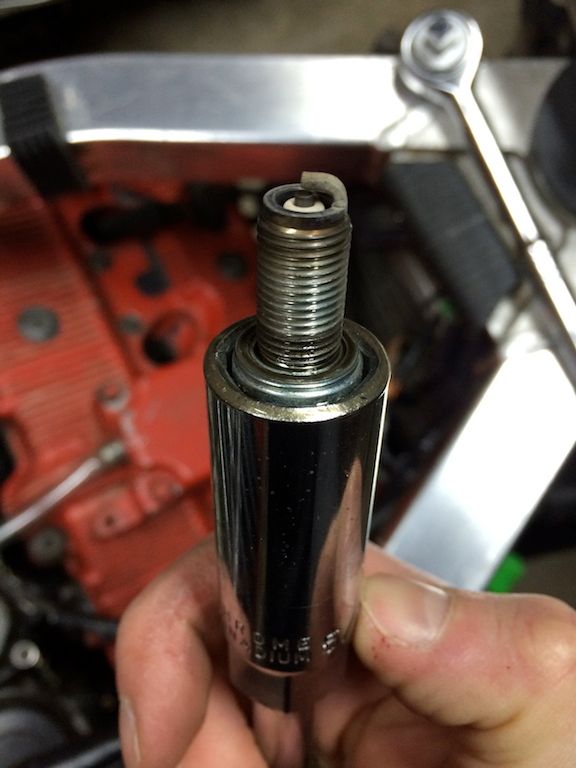
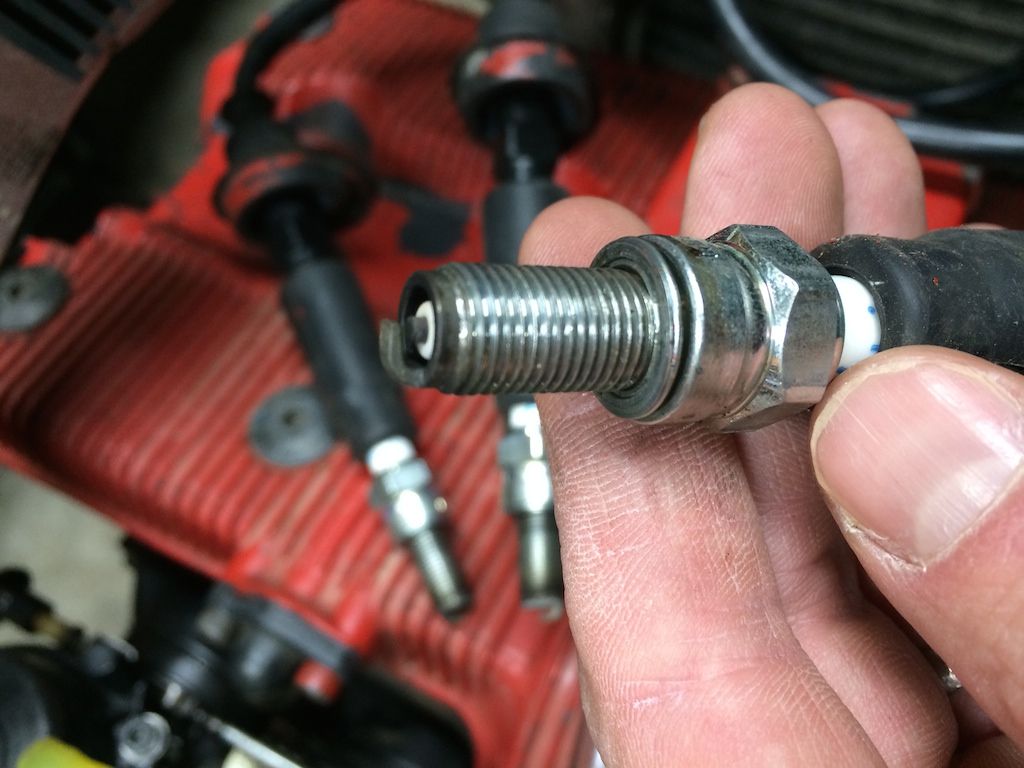
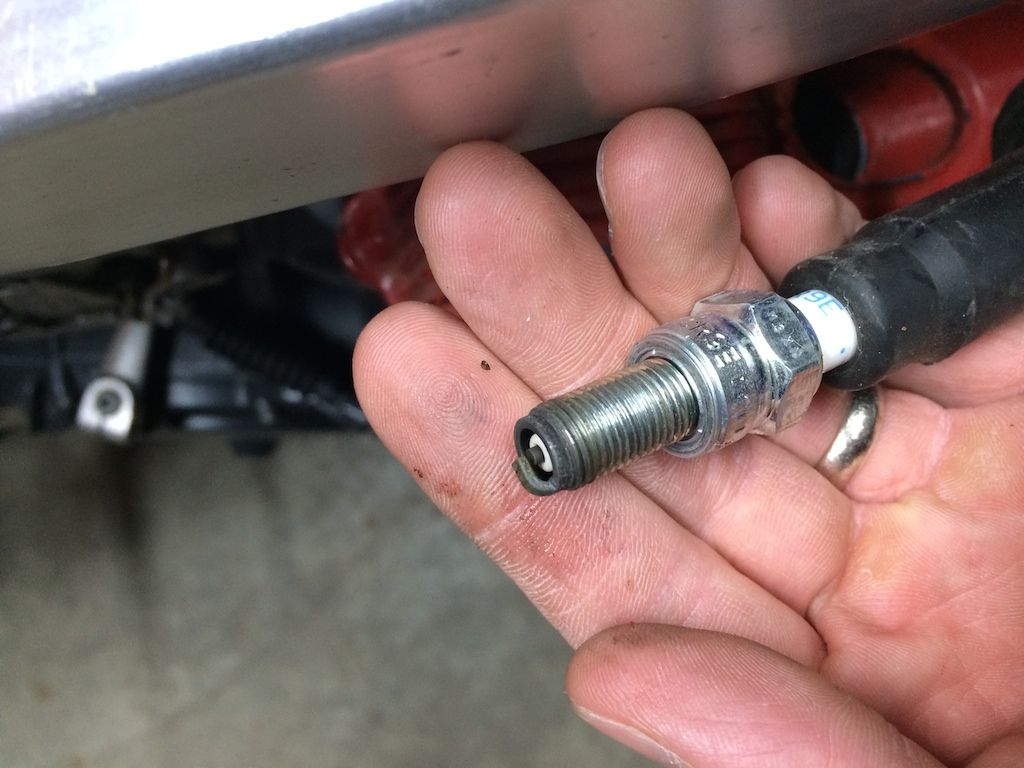
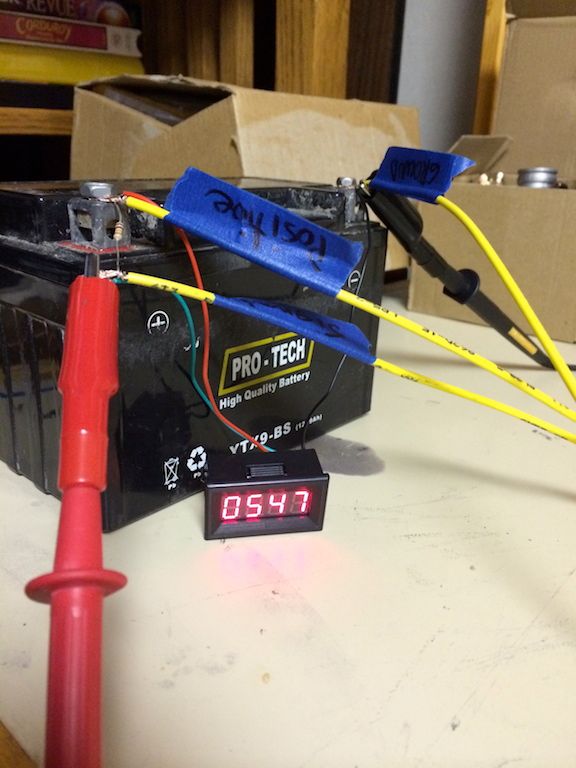
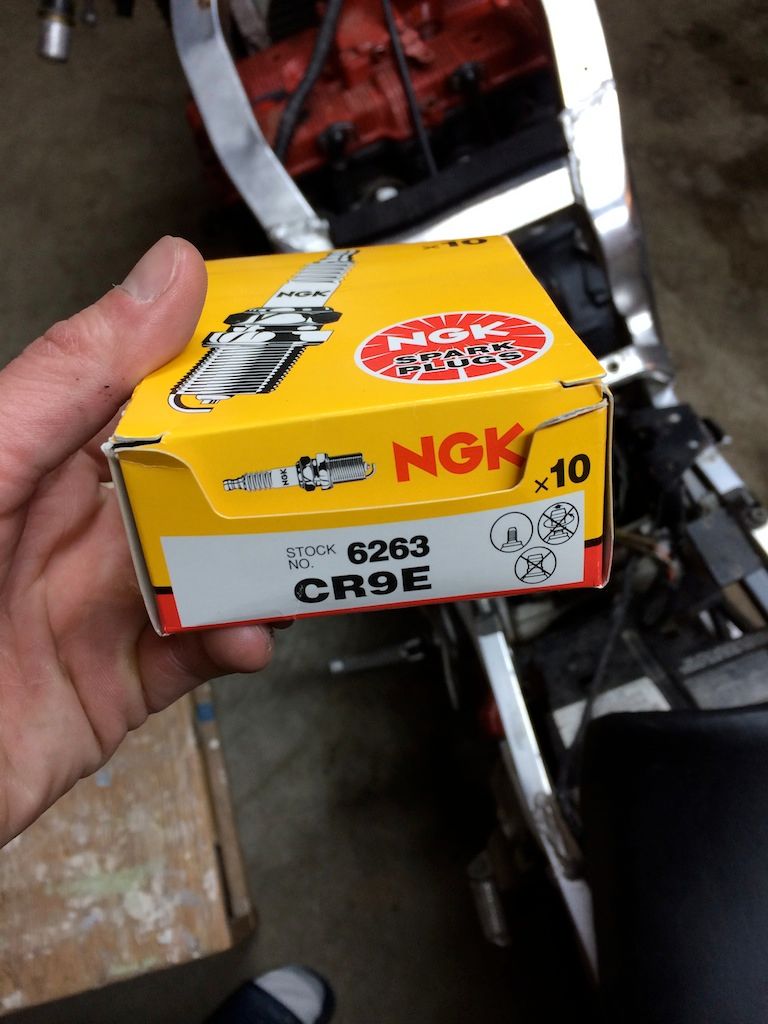
A friend of mine said he'd loan me a battery, and I picked up some NGK plugs for it also. Since the plugs are buried in the head, the plugs need the best insulation, and the NGK plugs have it. CR9E plugs for this vintage GSXR. Ran into an issue at the car parts stores getting the right size plugs. I went to two stores, and both of them had the incorrect size for the GSXR. I needed help from a friend to get the right part number.
![Image]()
I'm calling it the Boiler b/c it's oil cooled, and these are commonly referred to as oil boilers. My SV is nicknamed "LaRoja", so I may also refer to it as LaCaldera :thumbsup:
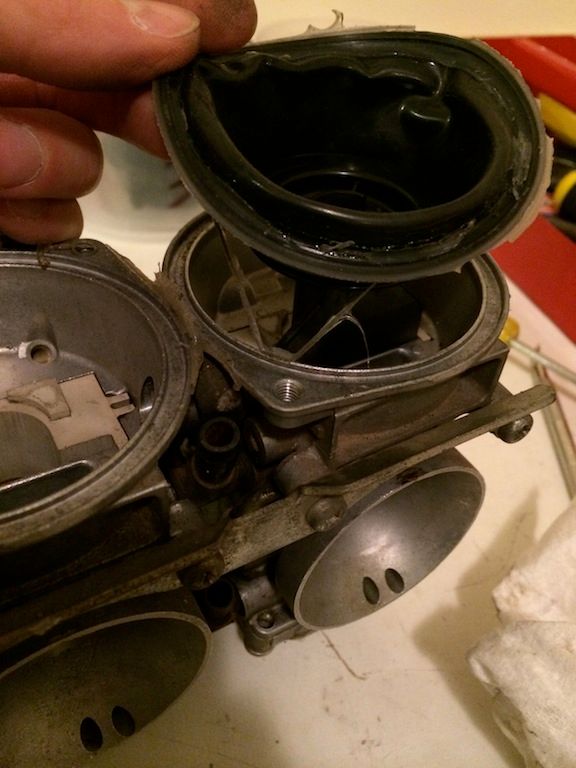
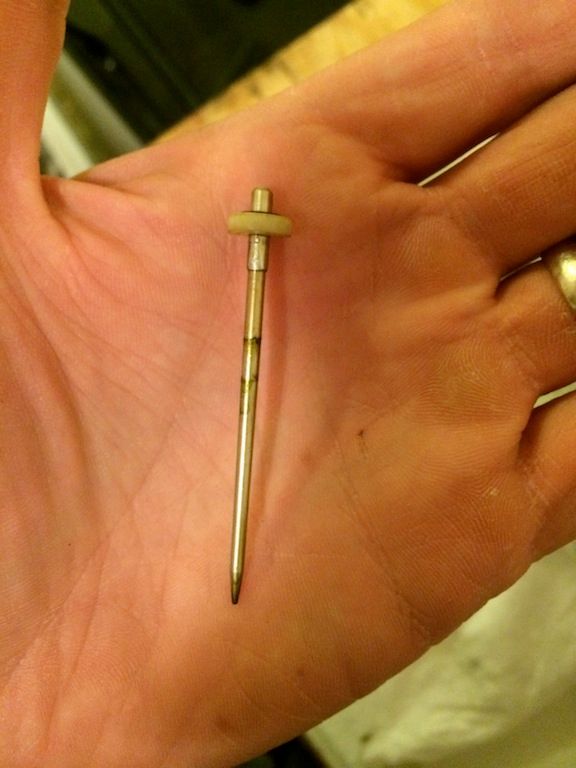
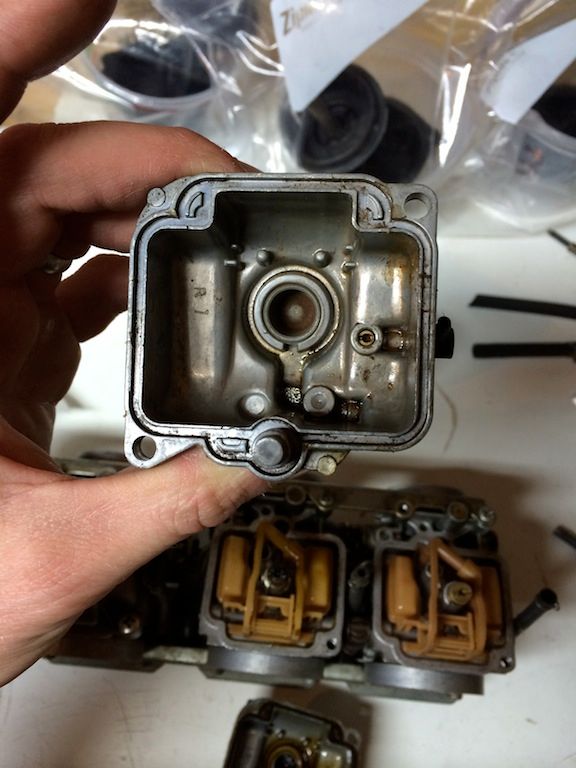
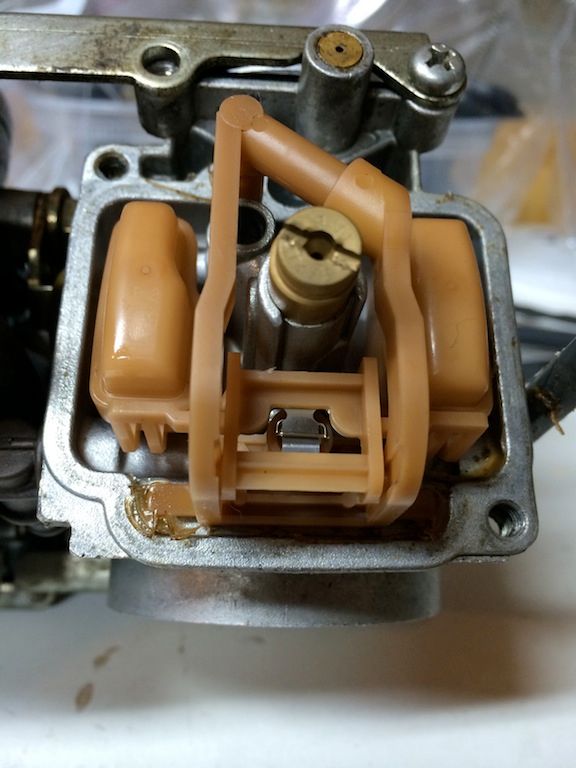
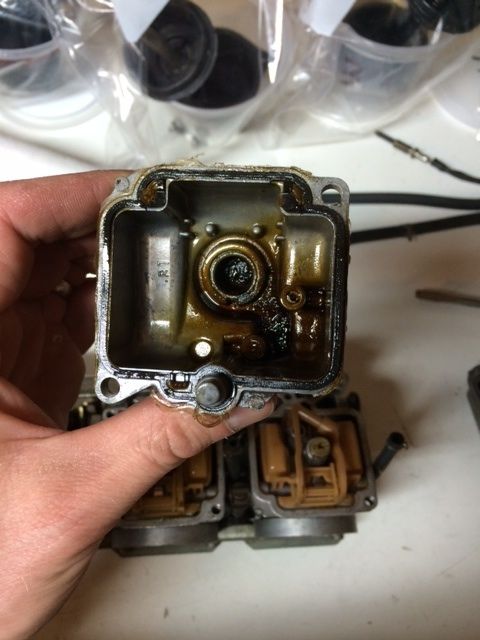
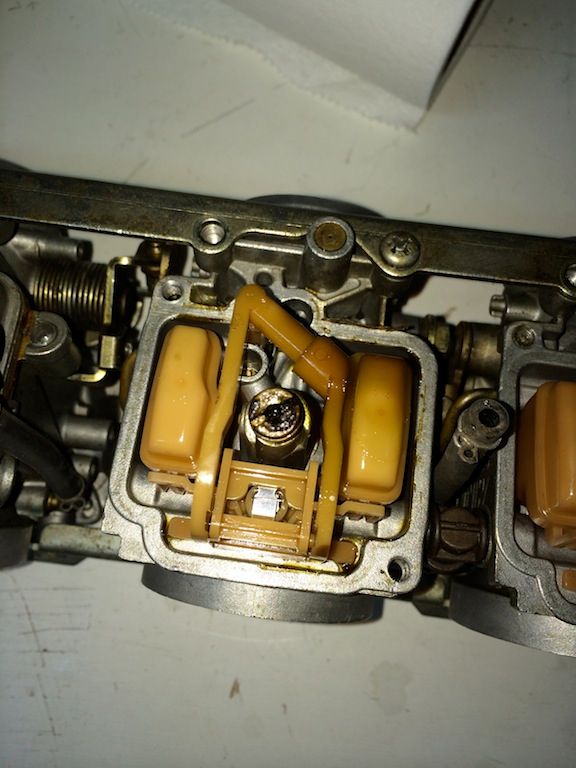
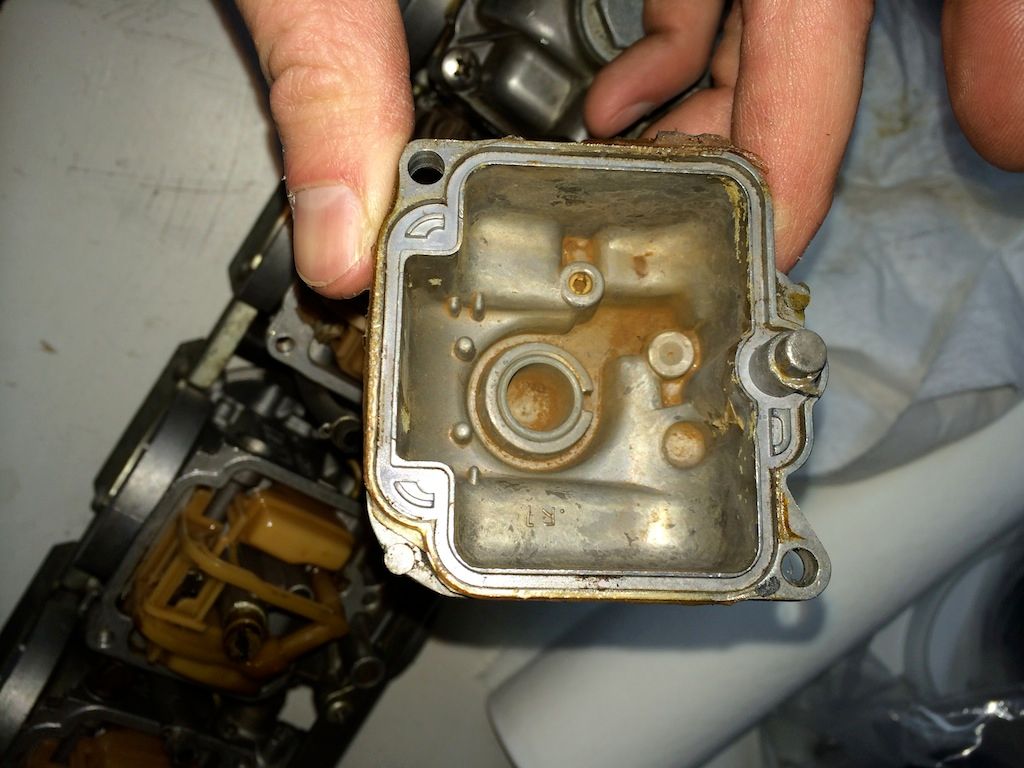
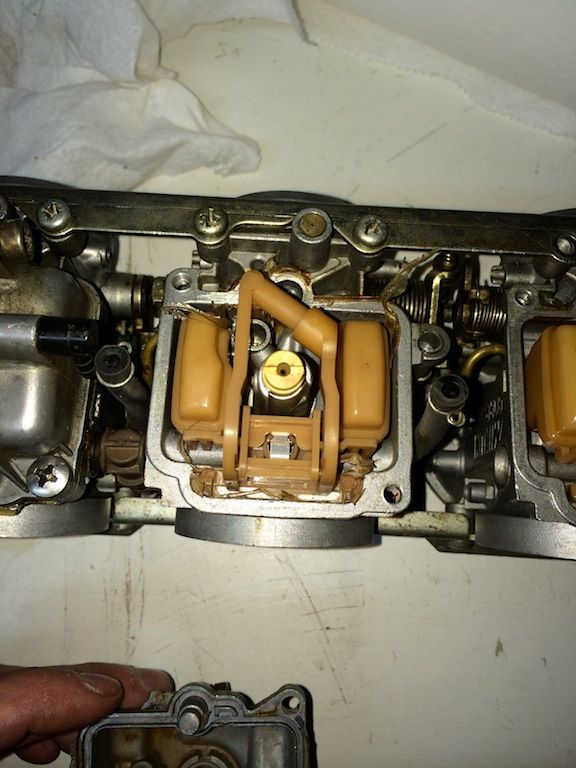
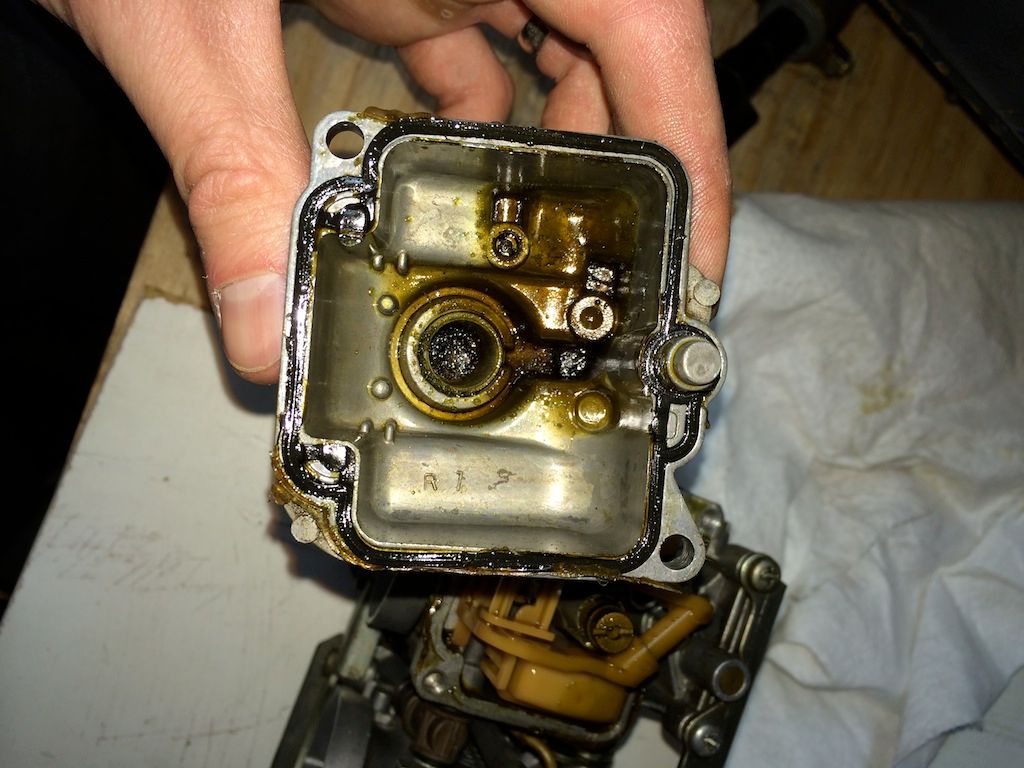
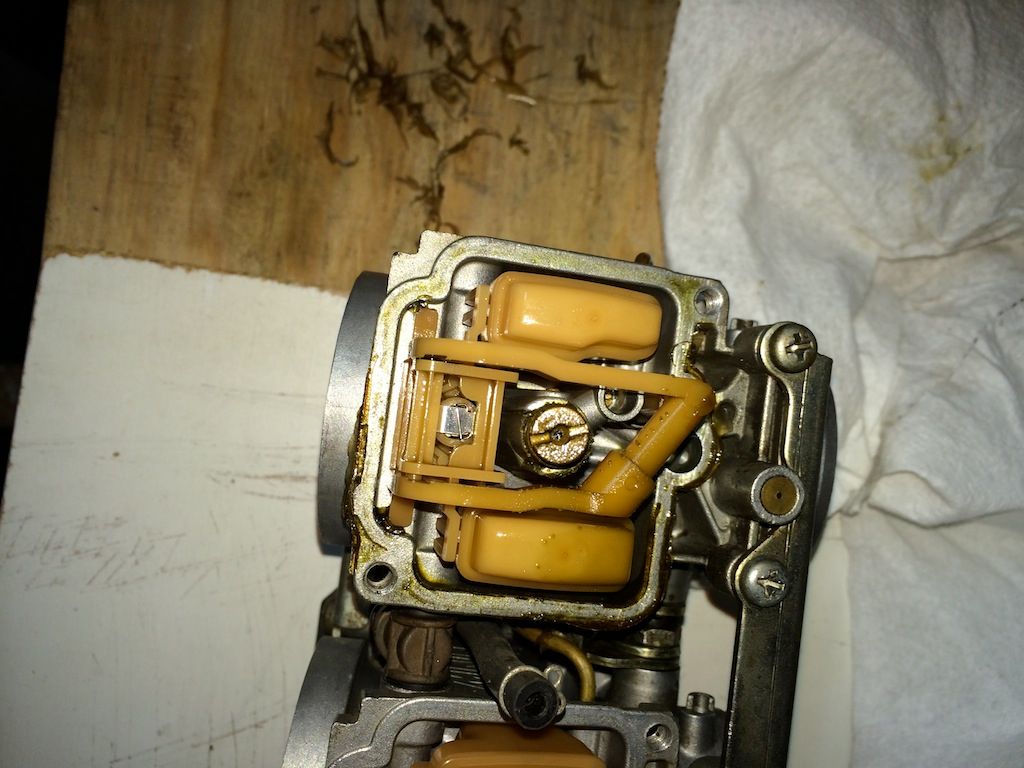
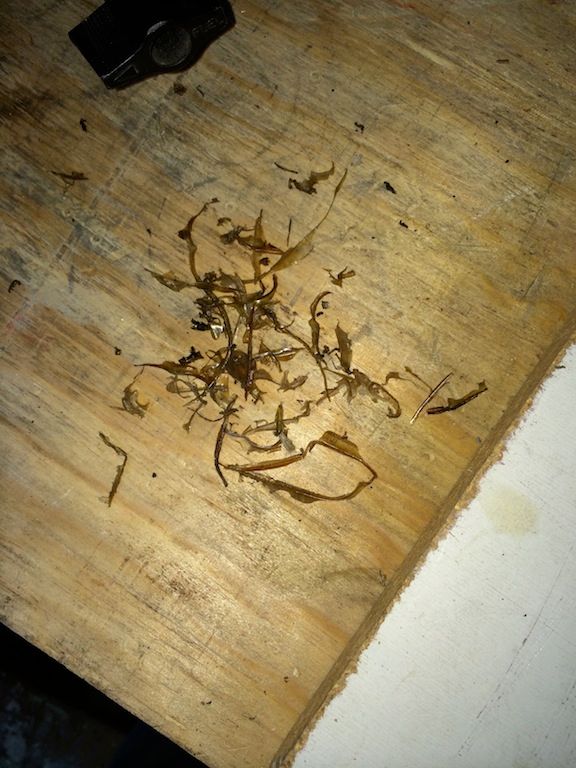
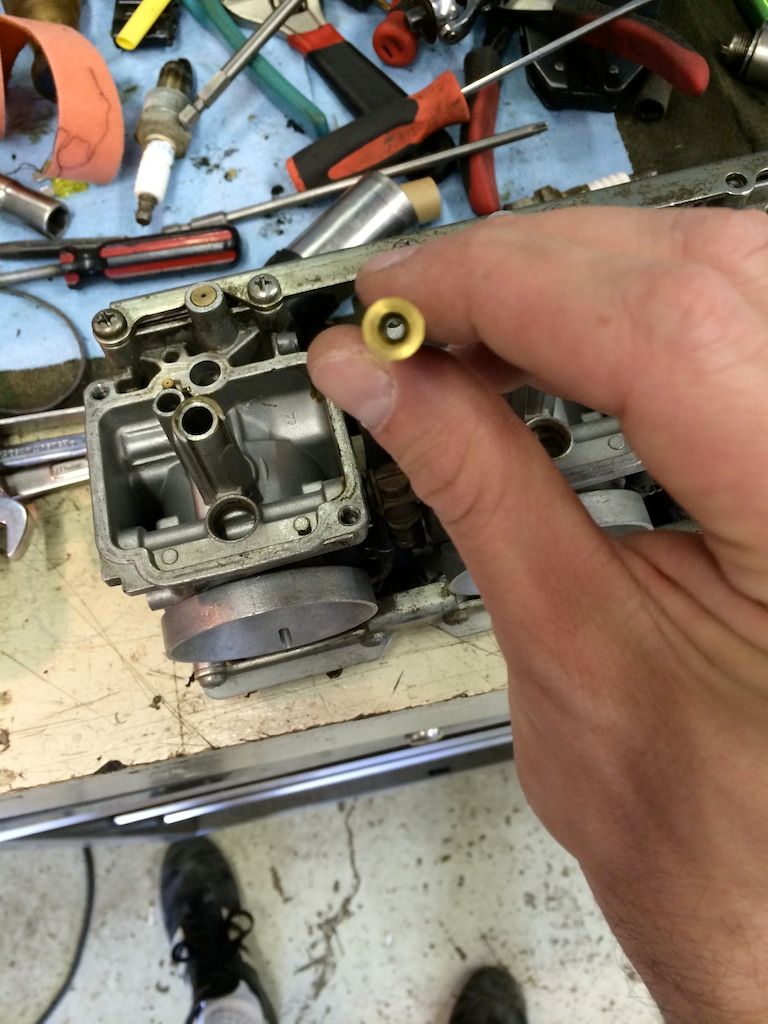
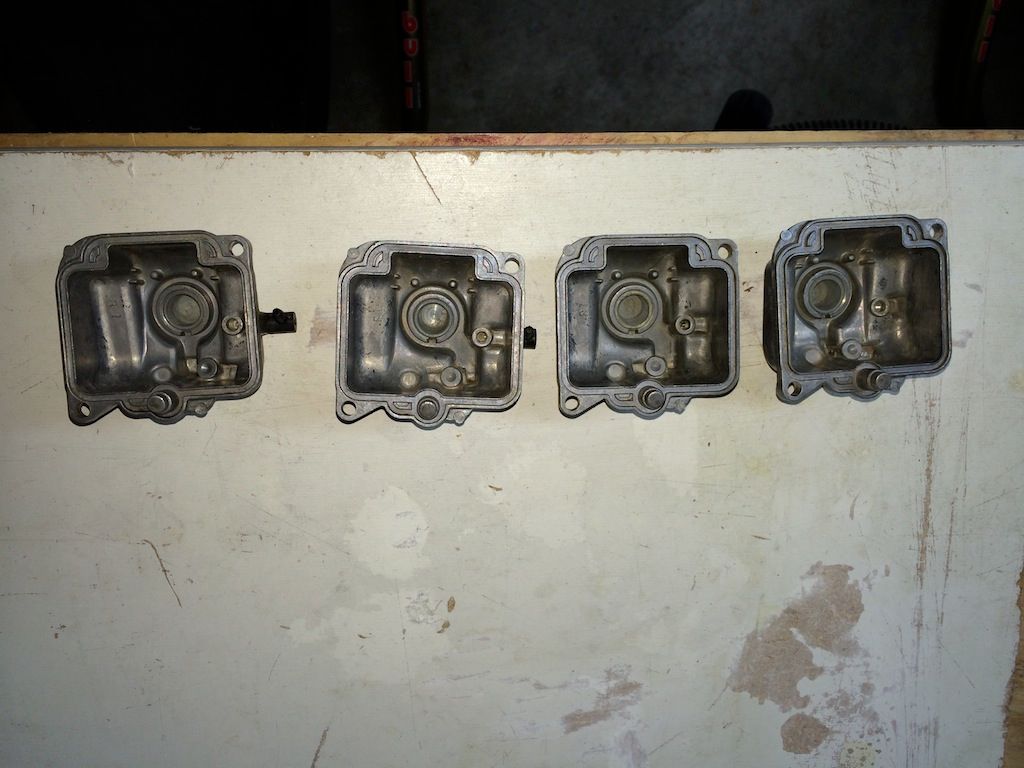
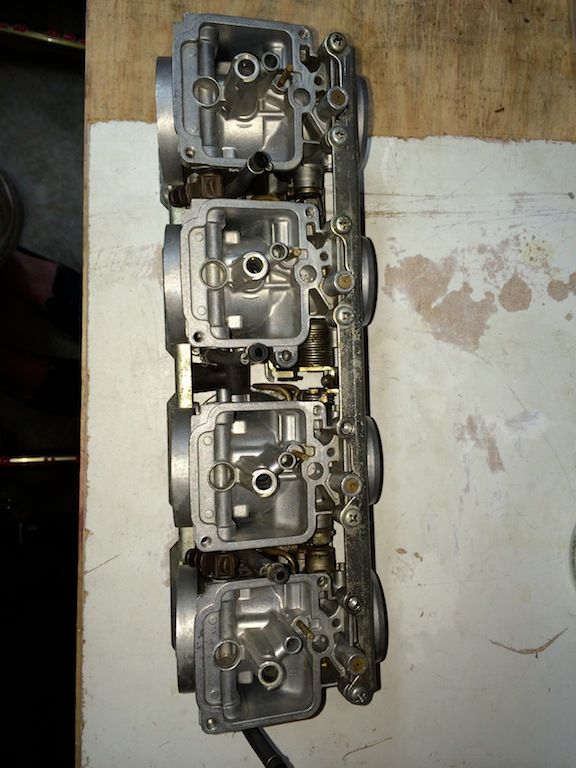
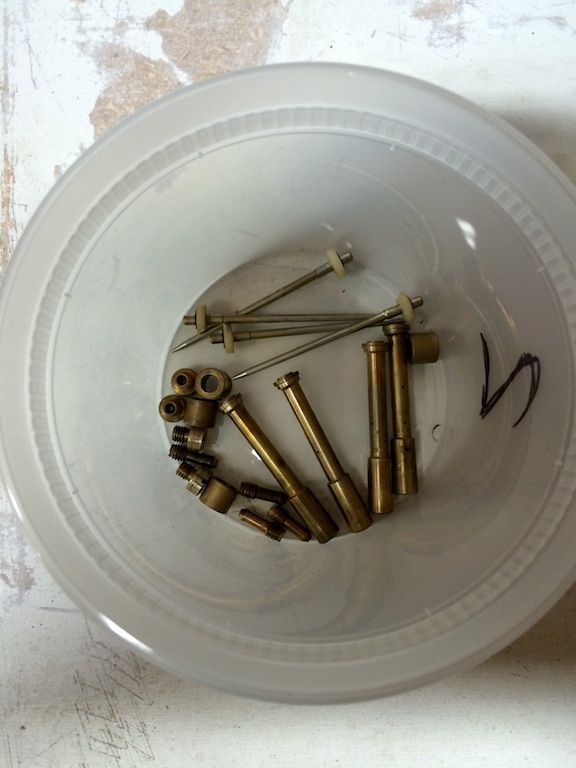
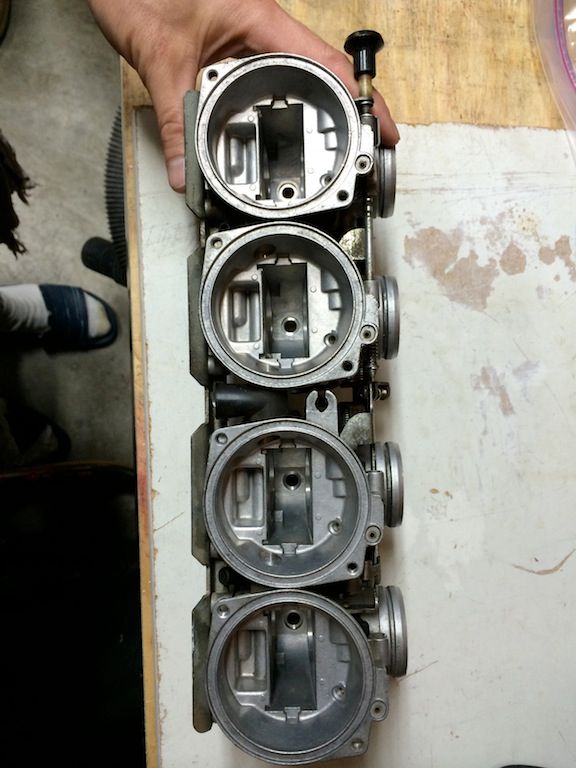
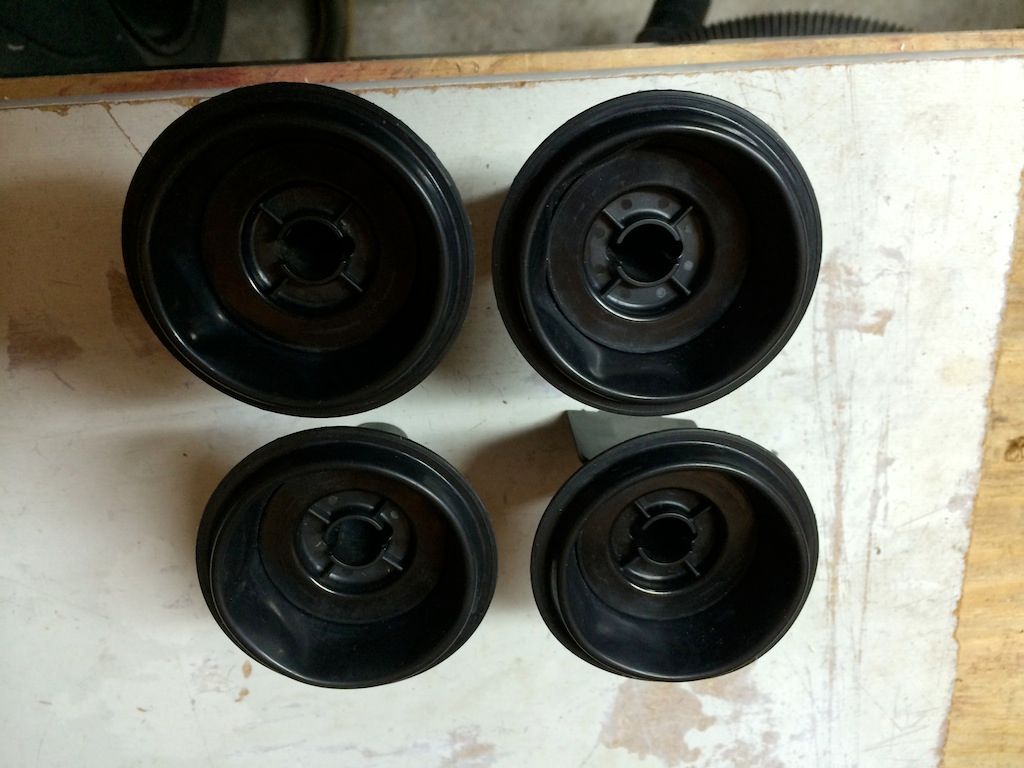
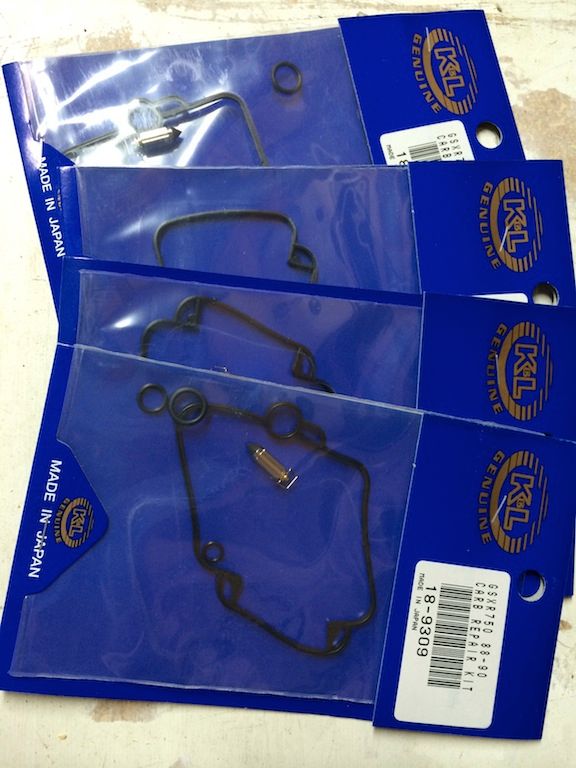
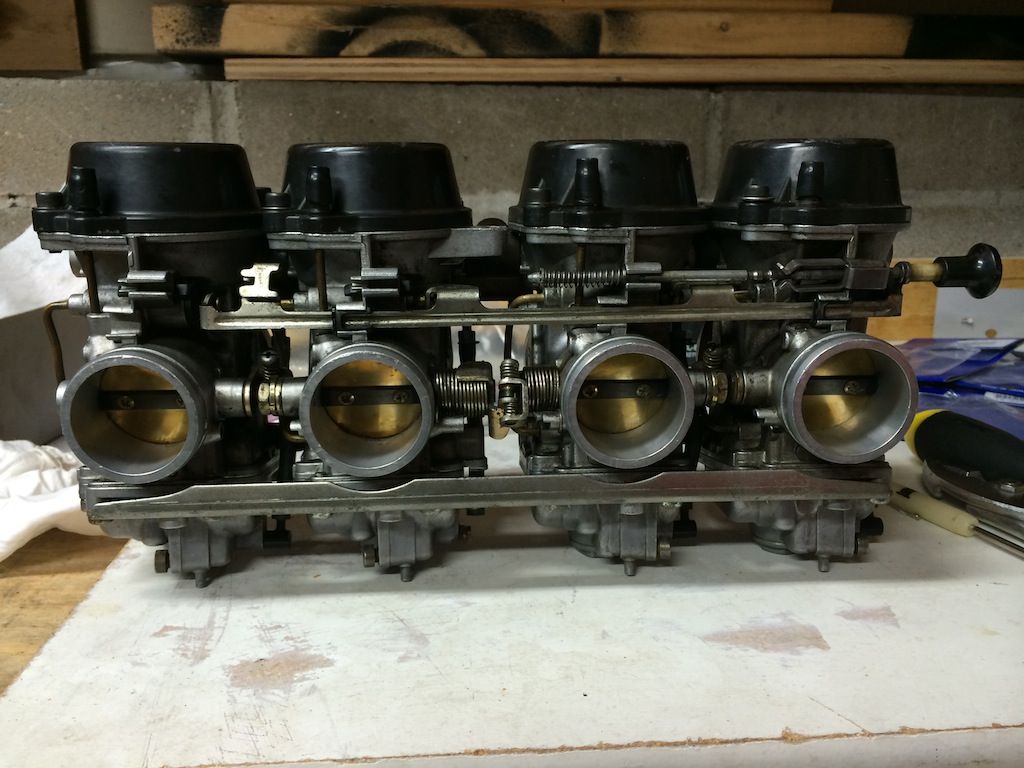
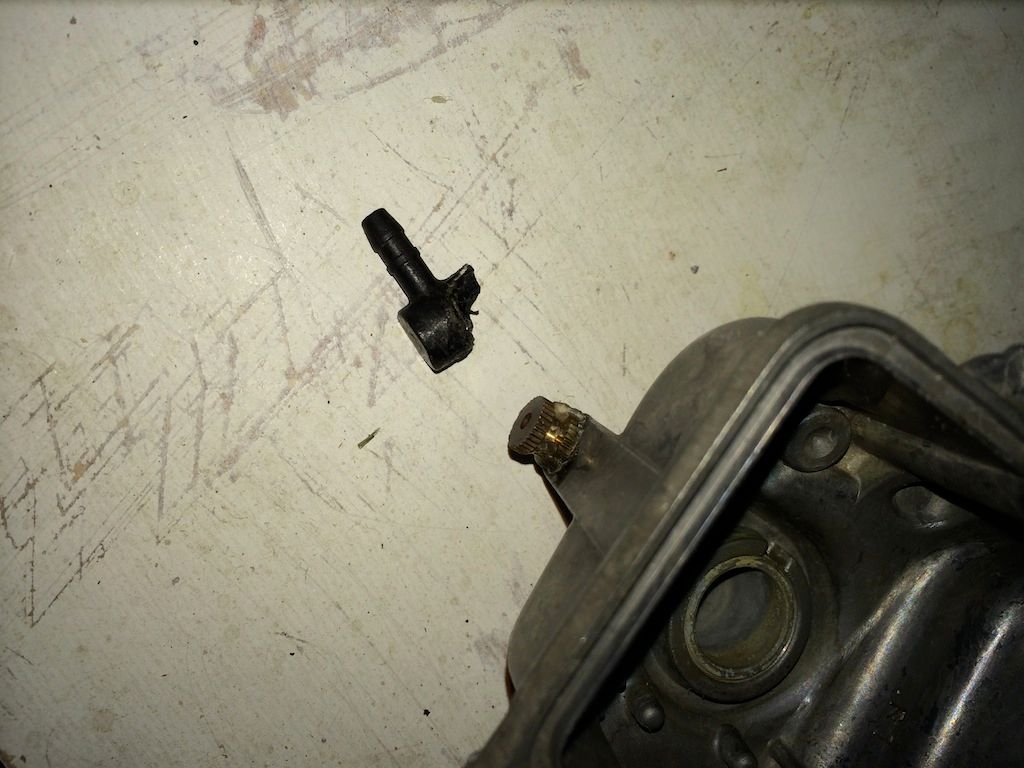
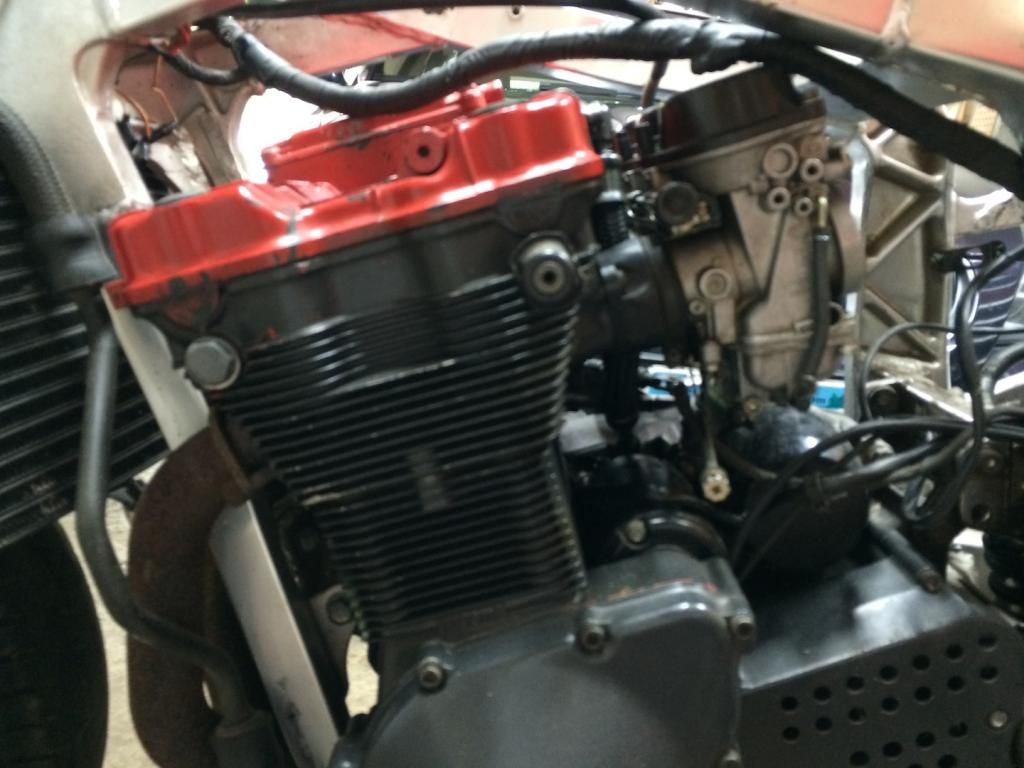
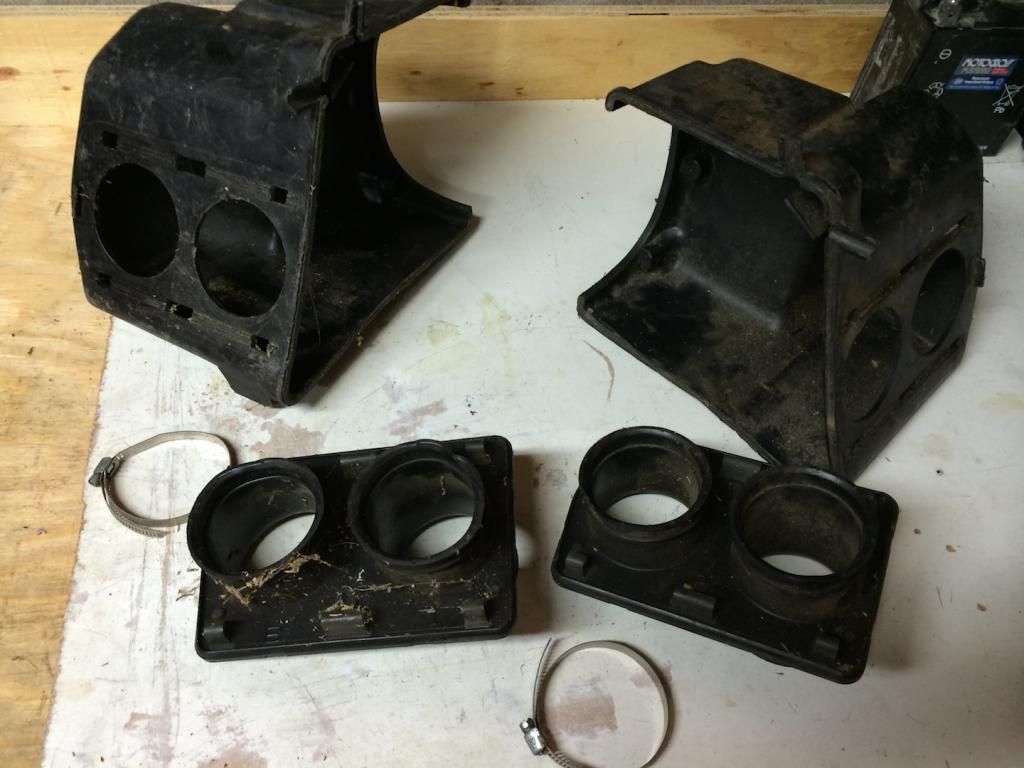
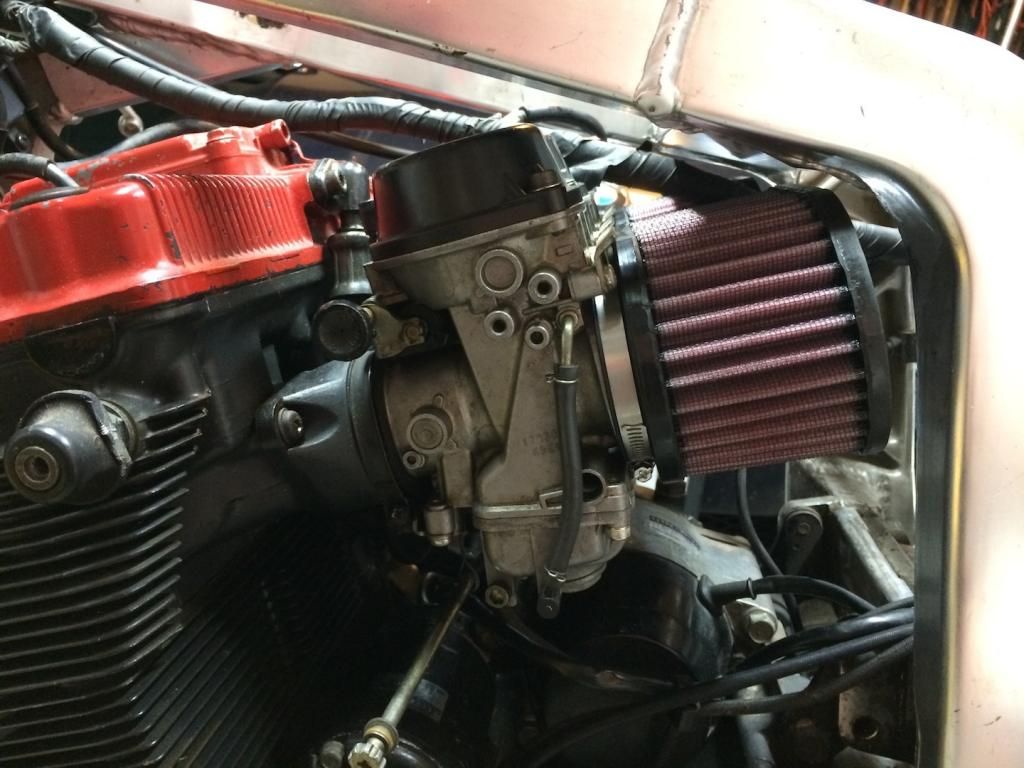
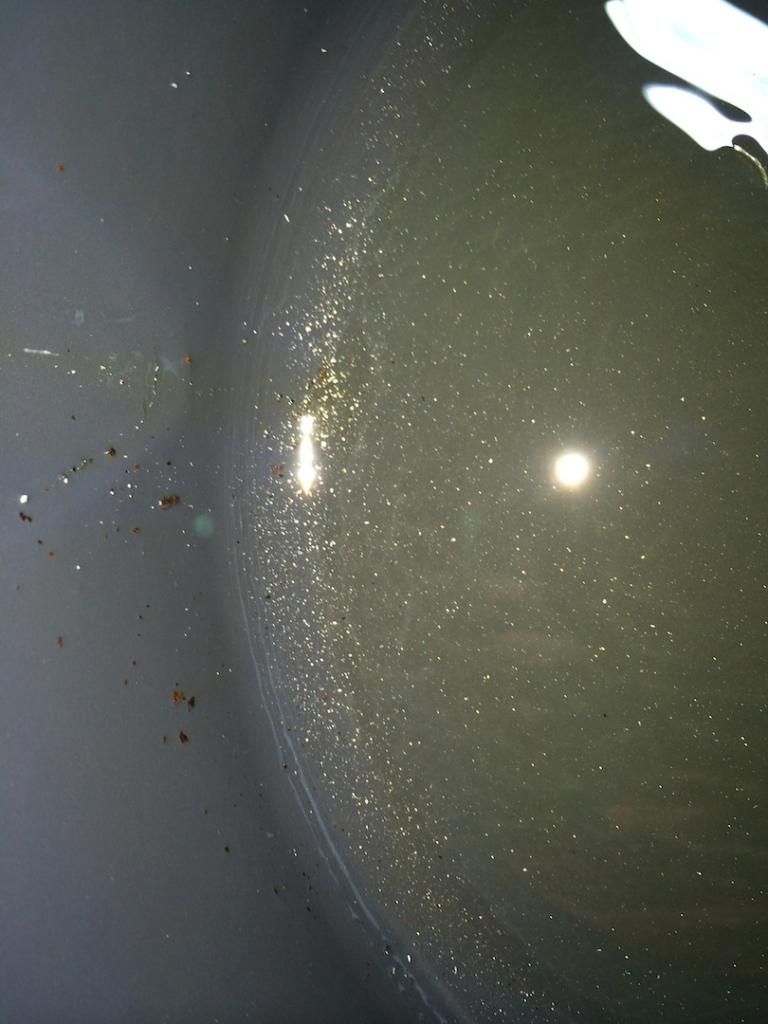
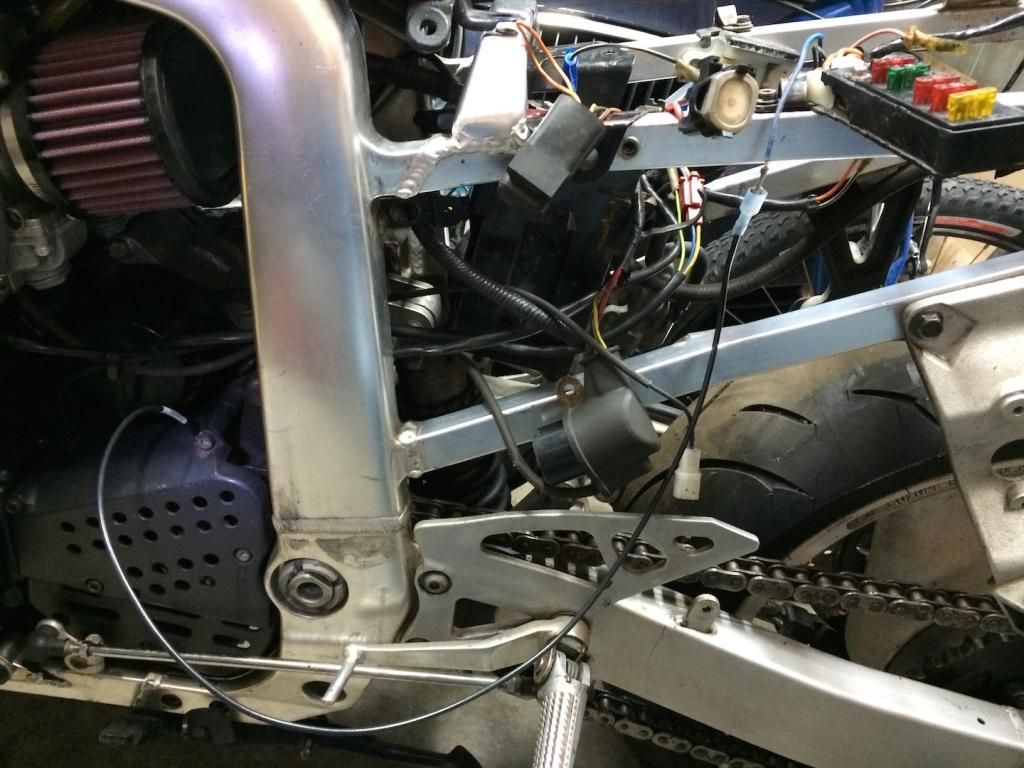
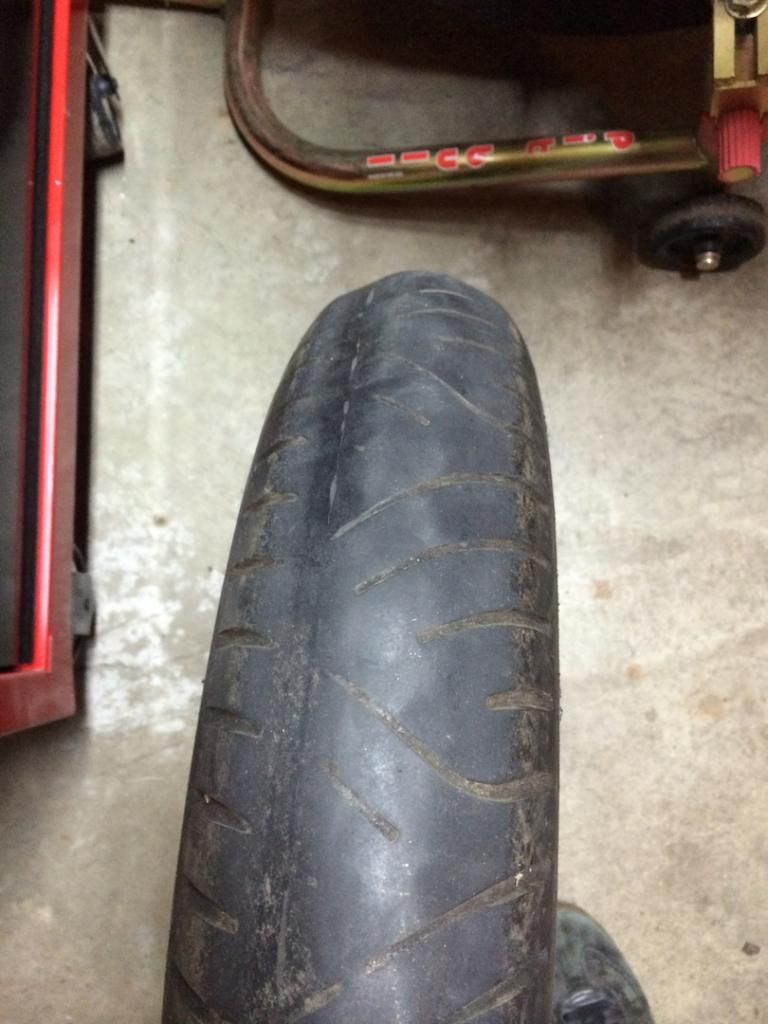
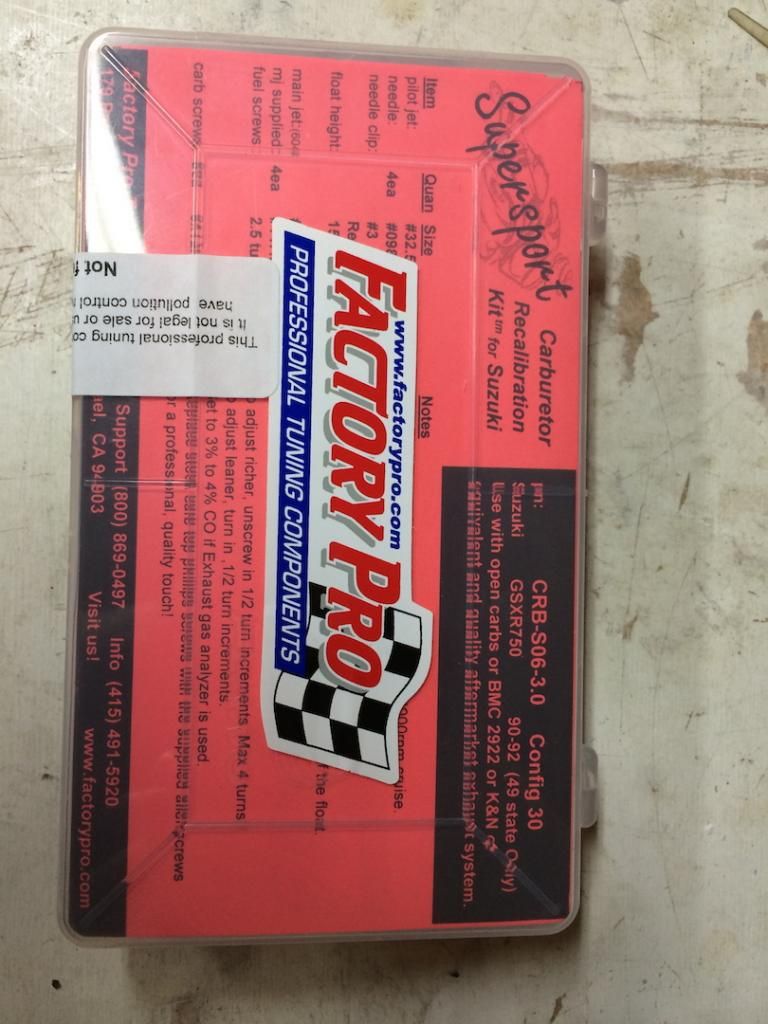
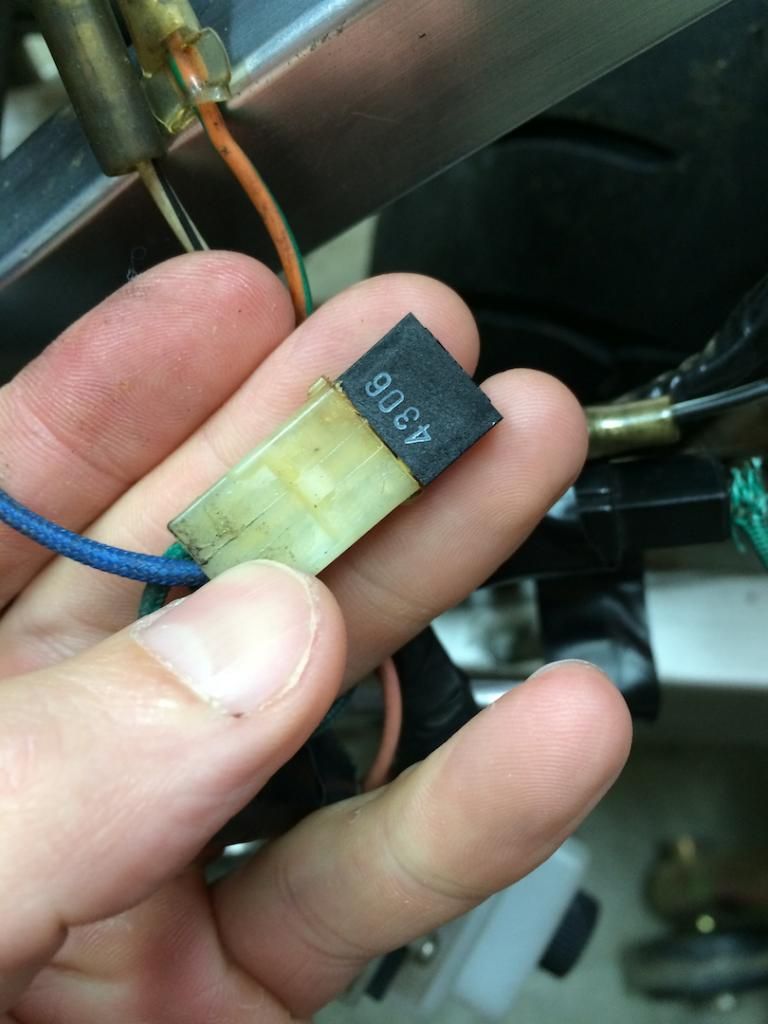
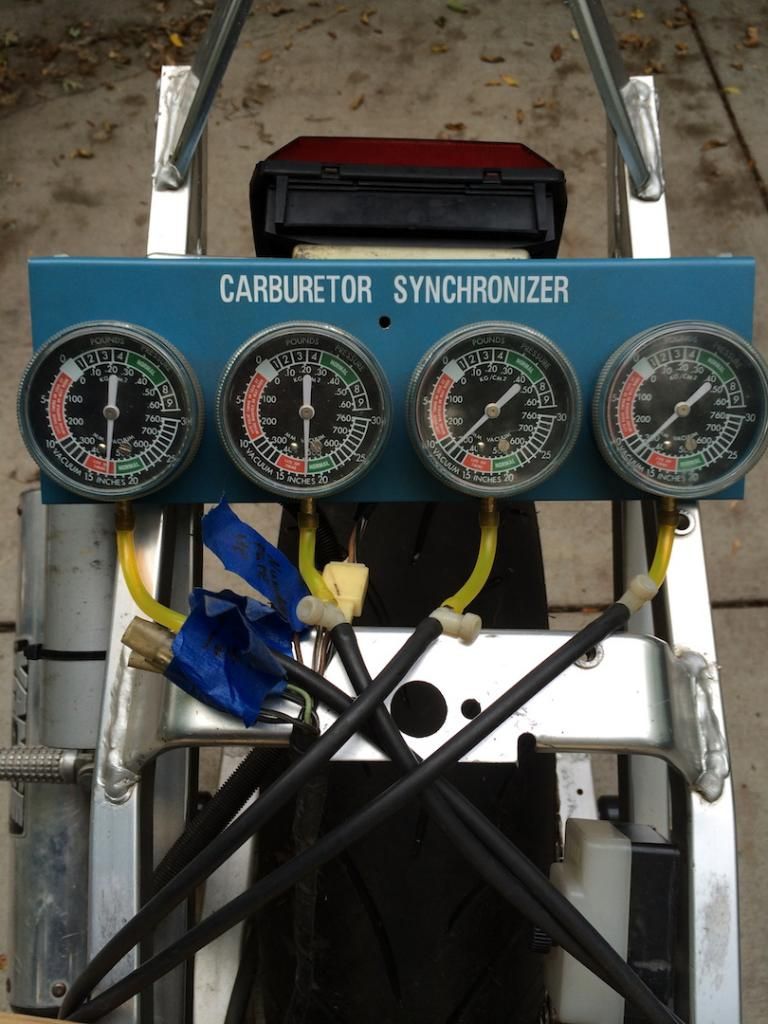
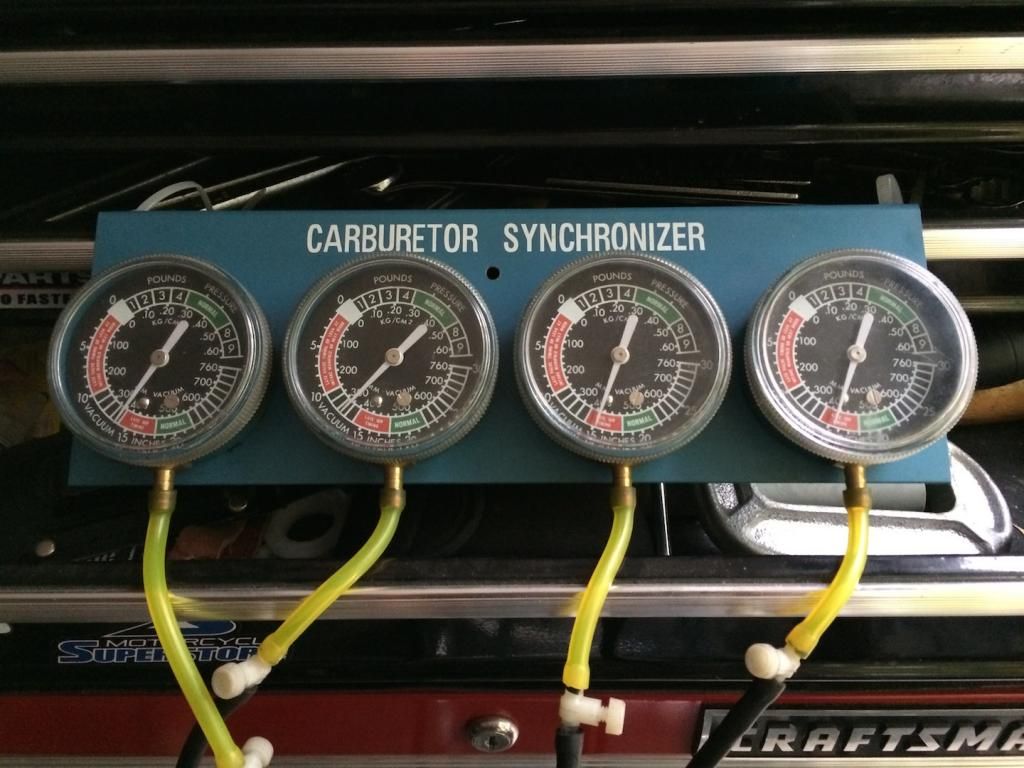
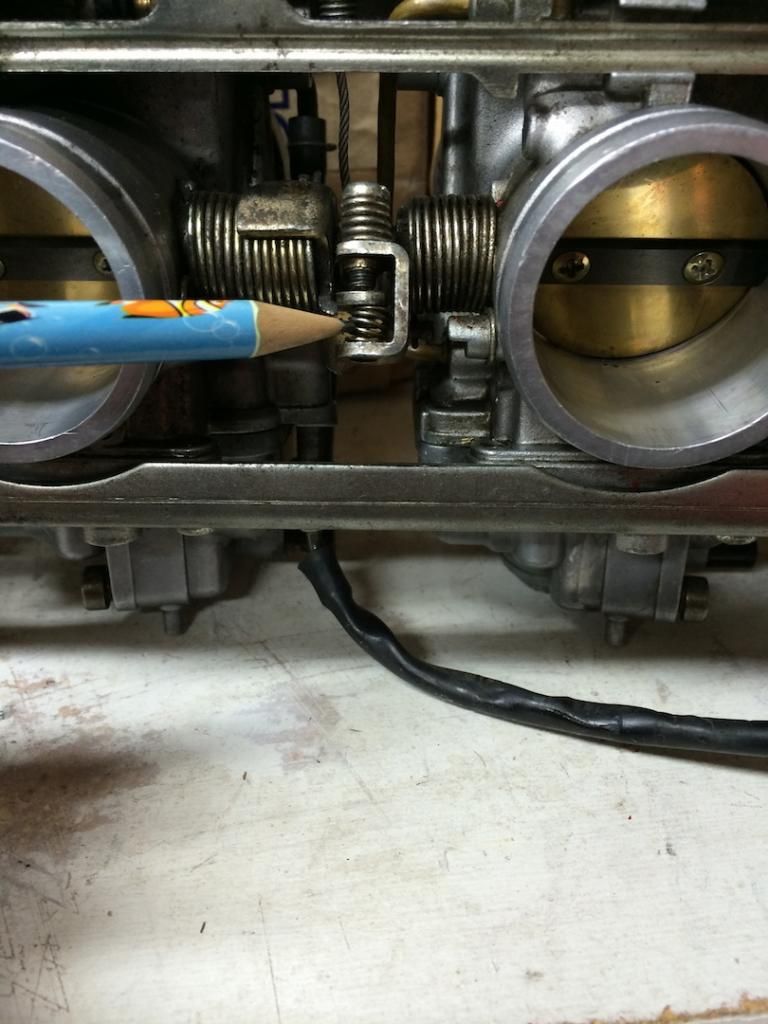
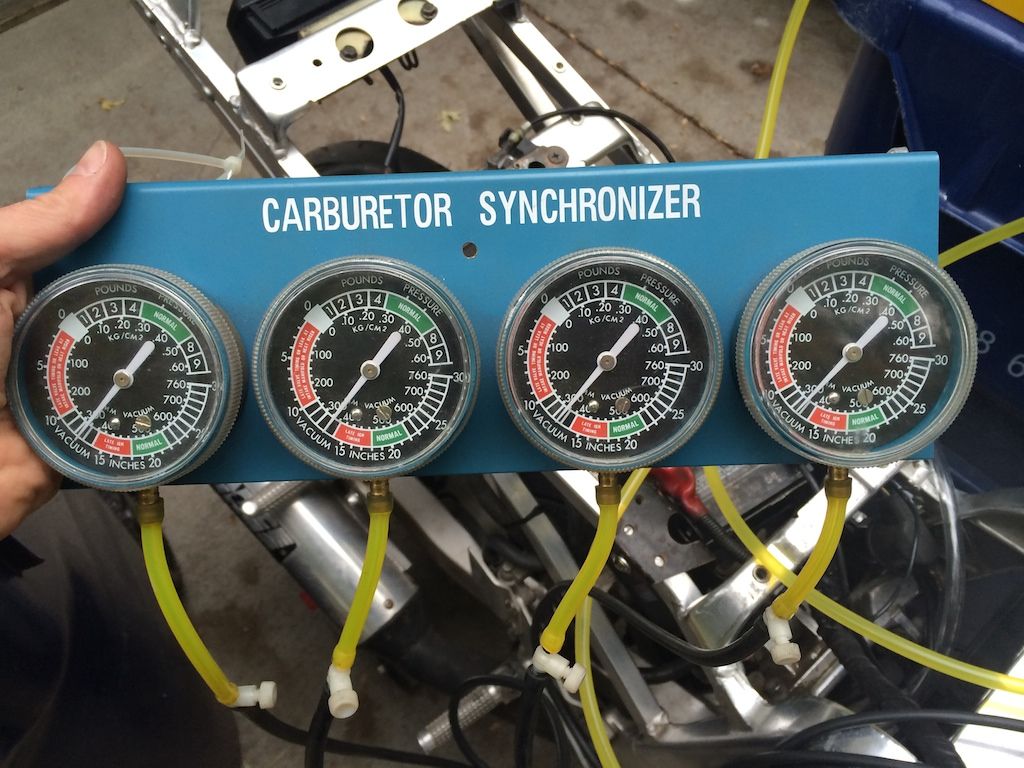
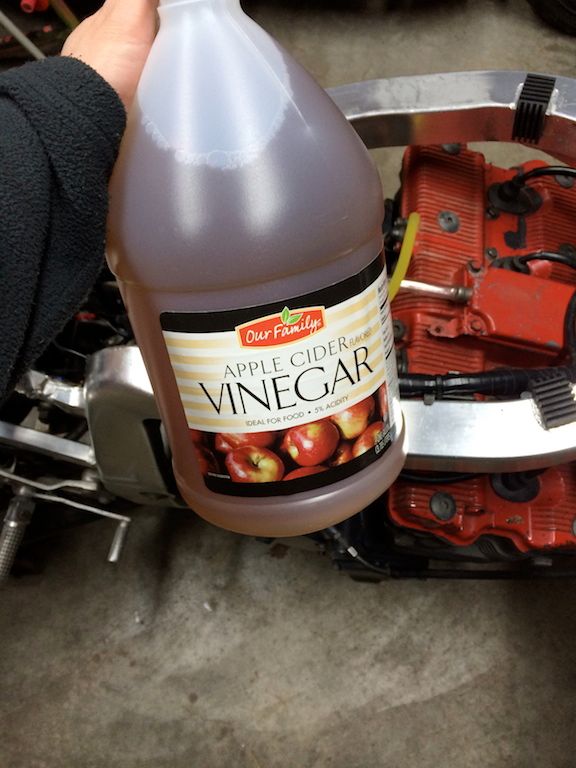
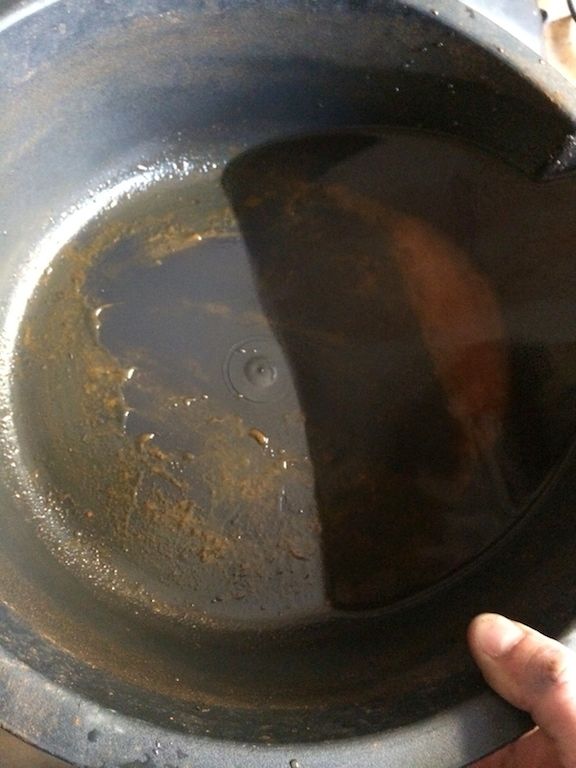
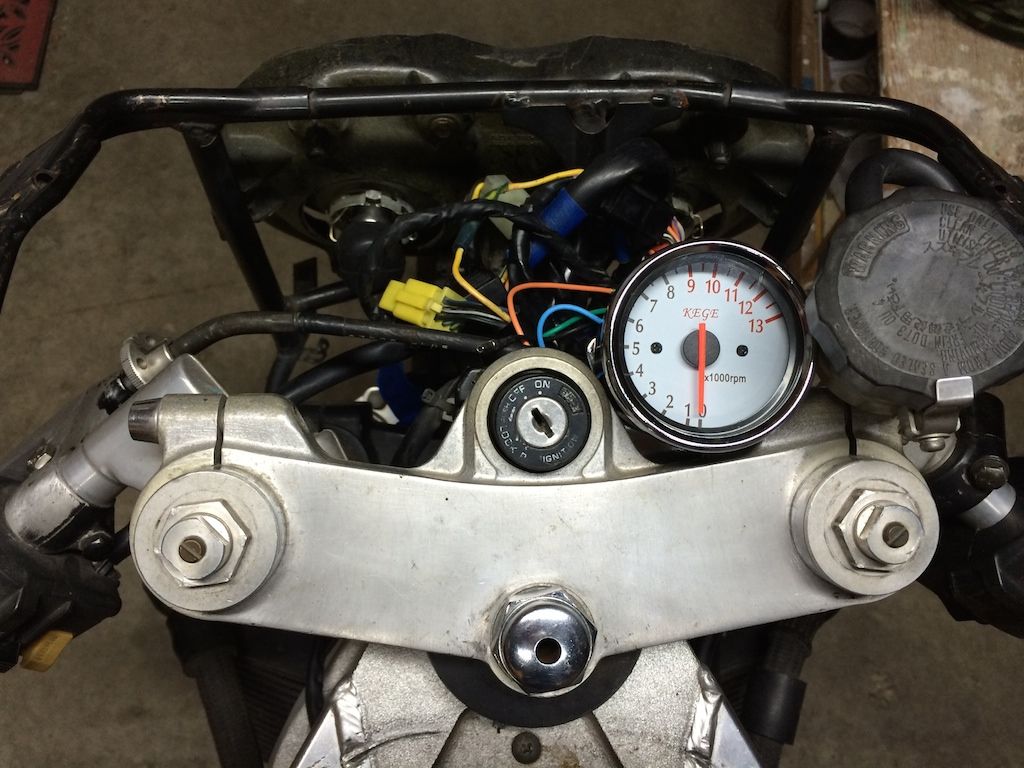
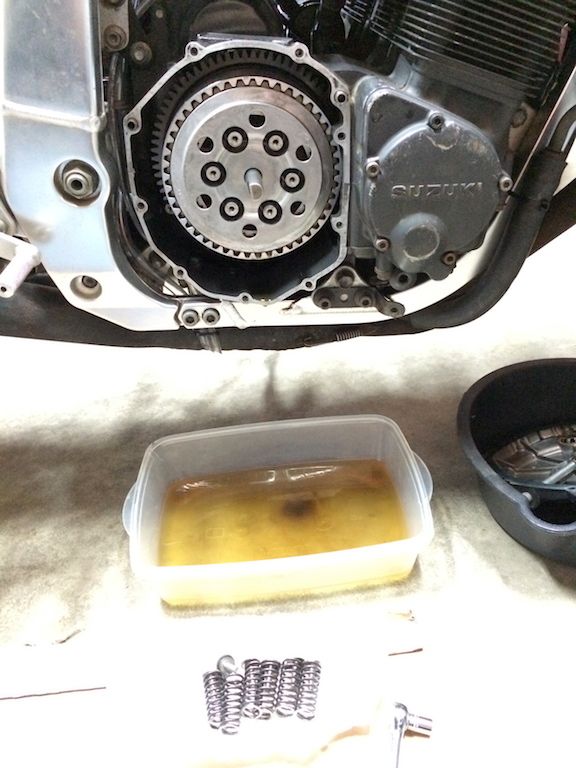
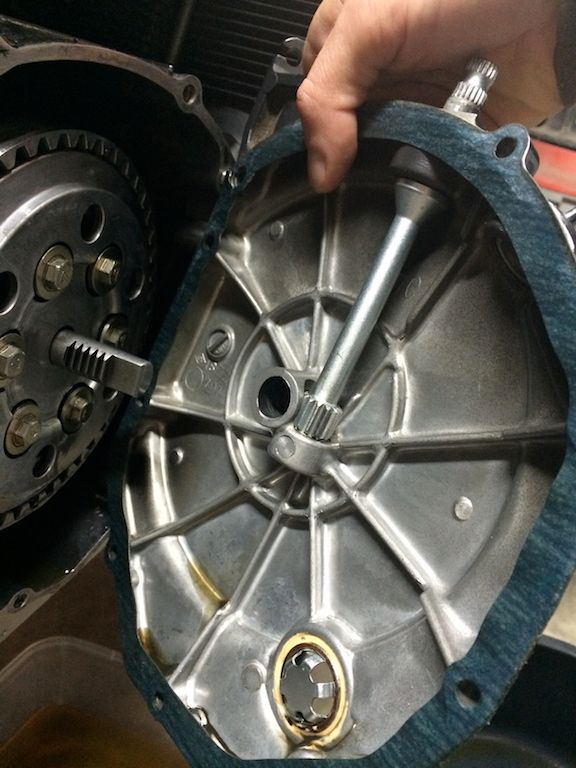
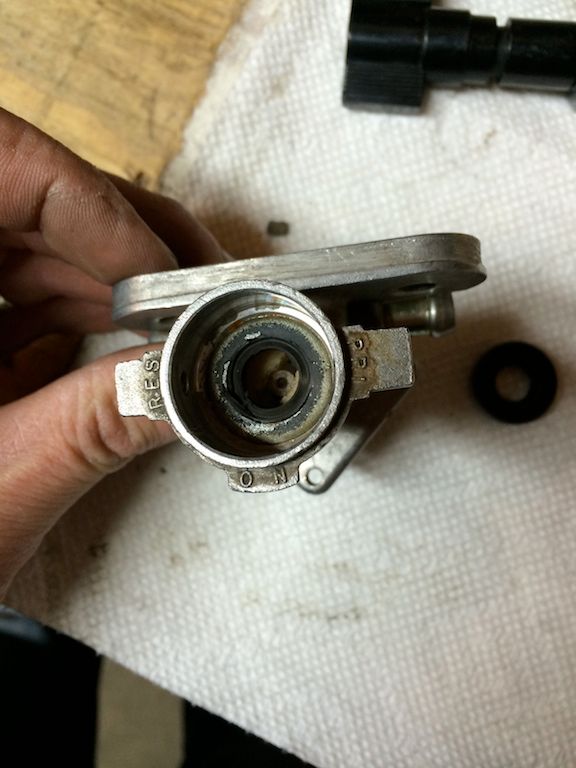
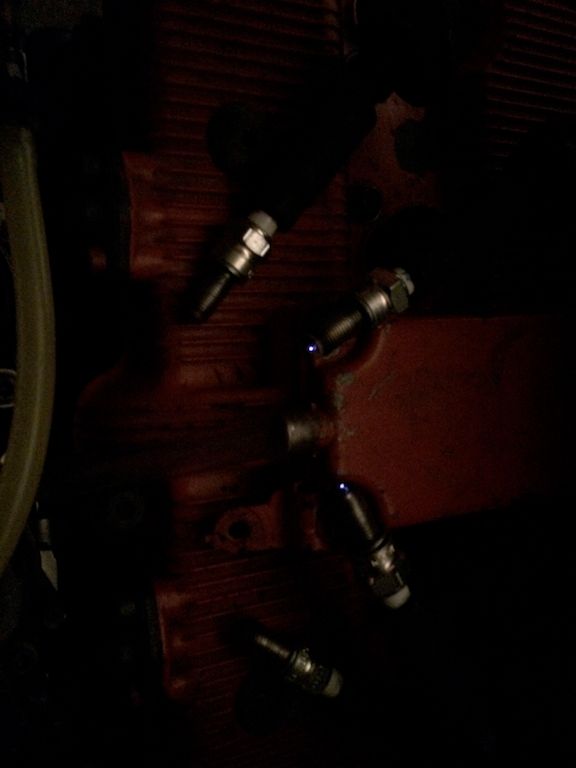
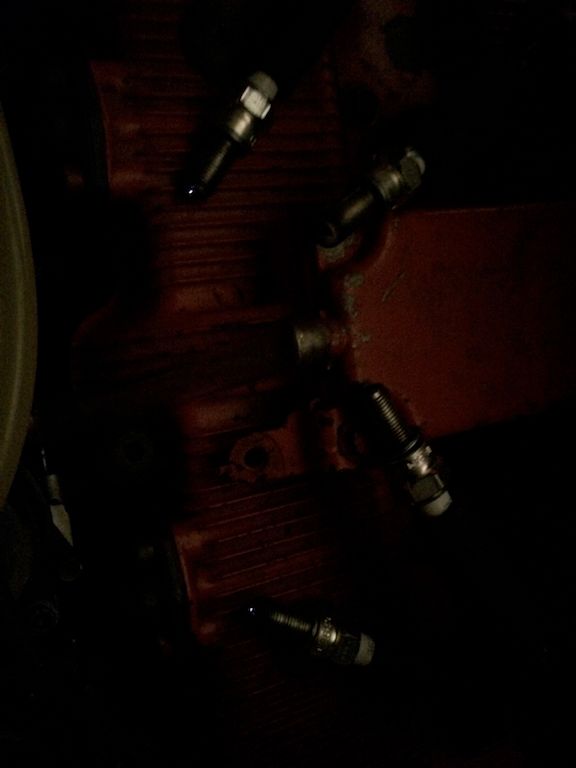
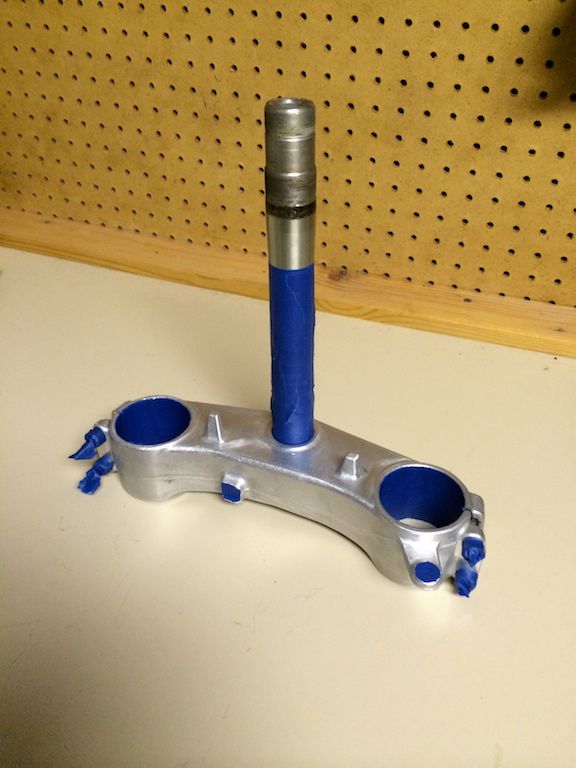
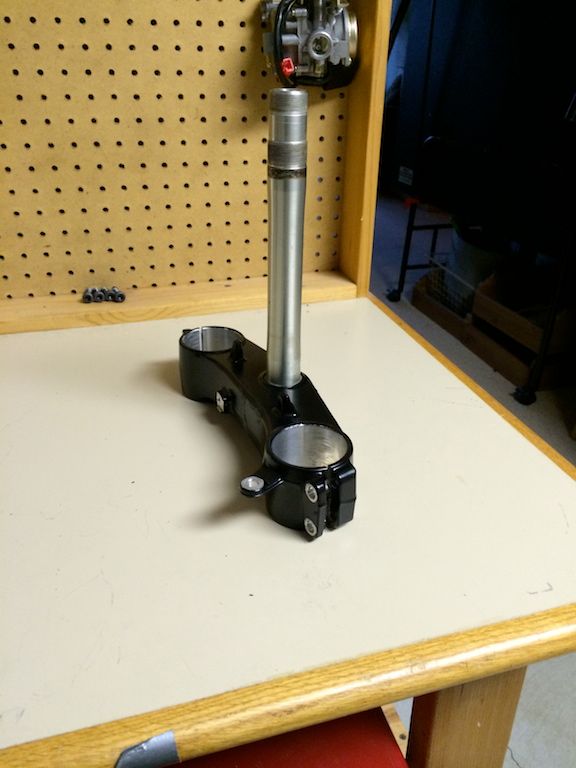
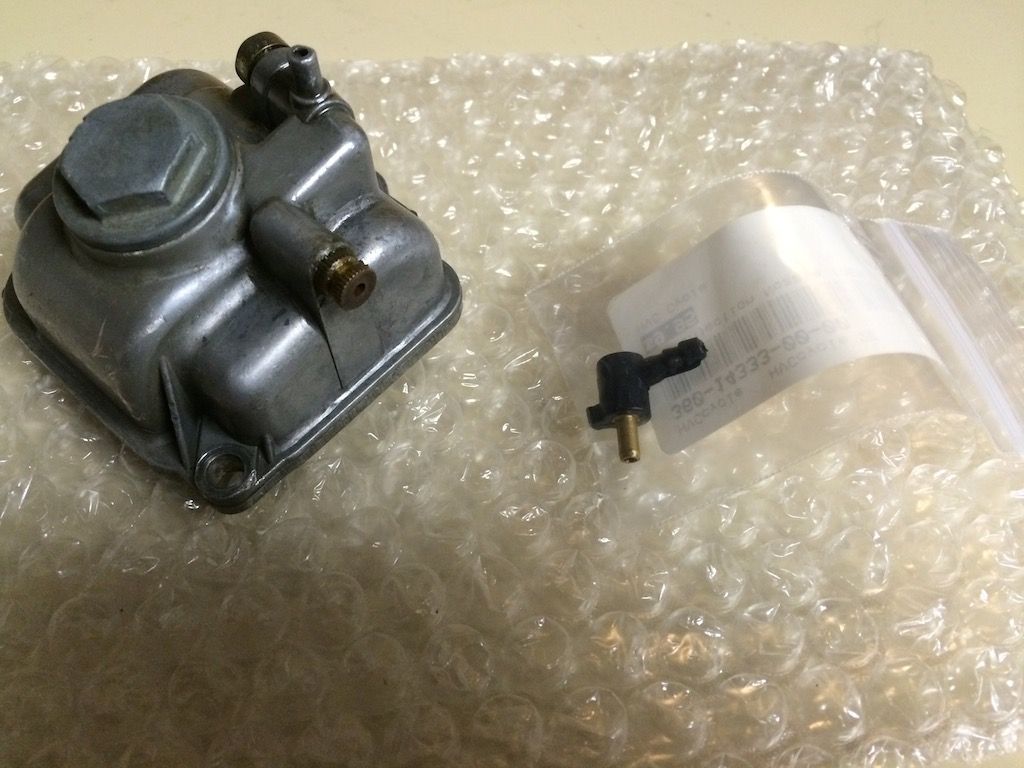
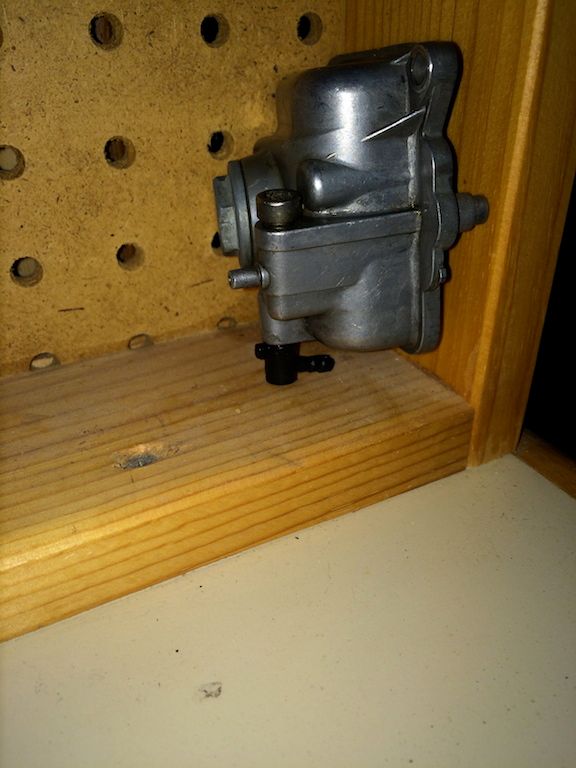
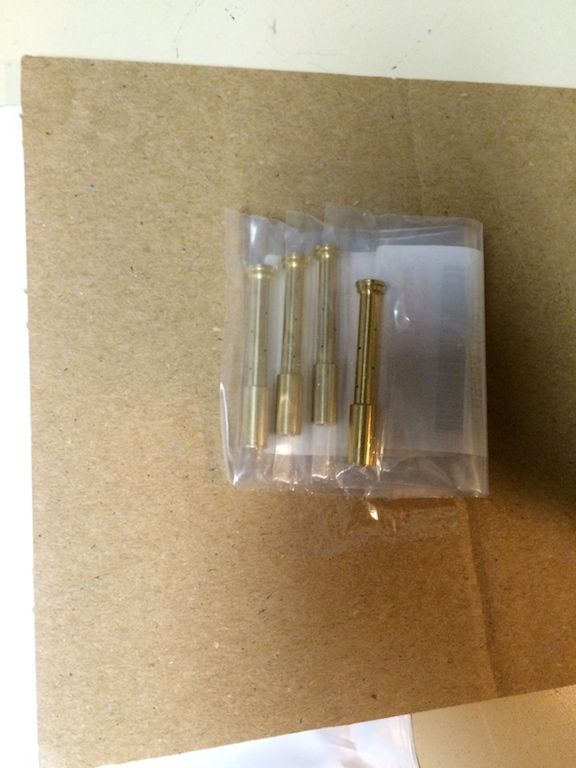
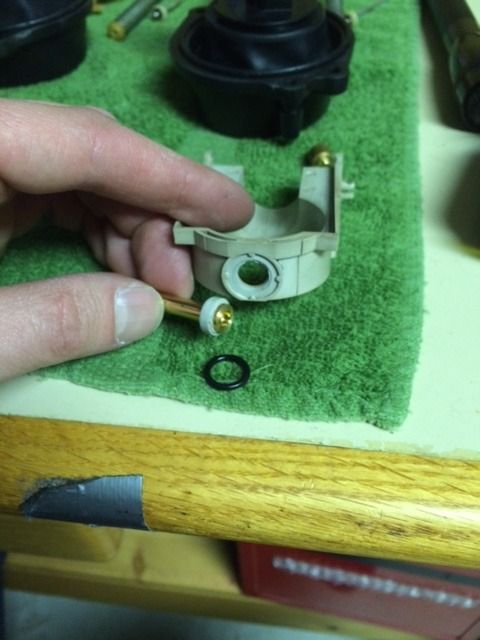
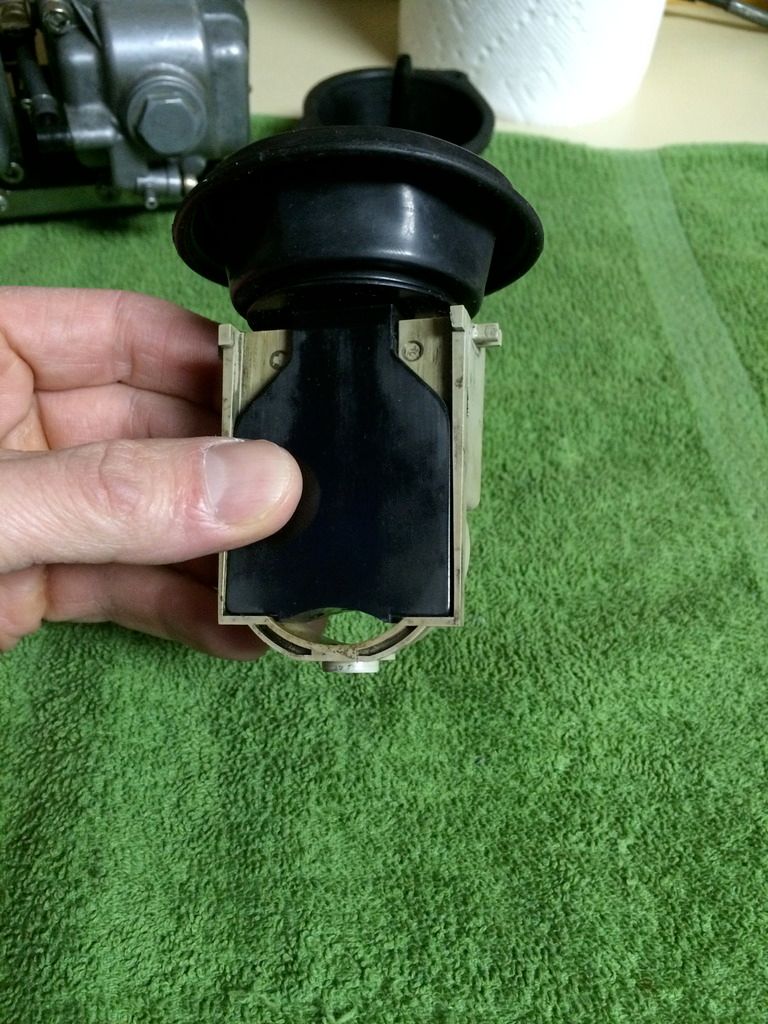
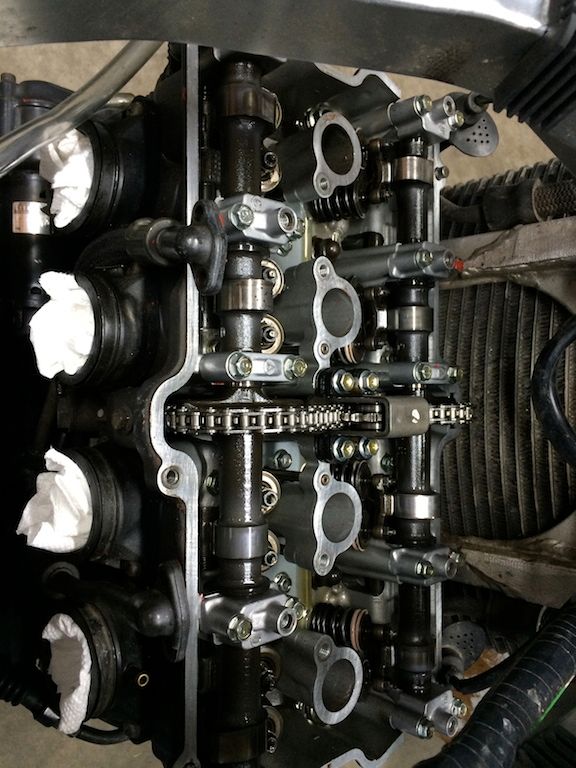
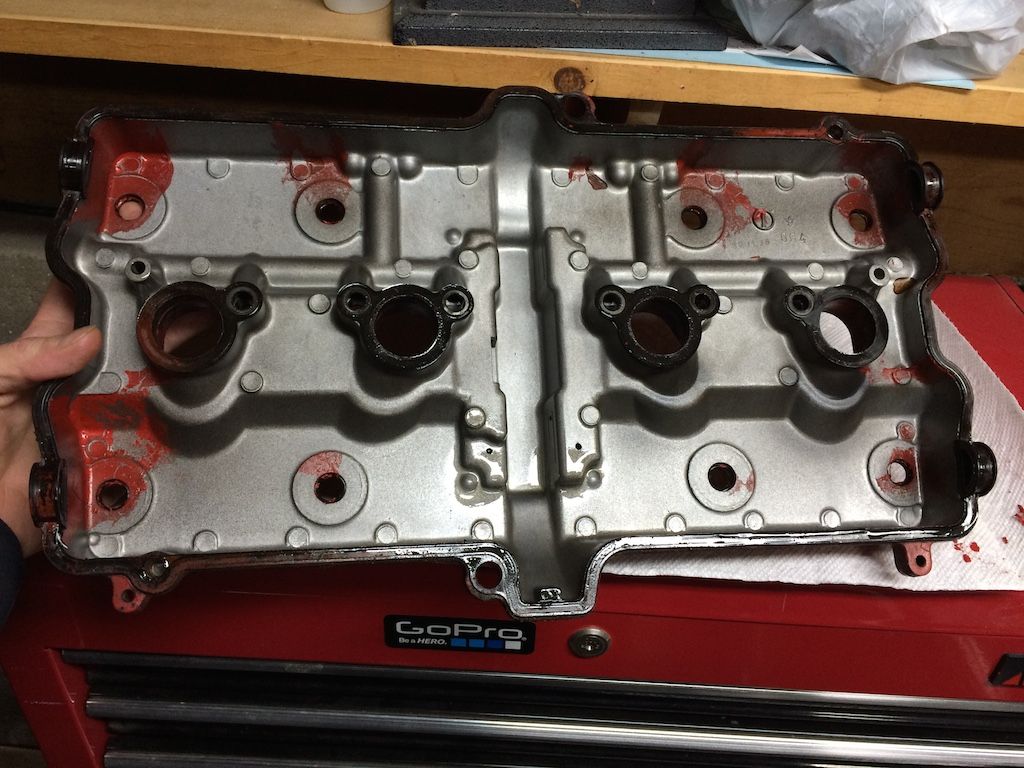
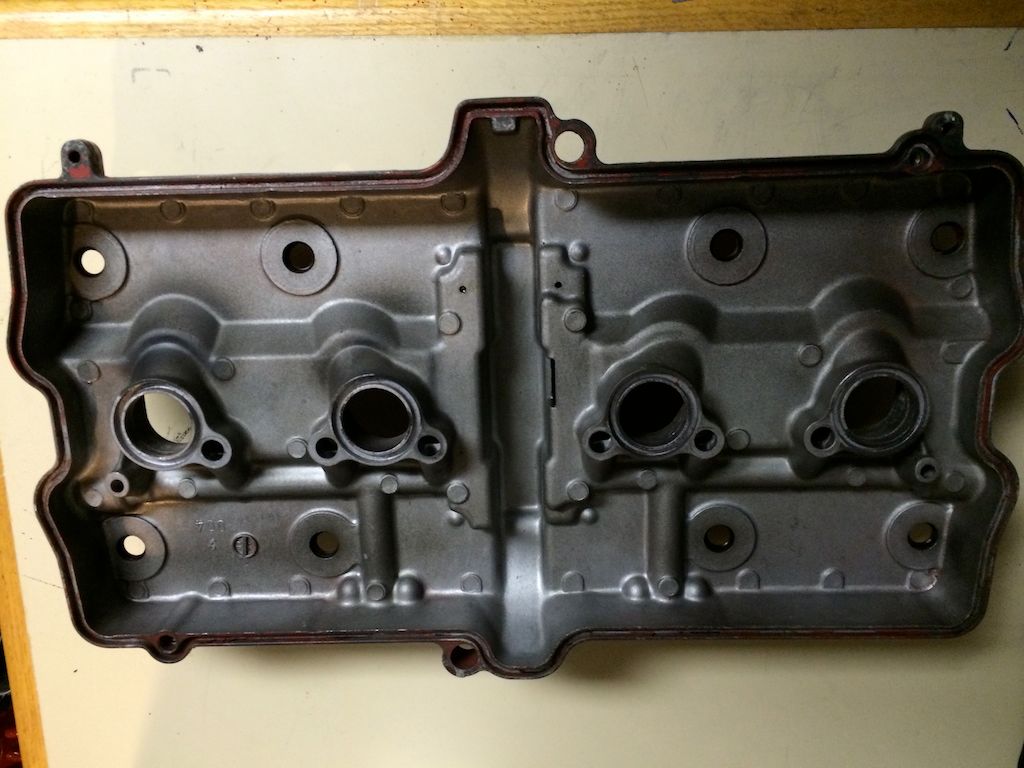
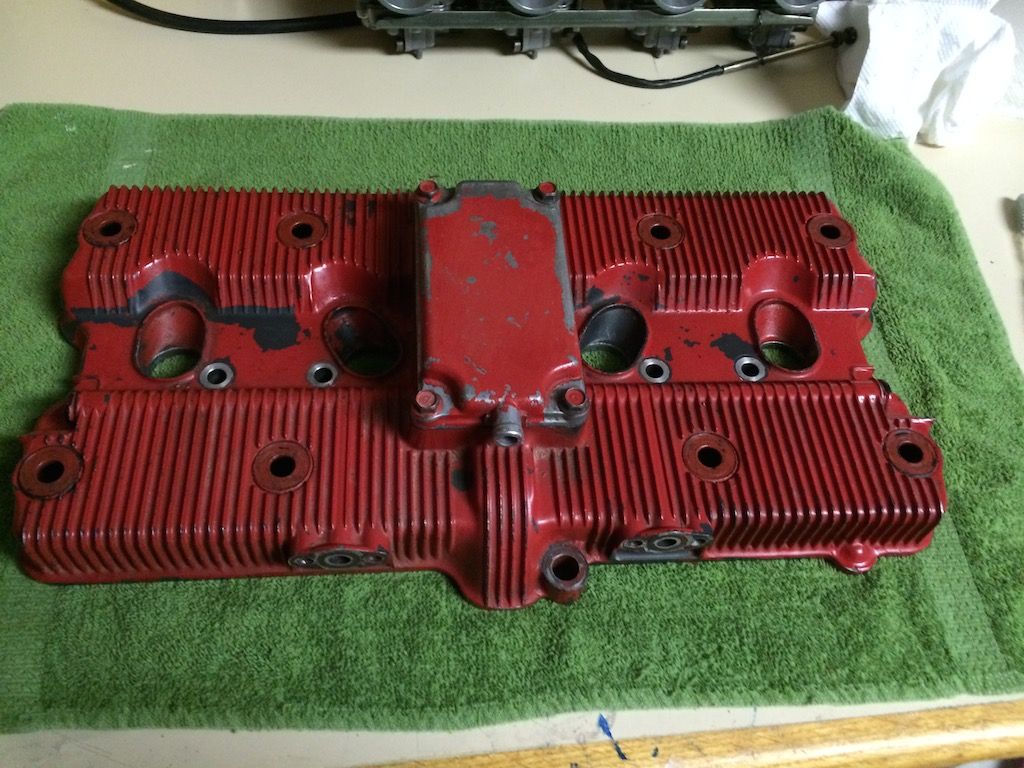
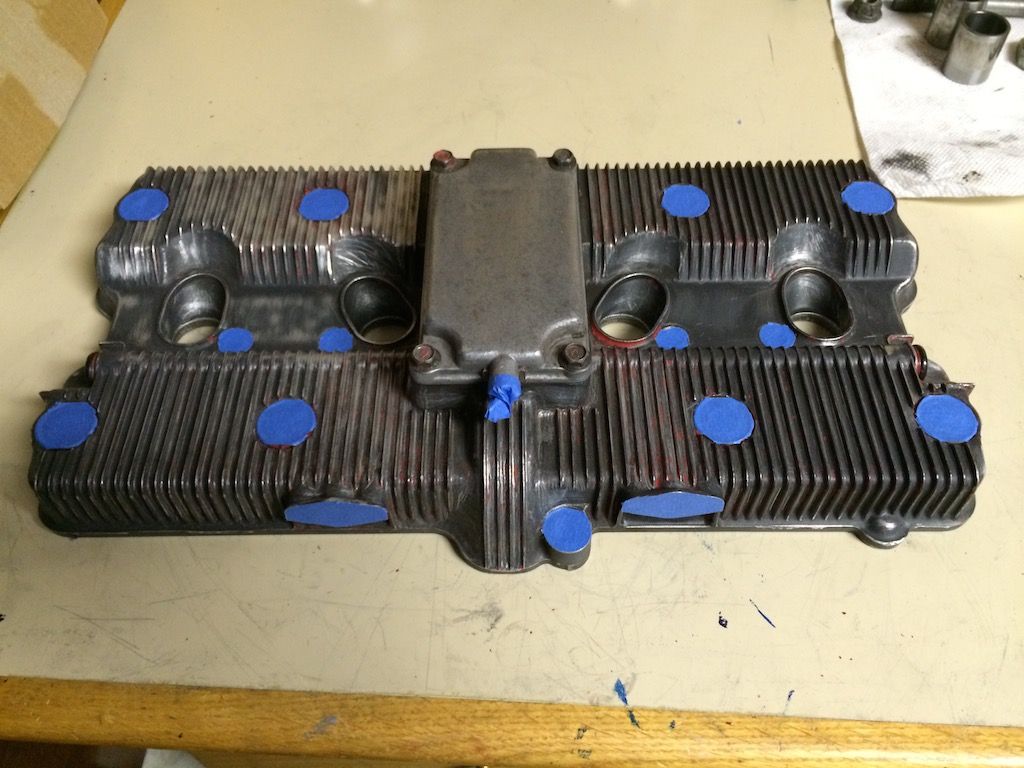
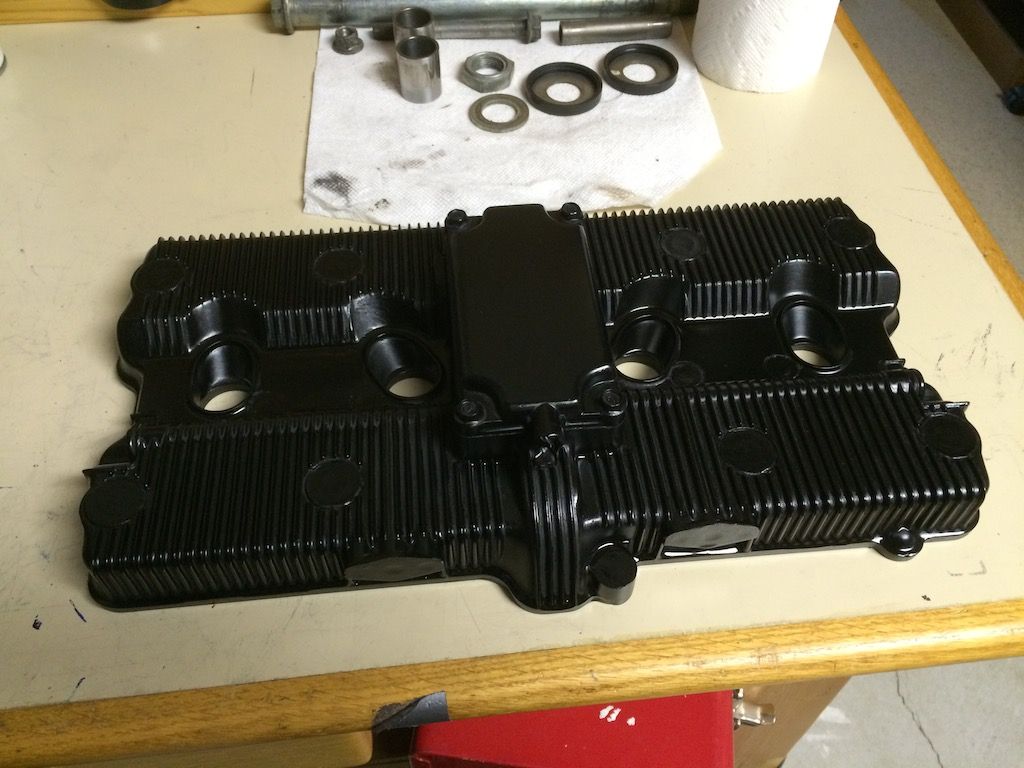
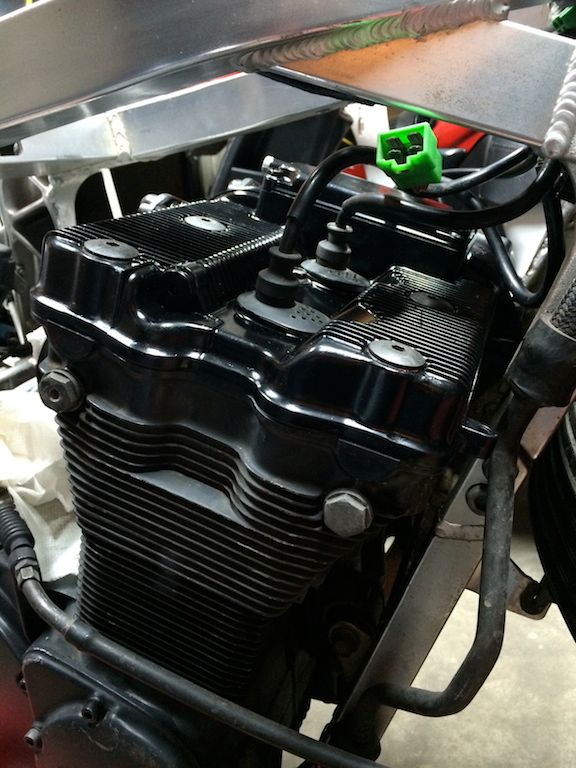
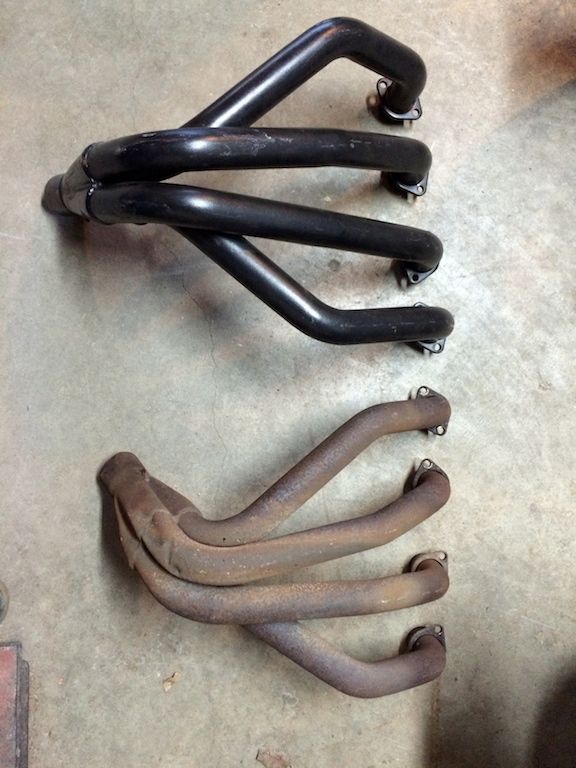
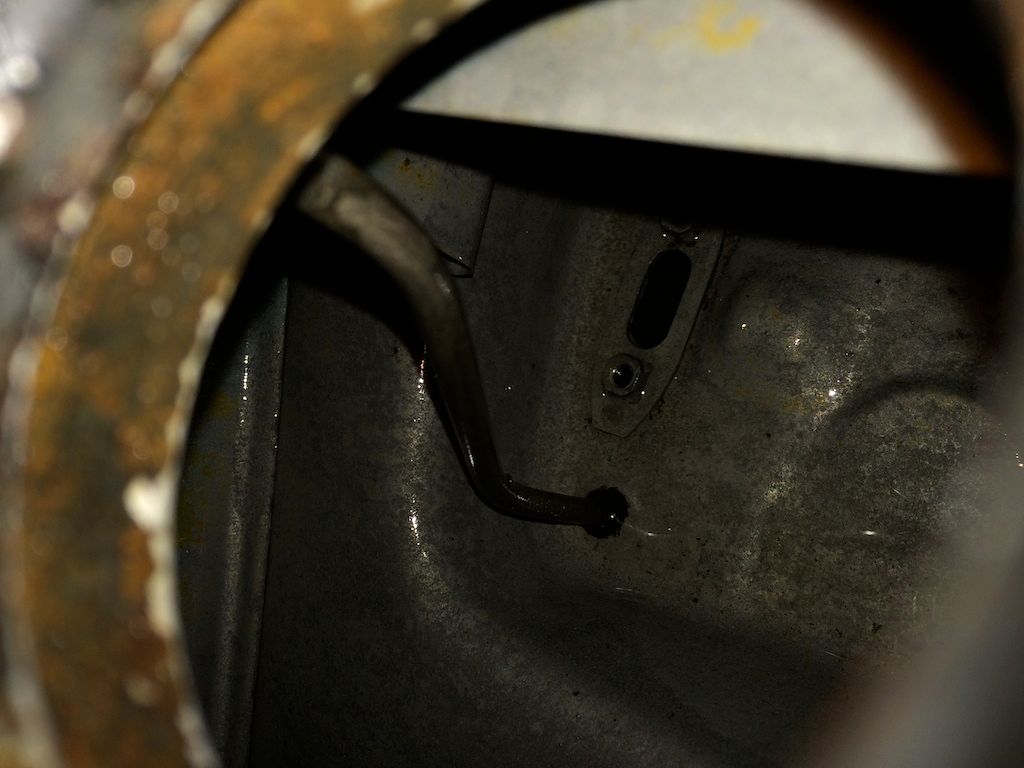
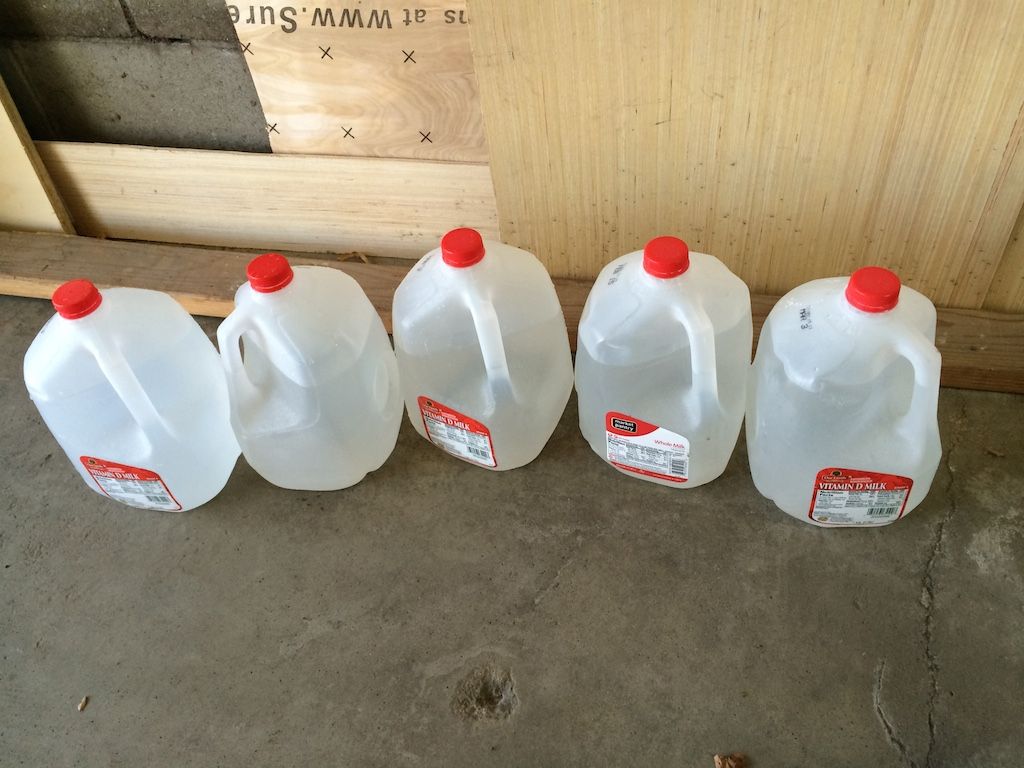
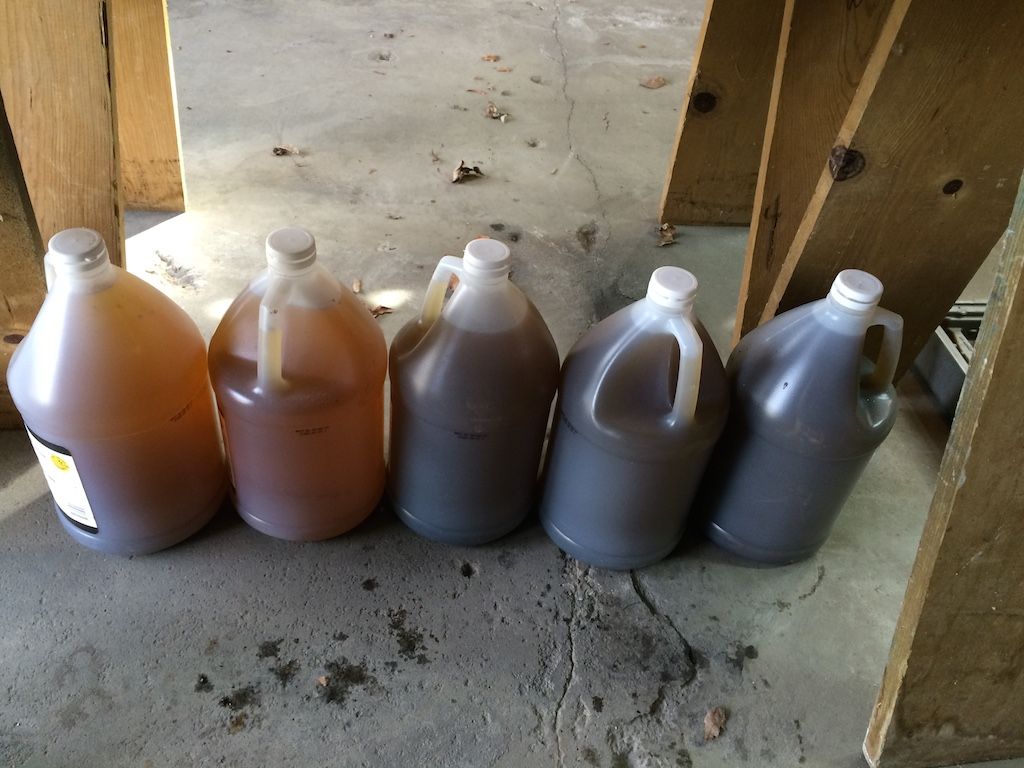
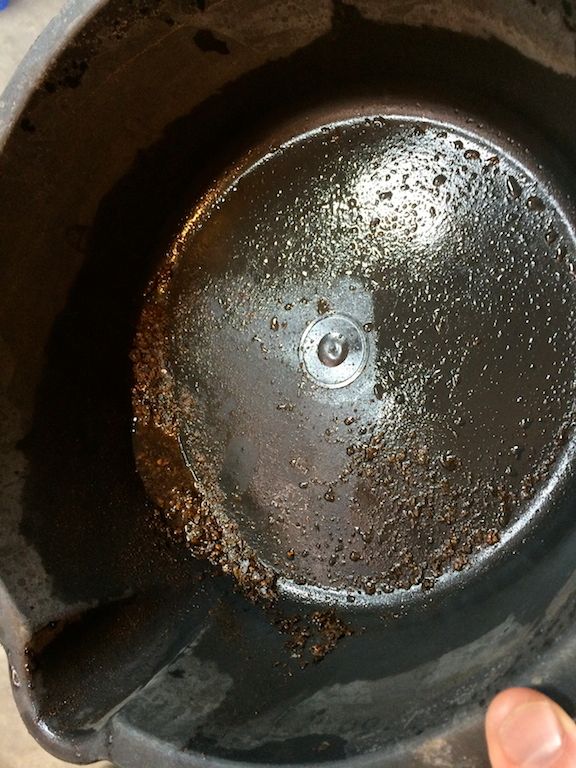
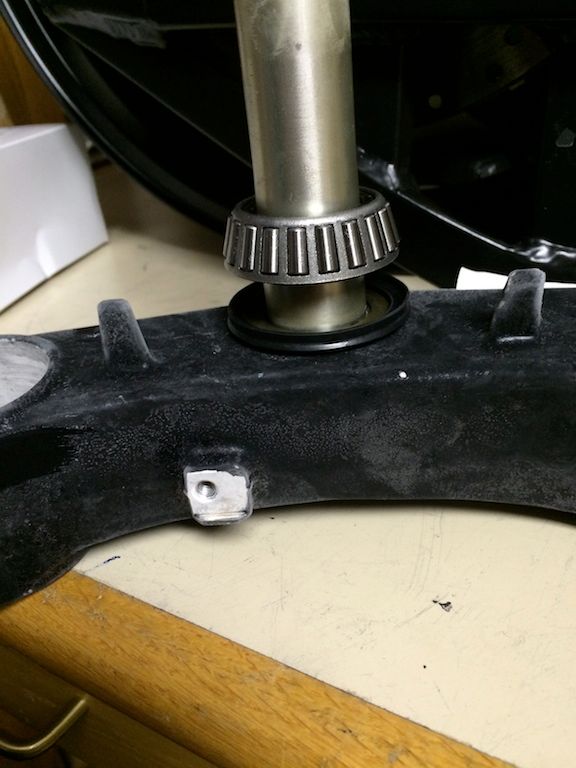
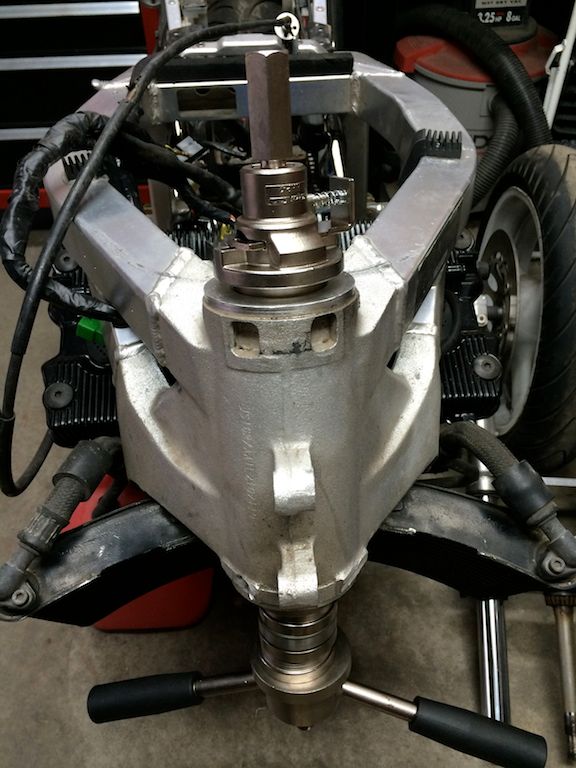
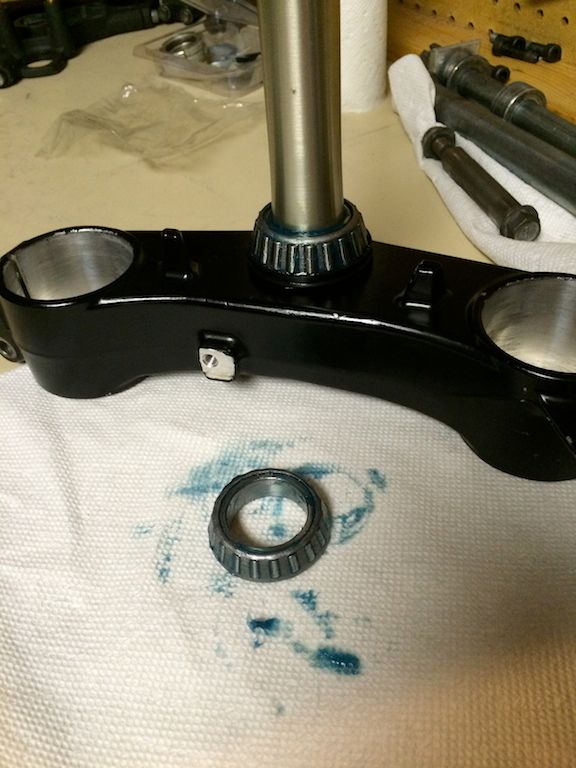
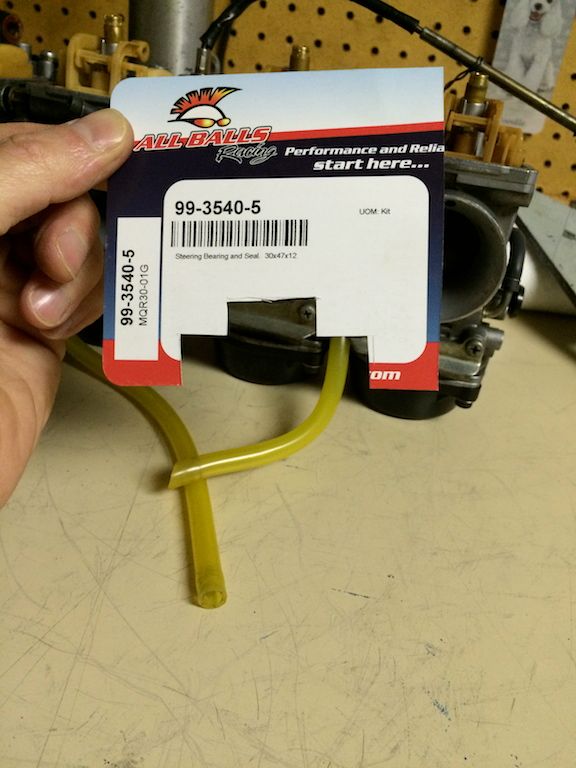
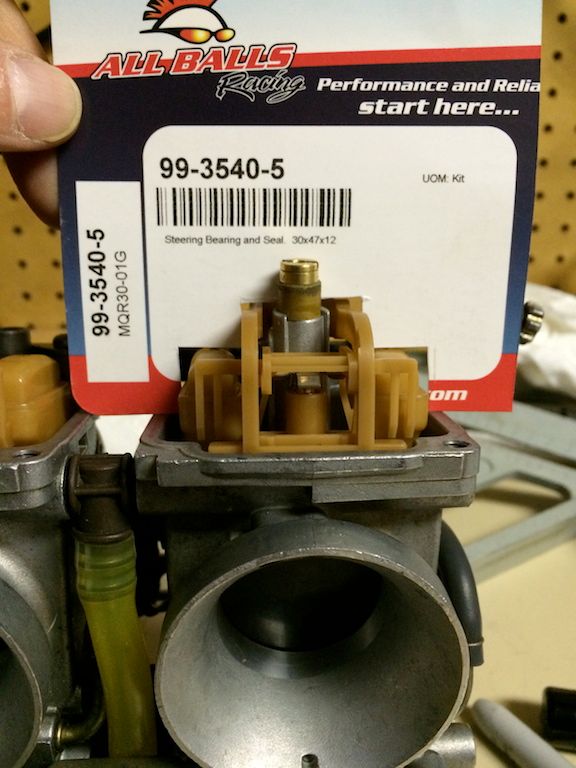
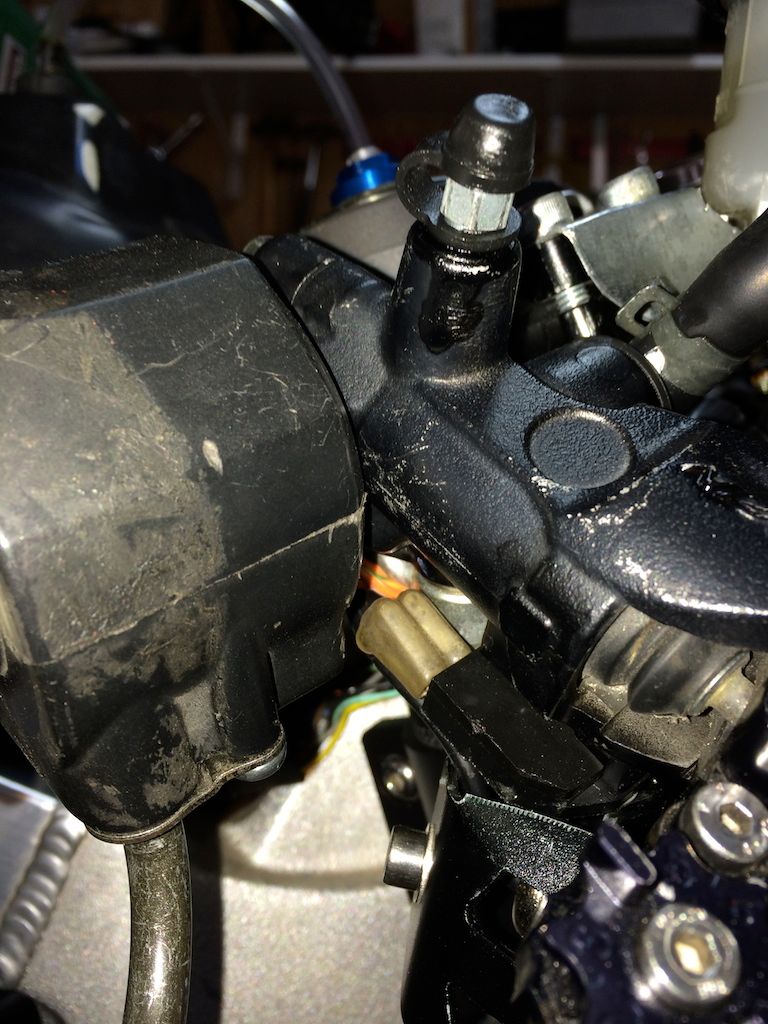
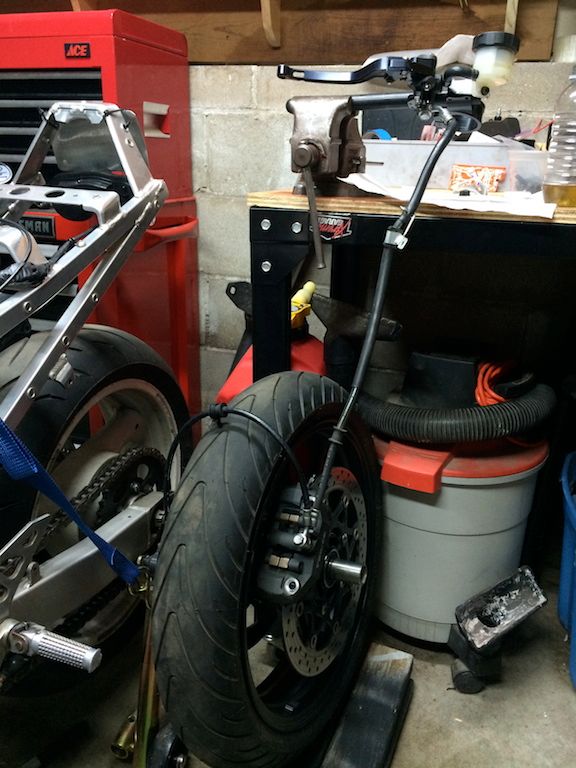
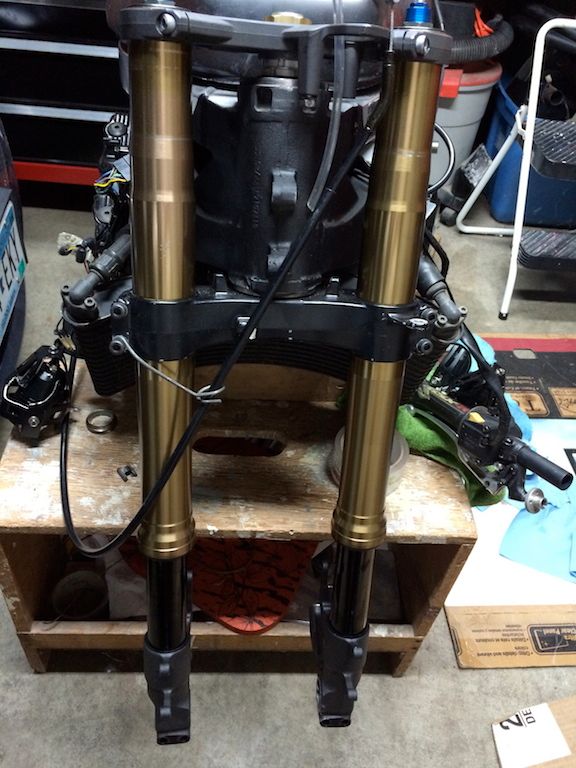
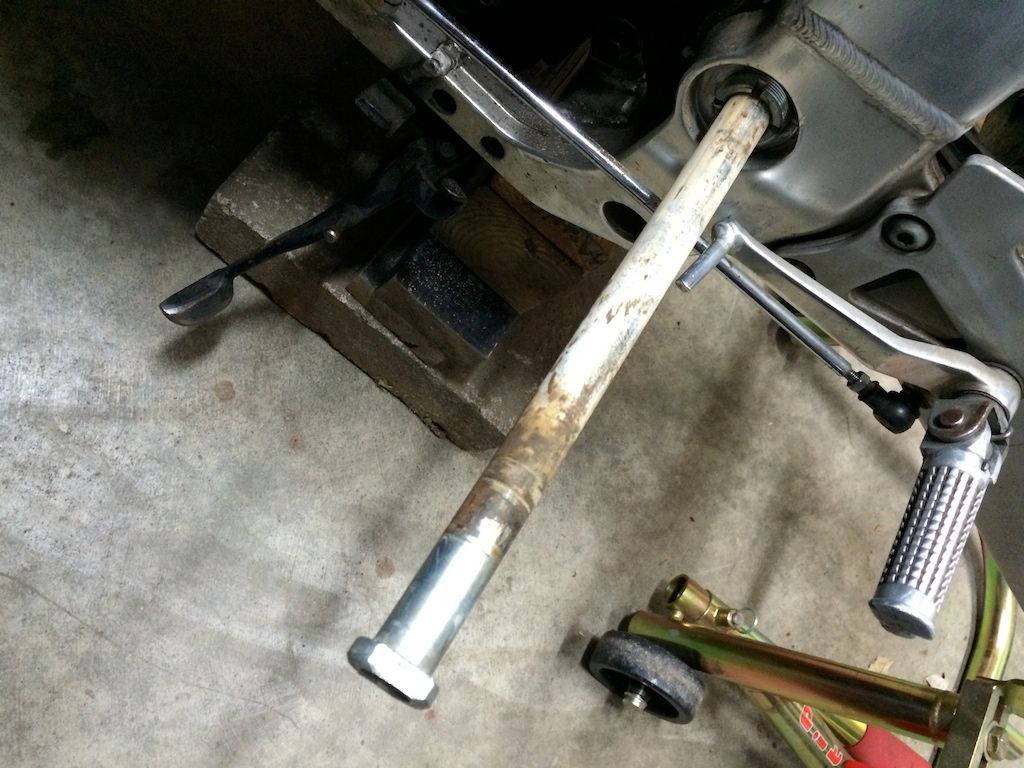
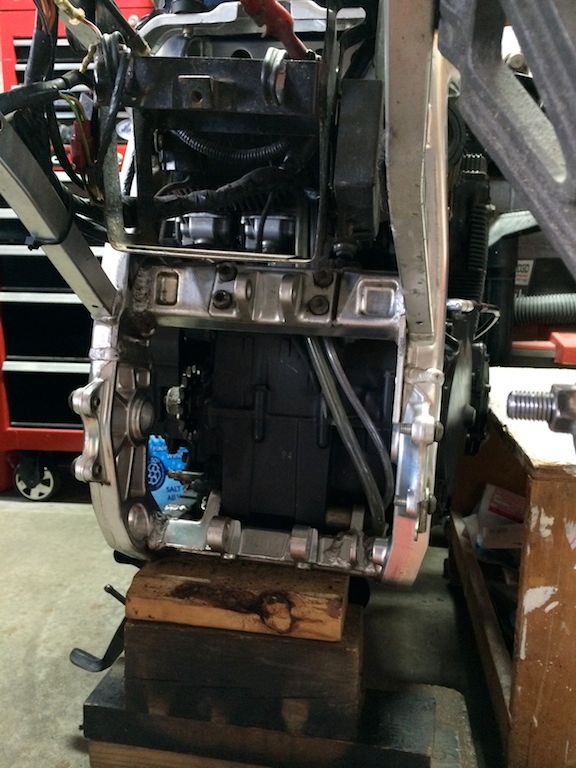
I'm getting into the carbs now. After 3 years of not running, they are going to be a mess.
I found the '89 GSXR 750 on CL this Spring, negotiated with the seller over texts, and finally went to pick it up 2 weekends ago. Holy Balls, she's a mess! Missing a ton of parts and hasn't run in over 3 years. But, I did pick it up for pretty cheap, so buying the missing parts isn't going to be a big deal. The biggest issue is going to be getting it started.
Here she is loaded up in the minivan.
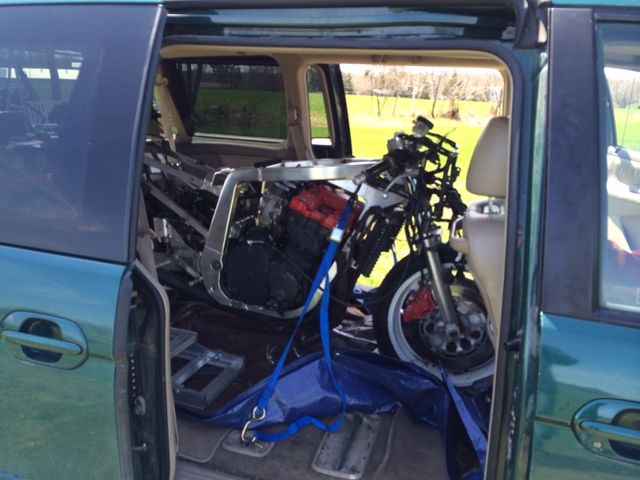
I never thought I'd feel so much love for the minivan
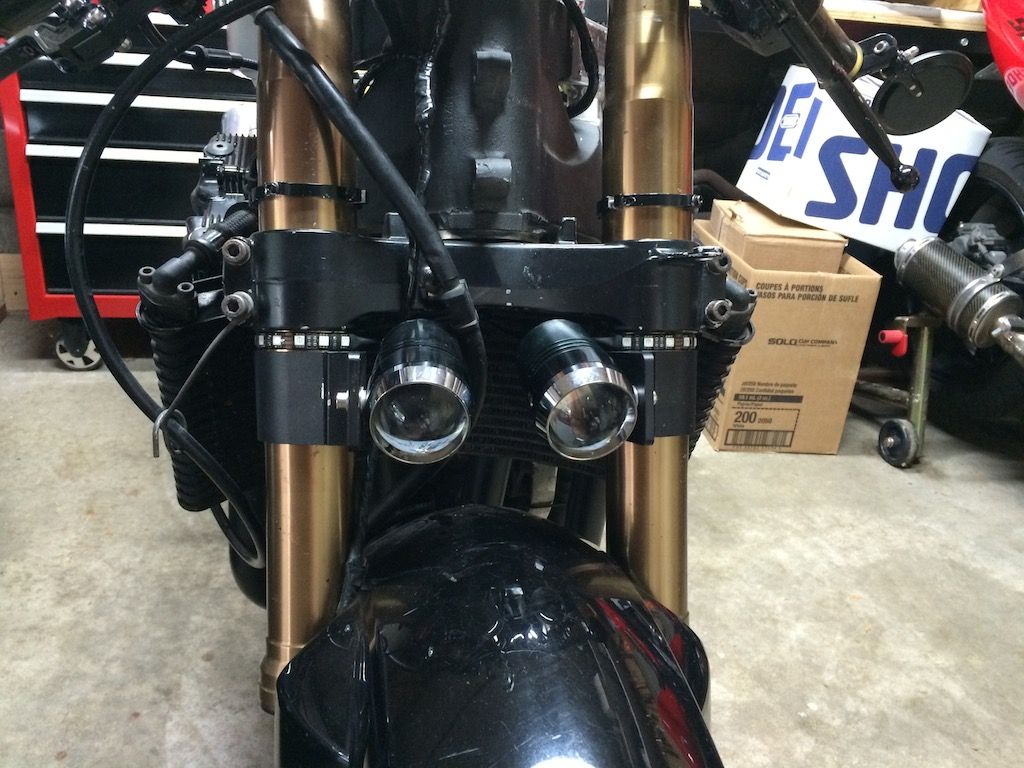
And here she is parked in the garage.

I'll admit I woke up the next morning feeling buyers remorse, considering what a disaster the GSXR was, but I was feeling pretty good about owning 2 bikes, so I quickly got over the remorse.
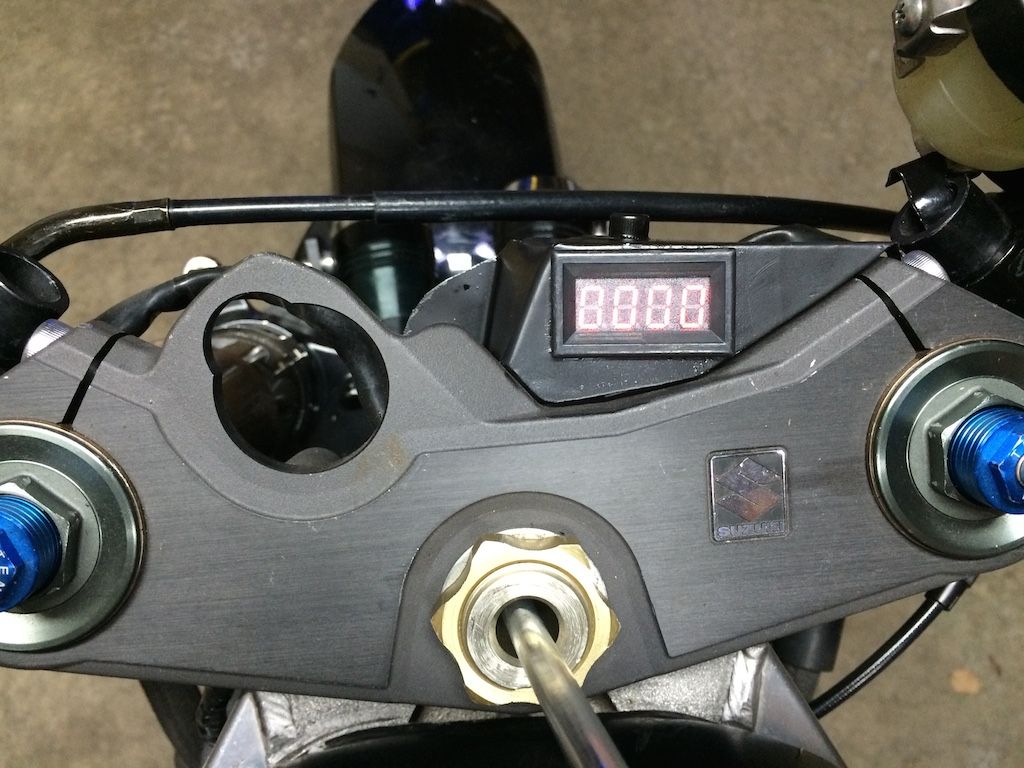
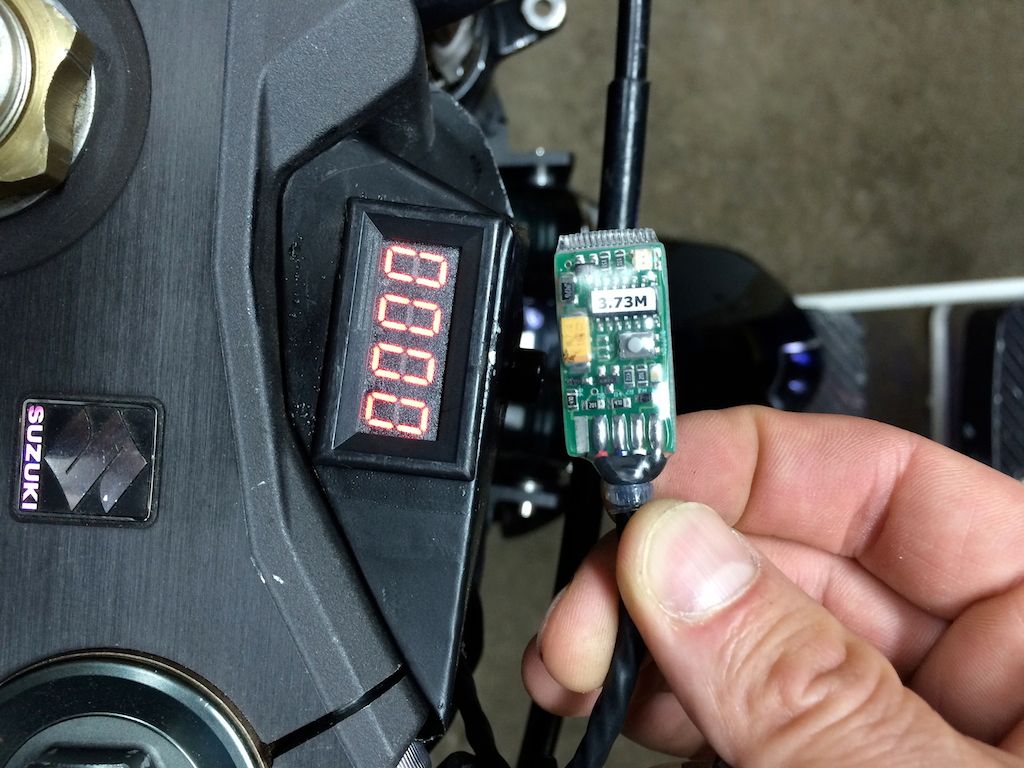
An initial tally of the parts missing that it needed to run included coils, plug wires and boots, battery, spark plugs, and the previous owner said the CDI was toast. So, with the money saved on the cost of the bike, I bought the CDI, coils complete with wires and boots off of Ebay, along with a seat, and a replacement pulse cover gasket. Just like Christmas in May!
A friend of mine said he'd loan me a battery, and I picked up some NGK plugs for it also. Since the plugs are buried in the head, the plugs need the best insulation, and the NGK plugs have it. CR9E plugs for this vintage GSXR. Ran into an issue at the car parts stores getting the right size plugs. I went to two stores, and both of them had the incorrect size for the GSXR. I needed help from a friend to get the right part number.
I'm calling it the Boiler b/c it's oil cooled, and these are commonly referred to as oil boilers. My SV is nicknamed "LaRoja", so I may also refer to it as LaCaldera :thumbsup:
I'm getting into the carbs now. After 3 years of not running, they are going to be a mess.